
Why Does My YouTube Thumbnail Look Blurry After Upload?
Find out why your YouTube thumbnail looks blurry after upload and learn how to fix image quality, resolution, compression, resizing, and export problems.
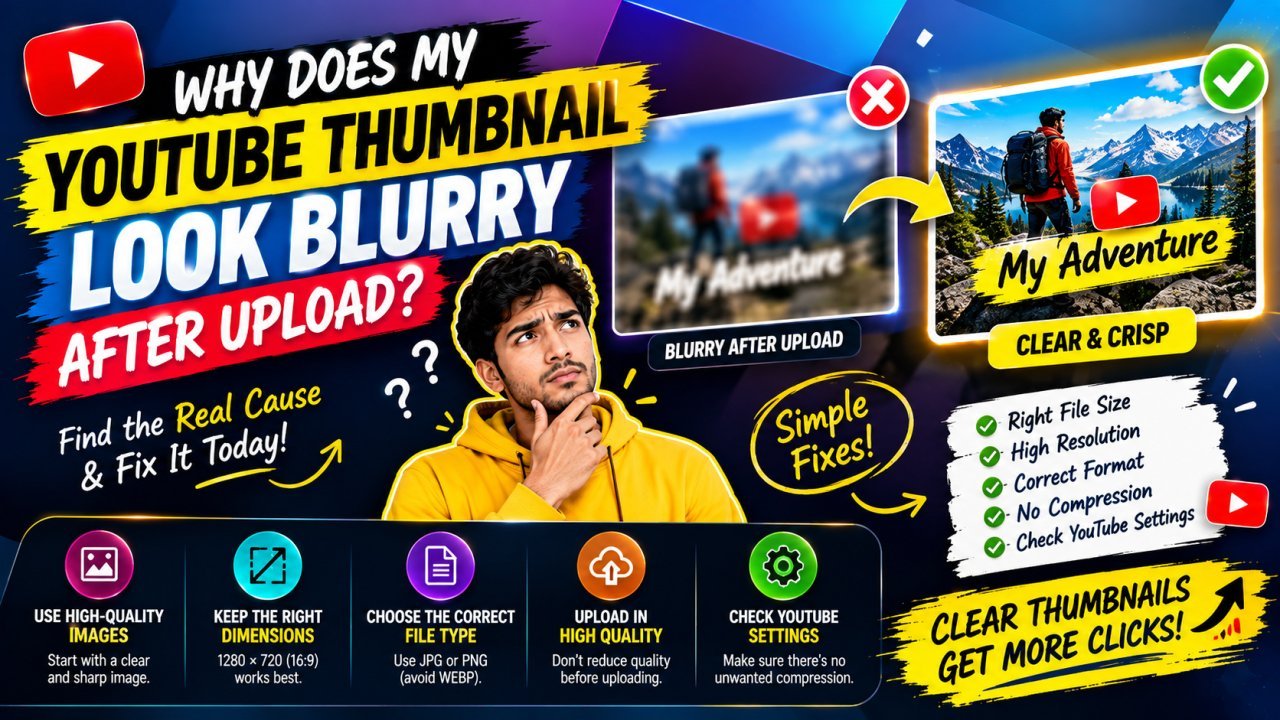
Why Does My YouTube Thumbnail Look Blurry After Upload?
Introduction
Why does my YouTube thumbnail look blurry after upload even though it looked sharp on my computer or phone?
This is a common problem for YouTube creators. You may spend time designing a clean thumbnail, export it in good quality, and then notice that it looks softer or less detailed after uploading it to YouTube.
The problem can happen for several reasons. Your original image may be too small, the thumbnail may have been resized incorrectly, the exported file may already be compressed, or you may simply be viewing a lower-resolution version of the thumbnail.
The good news is that most blurry thumbnail problems can be prevented.
In this guide, you will learn why a YouTube thumbnail can look blurry after upload, what causes quality loss, which settings to check, and how to prepare your thumbnail so it stays as sharp as possible.
Why Does My YouTube Thumbnail Look Blurry After Upload?
There is not always one single reason for a blurry thumbnail.
The quality can be affected at different stages:
Original image → Thumbnail editing → Resizing → Export → Upload → Display
If the image becomes low quality at any stage, the final thumbnail may look soft.
The most common causes include:
- Using a low-resolution image
- Starting with a small thumbnail canvas
- Enlarging a small image too much
- Exporting with excessive compression
- Repeatedly saving and editing the same JPEG
- Using screenshots as the main image
- Adding heavily compressed images to the design
- Incorrect resizing
- Viewing a lower-quality preview
- Using a thumbnail with very fine details or small text
Finding the exact cause is easier when you check the thumbnail from the beginning of the editing process.
What Happens to a Thumbnail When You Upload It?
When you upload an image, you should not assume that the exact same file will always appear identically everywhere on YouTube.
The thumbnail may be displayed at different sizes depending on where it appears.
For example, viewers may see it:
- On a computer
- On a mobile phone
- On a TV
- In search results
- On a channel page
- On the YouTube home page
- In suggested videos
A thumbnail can therefore look slightly different depending on the display size and device.
This is why it is important to create a high-quality source image and avoid unnecessary quality loss before uploading.
Start With the Right Thumbnail Dimensions
One of the first things to check is the size of your thumbnail canvas.
For standard YouTube thumbnails, a commonly used design size is 1280 × 720 pixels, with a 16:9 aspect ratio.
If you create your thumbnail at a much smaller size and later enlarge it, the image can become soft.
For example, designing at 640 × 360 and then stretching the finished image to a larger size does not create new detail. It simply spreads the existing pixels over a larger area.
A better workflow is to create the design at an appropriate size from the beginning.
Quick comparison
| Starting Size | Result After Enlargement |
|---|---|
| Very small image | Usually soft or pixelated |
| Medium image | May lose some detail |
| 1280 × 720 design | Good starting point for a standard thumbnail |
| Larger source image | Gives more editing flexibility |
The exact file requirements can change, so it is also worth checking YouTube's current official guidance before publishing.
Low-Resolution Images Can Make the Whole Thumbnail Look Blurry
Your thumbnail may have a good canvas size but still look blurry because the images inside it are low quality.
Imagine creating a 1280 × 720 thumbnail using a tiny 300-pixel-wide photo of a person.
When you enlarge that person to make them prominent, the editing software has to estimate the missing pixels.
The result can look:
- Soft
- Pixelated
- Blurry
- Jagged around edges
- Lacking in facial detail
This is especially noticeable when the face is the main focus of the thumbnail.
Whenever possible, use the original high-resolution photo or video frame rather than a small image copied from a website, messaging app, or social media post.
Enlarging a Small Image Too Much
Upscaling can be useful, but it has limitations.
If you take a small image and enlarge it dramatically, the software cannot magically recover all of the original detail.
For example, if you have a small image of a smartphone and enlarge it until it occupies most of the thumbnail, edges and text on the phone may become noticeably soft.
Image upscaling tools can sometimes improve the appearance, but the best solution is still to start with a larger, higher-quality source whenever possible.
A simple rule
Do not make a tiny image the main subject of a large thumbnail unless you have a good reason to do so.
Your Thumbnail May Look Blurry Because of Export Settings
Your editing software can affect the final image quality.
If you export your thumbnail using aggressive compression, the final file may contain fewer visual details than the original project.
This can affect:
- Faces
- Text
- Fine edges
- Gradients
- Small objects
- Detailed backgrounds
When exporting, look for settings related to quality, compression, resolution, and image format.
Avoid unnecessarily reducing quality just to make the file smaller.
For a finished thumbnail, you want a sensible balance between image quality and file size.
JPEG Compression Can Affect Thumbnail Quality
JPEG is useful because it can create relatively small image files, but it uses lossy compression.
If you repeatedly open, edit, and save the same JPEG, additional compression can gradually affect image quality.
For example:
Original image → Save as JPEG → Edit → Save again → Edit → Save again
This workflow can introduce more compression artifacts than working from an original source.
A better approach is to keep your original project or high-quality source file and export the final thumbnail once you are finished editing.
If your workflow supports it, using a lossless working format during editing can also help preserve quality until the final export.
Small Text Can Make a Thumbnail Look Blurry
Sometimes the image itself is not the main problem.
Your thumbnail may appear blurry because the text is too small or uses a thin font.
Remember that YouTube thumbnails are often viewed at relatively small sizes.
Thin text, complicated fonts, and excessive words can become difficult to read.
For better clarity:
- Use short text
- Choose a bold, readable font
- Maintain strong contrast
- Avoid unnecessary decorative effects
- Keep important words large enough to read
- Check the thumbnail at a smaller viewing size
A sharp image with unreadable text can still feel low quality to the viewer.
Screenshots Can Reduce Thumbnail Quality
Screenshots are convenient, but they are not always the best source for a thumbnail.
For example, if you take a screenshot from a small video player and then enlarge it for your thumbnail, the resulting image may look soft.
This is especially common when:
- The video player is small
- The original video has low resolution
- The screenshot is compressed
- The image is enlarged significantly
If you need a frame from a video, extracting the frame directly from the original high-quality video is usually a better workflow than taking a screenshot of a video playing in a small window.
Why Your Thumbnail Looks Sharp Before Upload but Soft After Upload
This can be confusing.
You may open your thumbnail in an image editor and see a very sharp image. After uploading it, the version displayed on YouTube may look different.
Before assuming that the upload damaged your image, check the thumbnail at the same approximate display size.
A thumbnail viewed at 100% zoom inside an editing application is not necessarily comparable to a small thumbnail displayed on a webpage or mobile screen.
Also check whether the image has finished processing and whether you are viewing the intended thumbnail rather than an older cached version.
The important question is whether the final thumbnail is consistently soft at normal viewing sizes, not whether every pixel looks identical when heavily zoomed in.
How to Check Whether the Original Image Is the Problem
Before changing your export settings, inspect the original images used in your thumbnail.
Open the source image at a reasonable size and look closely at the main subject.
If the original image is already blurry, the thumbnail will probably not become perfectly sharp simply because you place it on a larger canvas.
Check for:
- Soft facial details
- Out-of-focus subjects
- Motion blur
- Heavy compression
- Low resolution
- Poor lighting
- Digital noise
If the original image is poor, try finding a better frame or a higher-quality source before spending time on advanced editing.
Quick Troubleshooting Checklist
If your YouTube thumbnail looks blurry after upload, check these things first:
- Is the original image high enough quality?
- Was the thumbnail created at an appropriate resolution?
- Did you enlarge a very small image?
- Did your editing software reduce the export quality?
- Is the image heavily compressed?
- Are you repeatedly saving the same JPEG?
- Did you use a screenshot instead of the original image or video frame?
- Is the text too small?
- Are you viewing the thumbnail at a very different size?
- Have you checked the final exported file before uploading?
These checks can identify many common quality problems without requiring complicated editing techniques.
Part 1 Summary
A blurry YouTube thumbnail does not always mean YouTube has ruined your image.
Quality loss can begin with the original photo or video, continue during editing and resizing, and become more noticeable after export or display.
The most important steps are simple: start with a high-quality source, create the thumbnail at an appropriate size, avoid excessive enlargement, use sensible export settings, and check the final file before uploading.
In Part 2, we will look at more advanced ways to diagnose blurry thumbnails, improve soft images, choose the right export format, fix compression problems, and create sharper thumbnails consistently.
Check the Exported File Before Uploading
One of the easiest ways to find the source of a blurry YouTube thumbnail is to compare the exported file with the version inside your editing software.
Do not check only the project file.
Export the finished thumbnail and open that exported image separately.
Look closely at:
- The main subject
- Facial details
- Text edges
- Fine lines
- Background details
- Shapes and logos
If the exported file already looks blurry, the problem is probably related to your editing or export process.
If the exported file looks sharp but the thumbnail appears softer after upload, investigate the way YouTube is displaying or processing the image.
PNG vs. JPEG: Which Is Better for a Sharp Thumbnail?
Both PNG and JPEG can be useful for thumbnail workflows, but they handle image data differently.
| Feature | PNG | JPEG |
|---|---|---|
| Compression | Lossless | Lossy |
| Fine graphics | Very good | Can show compression |
| Text and sharp edges | Usually excellent | May soften at high compression |
| File size | Often larger | Usually smaller |
| Transparency | Supported | Not supported |
| Best use | Graphics, text, editing | Photos and smaller files |
If your thumbnail contains large text, sharp shapes, screenshots, or graphic elements, PNG can be useful during your editing workflow.
JPEG can also work well, particularly when the thumbnail is primarily photographic.
The most important thing is to avoid unnecessarily aggressive compression.
Avoid Repeated Image Compression
Repeatedly exporting and re-importing compressed images can gradually reduce quality.
For example:
JPEG → edit → JPEG → edit → JPEG → upload
is generally less desirable than:
Original source → edit → final export → upload
Keep your original photos, video frames, and project files whenever possible.
If you need to make changes, go back to the original project instead of repeatedly editing the previously compressed thumbnail.
This gives you a cleaner source and more control over the final result.
How Incorrect Resizing Can Make a Thumbnail Blurry
Resizing is one of the most common reasons an otherwise good image becomes soft.
There are two different situations to consider.
Making an Image Smaller
Reducing a large image usually does not create the same type of quality problem as enlarging a small image. However, poor resizing settings can still affect fine details.
Making an Image Larger
Increasing a small image substantially can make it look soft because the software has to generate additional pixels.
For example, taking a tiny 400 × 225 image and stretching it across a much larger thumbnail can produce blurry facial details and soft edges.
Whenever possible, create your thumbnail at the intended working dimensions and use sufficiently large source images.
Use High-Quality Source Images
The quality of your final thumbnail is strongly influenced by the quality of the material you start with.
For people-focused thumbnails, use the original camera photo or a high-quality frame from your video.
For products, use the original product image rather than a small preview image.
For screenshots, capture the screen at an appropriate resolution instead of enlarging a tiny screenshot.
A useful workflow is:
High-quality source → properly sized canvas → careful editing → high-quality export
Starting with better material reduces the amount of correction required later.
How to Fix a Blurry YouTube Thumbnail
If you already have a blurry image, try improving it in this order:
- Find a better original image if one is available.
- Replace a low-quality video frame with a sharper frame.
- Rebuild the thumbnail using the higher-quality source.
- Resize the image correctly.
- Apply moderate sharpening.
- Reduce excessive noise if necessary.
- Export at good quality.
- Compare the exported image before uploading again.
If the original source contains very little detail, editing software cannot reliably recreate everything that was missing.
That is why replacing the source image is often more effective than applying stronger sharpening.
How to Sharpen a YouTube Thumbnail Without Making It Look Artificial
Sharpening can make a slightly soft image appear clearer, but too much sharpening can create new problems.
Excessive sharpening may produce:
- Bright or dark halos
- Harsh edges
- Visible noise
- Artificial-looking skin
- Strong compression artifacts
Apply sharpening gradually and compare the result with the original.
A good thumbnail should look clean and natural rather than heavily processed.
Should You Reduce Noise Before Sharpening?
If an image contains significant digital noise, sharpening it first can make that noise more noticeable.
A better workflow can be:
Noise reduction → mild sharpening → color adjustment → final export
This is particularly useful for frames taken from videos recorded in low-light conditions.
However, excessive noise reduction can remove fine details, so use it carefully.
The goal is to balance clarity and natural texture.
Why Does My Thumbnail Text Look Blurry?
If the photograph looks clear but the text looks soft, check the text layer and export process.
Common causes include:
- Very small font size
- Thin font weight
- Low contrast
- Excessive blur effects
- Heavy glow effects
- Repeated image compression
- Enlarging the completed thumbnail
- Exporting at a low-quality setting
Use a bold, readable font and strong contrast.
Also avoid placing too many words into a small area. Short text usually remains easier to read when the thumbnail is displayed at a reduced size.
Too Many Effects Can Make a Thumbnail Look Less Sharp
Adding effects can make a thumbnail more visually interesting, but too many effects can reduce clarity.
Common effects include:
- Glow
- Blur
- Drop shadow
- Outer stroke
- Motion effects
- Heavy color grading
- Strong sharpening
- Lens effects
These should support the design rather than hide image-quality problems.
If the original image is blurry, adding more effects will not truly fix it.
Start with a clean image and use effects sparingly.
Check Your Thumbnail at Different Viewing Sizes
A thumbnail that looks perfect when enlarged on your computer may not work well when displayed much smaller.
Before publishing, view the final design at a smaller size.
Ask yourself:
- Can I recognize the main subject?
- Can I read the main text?
- Is the face clear?
- Does the background distract from the subject?
- Does the thumbnail still communicate the video's topic?
This test is often more useful than staring at the image at extreme zoom.
Your viewers will usually experience the thumbnail as part of a busy YouTube interface, not as a full-size image in an editing program.
Example: A YouTube Thumbnail With a Blurry Face
Imagine you create a reaction-video thumbnail.
The face in your original video frame is slightly blurry because the person moved quickly.
You enlarge the face and add sharpening.
Instead of becoming clear, the image now contains harsh edges and visible artifacts.
A better solution would be to return to the video and search through the frames immediately before and after that moment.
You may find another frame where the facial expression is almost identical but the face is sharper.
Better source + moderate editing will usually produce a better result than aggressive sharpening.
Example: A Blurry Product in a Thumbnail
Suppose you are creating a smartphone review thumbnail.
The phone appears small in the original video frame. You crop it heavily and enlarge it until it fills a large part of the thumbnail.
The phone may then look soft.
Instead, look for a frame where the phone is already closer to the camera or use a high-resolution product image if it accurately represents the video.
This gives you more detail and reduces the need for extreme enlargement.
Example: Blurry Thumbnail Text
Imagine your thumbnail contains the words:
"BEST PHONE?"
If the text is created with a thin font, small size, low contrast, and a heavy glow, it may look blurry when viewed on YouTube.
A cleaner approach is:
- Use a bold font.
- Keep the wording short.
- Increase contrast.
- Remove unnecessary blur.
- Keep effects subtle.
- Check the text at a small size.
The goal is immediate readability rather than decoration.
Quick Troubleshooting Table
| Problem | Possible Cause | What to Try |
|---|---|---|
| Entire thumbnail is soft | Low-quality source | Use a higher-quality source |
| Face is blurry | Motion blur | Select another video frame |
| Image becomes blurry after enlargement | Source is too small | Use a larger original |
| Text looks soft | Small/thin text | Use larger, bolder text |
| Edges look blocky | Compression | Export with better quality |
| Image has harsh halos | Too much sharpening | Reduce sharpening |
| Details look muddy | Excessive noise reduction | Use less noise reduction |
| Thumbnail looks different after upload | Display/processing differences | Compare exported file and uploaded version |
| Background looks compressed | Low-quality source or export | Use a better source and export |
| Everything looks blurry after export | Export settings | Check resolution and quality settings |
Best Workflow for a Sharp YouTube Thumbnail
Use this workflow whenever possible:
Step 1: Start with the highest-quality photo, video frame, or graphic available.
Step 2: Create the thumbnail using an appropriate canvas size.
Step 3: Avoid enlarging tiny source images unnecessarily.
Step 4: Keep important subjects and text large enough to remain clear.
Step 5: Apply sharpening and other enhancements moderately.
Step 6: Avoid repeated JPEG compression.
Step 7: Export the final thumbnail at good quality.
Step 8: Open the exported file and inspect it before uploading.
Step 9: Upload the final version to YouTube.
Step 10: Check the thumbnail at normal viewing sizes rather than judging it only at extreme zoom.
Common Mistakes to Avoid
Using a tiny source image
A large thumbnail canvas cannot compensate for a very small source.
Enlarging everything
Making every element larger can quickly expose low-resolution details.
Sharpening too aggressively
Sharpening is not a replacement for a high-quality source.
Exporting at unnecessarily low quality
Reducing quality too much can affect text and fine details.
Repeatedly saving JPEG files
Each lossy export can introduce additional compression.
Ignoring the final exported file
Always inspect the actual file you upload.
Designing only at extreme zoom
A thumbnail should be judged at a realistic viewing size.
Using too many effects
Complex effects can make an already-soft image look even less clean.
Part 2 Summary
When a YouTube thumbnail looks blurry after upload, check the entire workflow instead of blaming the upload immediately.
Start with the source image, inspect the canvas size, check resizing, review export quality, and compare the final exported file with the version displayed on YouTube.
For already-blurry images, replacing the source with a sharper photo or video frame is usually preferable to excessive sharpening.
The ideal workflow is simple:
High-quality source → correct canvas → careful editing → moderate enhancement → high-quality export → final quality check.
Conclusion
If you are wondering, “Why does my YouTube thumbnail look blurry after upload?”, the problem is usually connected to the original image, resizing, editing, or export settings.
A thumbnail can look sharp inside a design tool but appear softer after upload when the source image is too small, the image has been enlarged too much, important text is tiny, or the final file has been compressed heavily.
The best solution is to fix the problem before uploading. Start with a high-quality source image, create your thumbnail at the correct dimensions, use readable text, avoid unnecessary resizing, and export the final image carefully.
If your thumbnail is already blurry, do not simply increase the sharpening level. Sharpening can improve a slightly soft image, but it cannot restore details that were never present in the original image.
A simple workflow of high-quality source image → correct thumbnail size → careful editing → proper export → final quality check can help you create sharper and more professional YouTube thumbnails.
Key Takeaways
- Start with a high-quality source image.
- Create your YouTube thumbnail at the correct dimensions.
- Avoid enlarging very small images too much.
- Check the exported file before uploading it.
- Use large and readable thumbnail text.
- Avoid repeatedly saving and compressing JPEG files.
- PNG can work well for designs containing text, graphics, and sharp edges.
- High-quality JPEG can work well for photographic thumbnails.
- Do not depend on sharpening to fix a severely low-resolution image.
- Avoid excessive blur, glow, and other effects.
- Check your thumbnail at both full size and smaller viewing sizes.
- Compare the original design, exported file, and uploaded thumbnail when troubleshooting quality problems.
CTA
A blurry YouTube thumbnail can make an otherwise good video look less professional.
The good news is that most thumbnail quality problems can be prevented with the right workflow.
Use a high-quality image, design at the correct size, keep your text readable, export carefully, and always check the final file before uploading it.
If you are creating your next YouTube thumbnail, take a few extra minutes to check image quality before publishing. That small step can make your thumbnail look much cleaner and sharper.
1. Why does my YouTube thumbnail look blurry after upload?
A YouTube thumbnail can look blurry after upload because the original image is low resolution, the design was enlarged too much, the exported file was compressed heavily, or small details became soft during resizing. Checking the original and exported files can help identify the problem.
2. How do I fix a blurry YouTube thumbnail?
Use a higher-quality source image, create the thumbnail at the correct dimensions, avoid excessive enlargement, and export the final image at good quality. If the image is only slightly soft, careful sharpening may also help.
3. Why is my YouTube thumbnail blurry even though it looks clear in Canva?
The image may look sharp inside Canva but become softer after export or upload. Download the finished thumbnail and inspect the actual exported file. Also check whether the original images used in the design were high resolution.
4. Does YouTube reduce thumbnail quality?
YouTube processes uploaded images, so the version displayed on the platform may not look exactly the same as the original file. Starting with a properly sized and high-quality thumbnail gives you a better-quality source for upload.
5. Is PNG better than JPEG for YouTube thumbnails?
PNG can be useful for thumbnails containing text, graphics, shapes, and sharp edges. A high-quality JPEG can also work well, especially for photographic designs. The source image quality and export settings are more important than simply choosing one format.
6. Why does my YouTube thumbnail text look blurry?
Thumbnail text can look blurry when the font is too small, the image has been resized repeatedly, compression is too strong, or too many effects have been applied. Use larger text, strong contrast, and simple styling for better readability.
7. Can sharpening make a blurry YouTube thumbnail clear?
Sharpening can improve a slightly soft thumbnail, but it cannot recreate details that are missing from a very low-resolution image. Too much sharpening can also create harsh edges, halos, and unnatural-looking faces.
8. Why does my YouTube thumbnail look blurry on mobile?
A thumbnail may appear less clear on mobile because it is displayed at a smaller size. Tiny text, fine details, and low-resolution images can become difficult to see. Using clear visuals and larger text helps the thumbnail remain readable.
9. Can a screenshot make a YouTube thumbnail blurry?
Yes. A screenshot may have lower resolution than the original image, especially if it was captured from a smaller display. Whenever possible, use the original image or source file instead of taking a screenshot and enlarging it.
10. What is the best way to keep a YouTube thumbnail sharp?
Use high-quality source images, design at the correct thumbnail dimensions, avoid unnecessary enlargement, keep important text readable, export the image carefully, and inspect the final file before uploading it to YouTube.
Use these internal links naturally within the article:
-
How to Make a YouTube Thumbnail HD: Size, Resolution & Quality Guide
Best placement: section discussing thumbnail dimensions and resolution. -
How to Improve YouTube Thumbnail Quality on a Low-Resolution Image
Best placement: section discussing low-quality source images. -
How to Fix a Pixelated YouTube Thumbnail Online
Best placement: troubleshooting or image-quality section. -
How to Make a YouTube Thumbnail Look Professional Online
Best placement: section discussing professional thumbnail design. -
How to Make YouTube Thumbnail Text Clear and Sharp
Best placement: section discussing blurry thumbnail text. -
How to Make a YouTube Thumbnail More Eye-Catching
Best placement: best-practices or design section.
Ready to optimize your images?
Every tool mentioned in this article is free to use. No upload, no signup, and no watermarks — ever.
Try our free toolsRelated articles
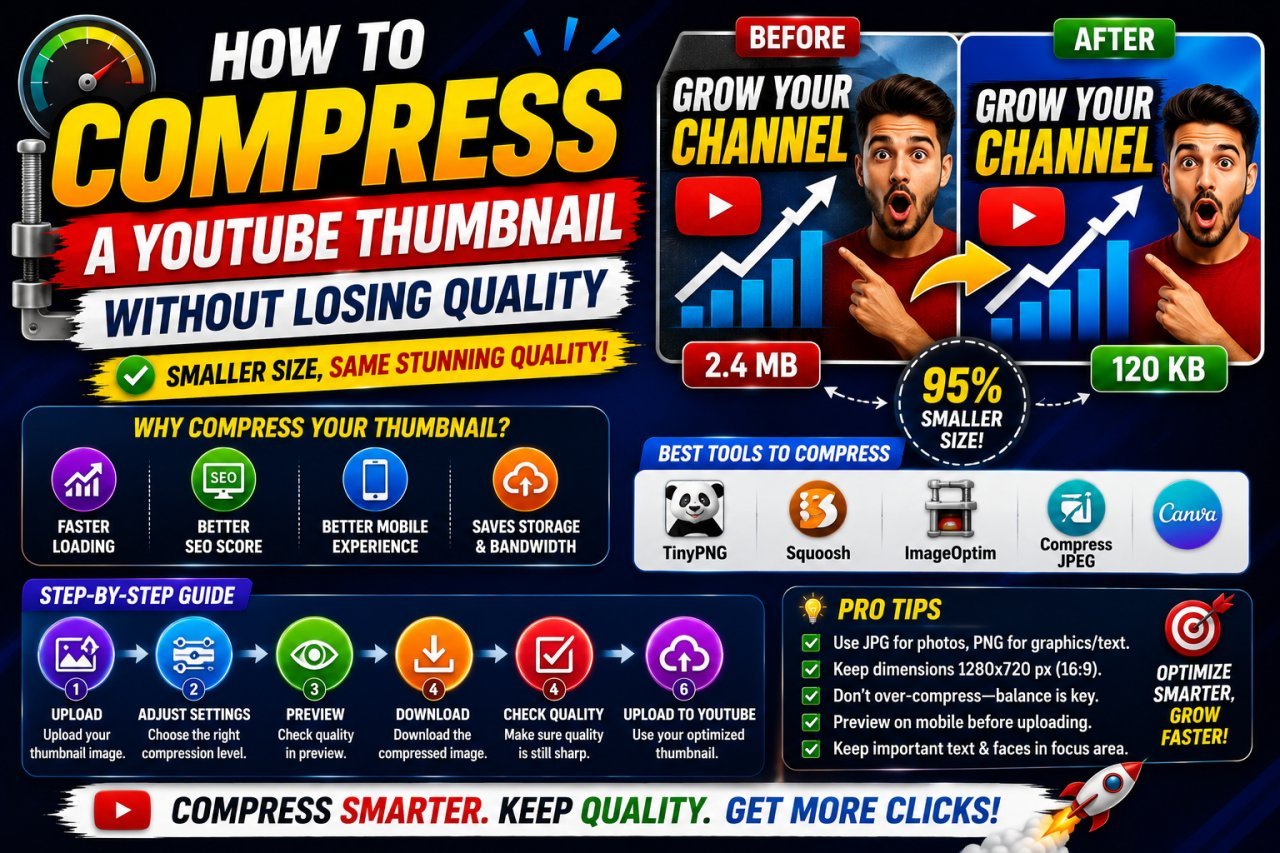
How to Compress a YouTube Thumbnail Without Losing Quality
Learn how to compress a YouTube thumbnail without losing quality using the right dimensions, file format, compression settings, and simple image optimization techniques.
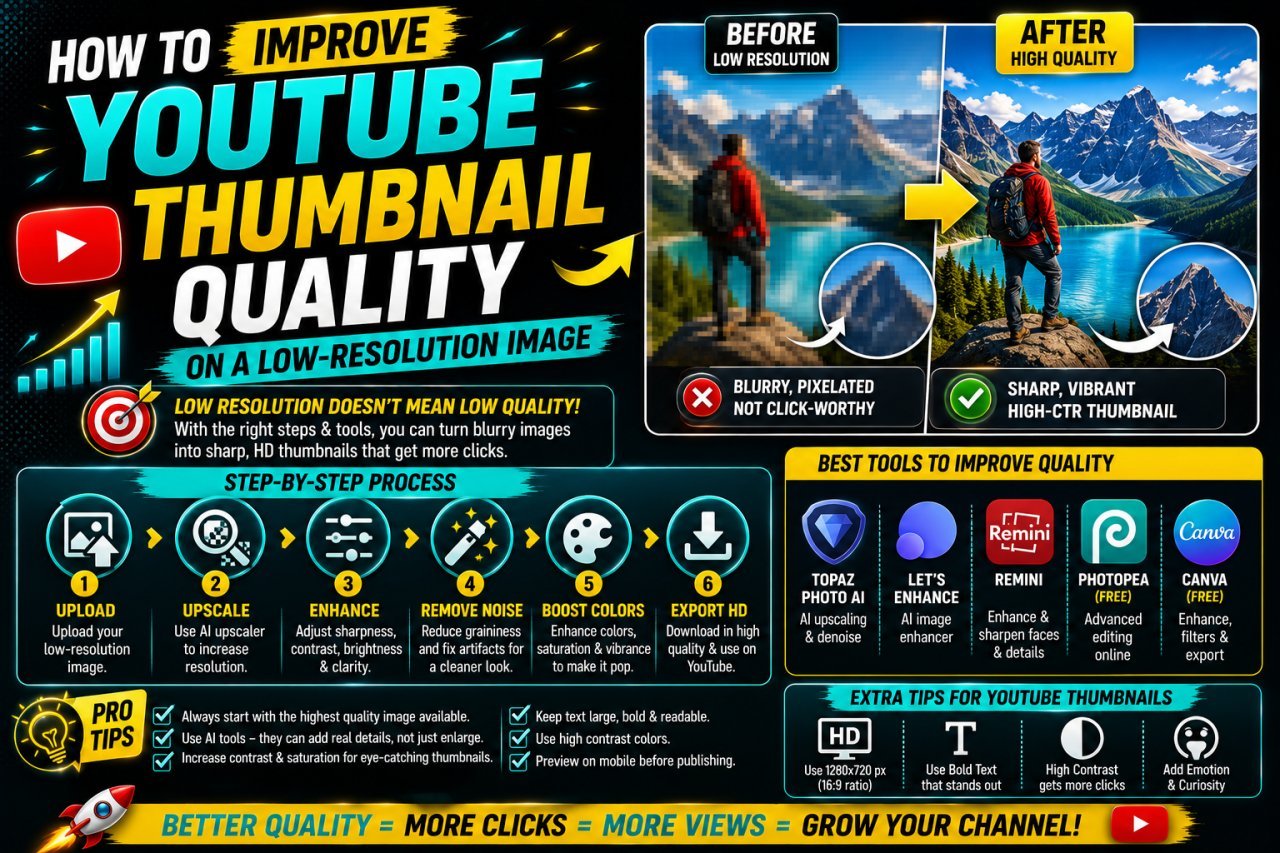
How to Improve YouTube Thumbnail Quality on a Low-Resolution Image
Learn how to improve YouTube thumbnail quality on a low-resolution image using resizing, sharpening, background techniques, compression control, and better export settings.

YouTube Thumbnail Quality Enhancer: Make Thumbnails Clear & Sharp
Want clearer YouTube thumbnails? Learn how to enhance thumbnail quality, fix blurry images, sharpen details, resize correctly, reduce compression, and create thumbnails that look crisp on phones, desktops, and TVs.