
How to Make a YouTube Thumbnail HD: Size, Resolution & Quality Guide
Learn how to make a YouTube thumbnail HD with the right size, resolution, image quality, and export settings. Create sharp thumbnails without blur or pixelation.
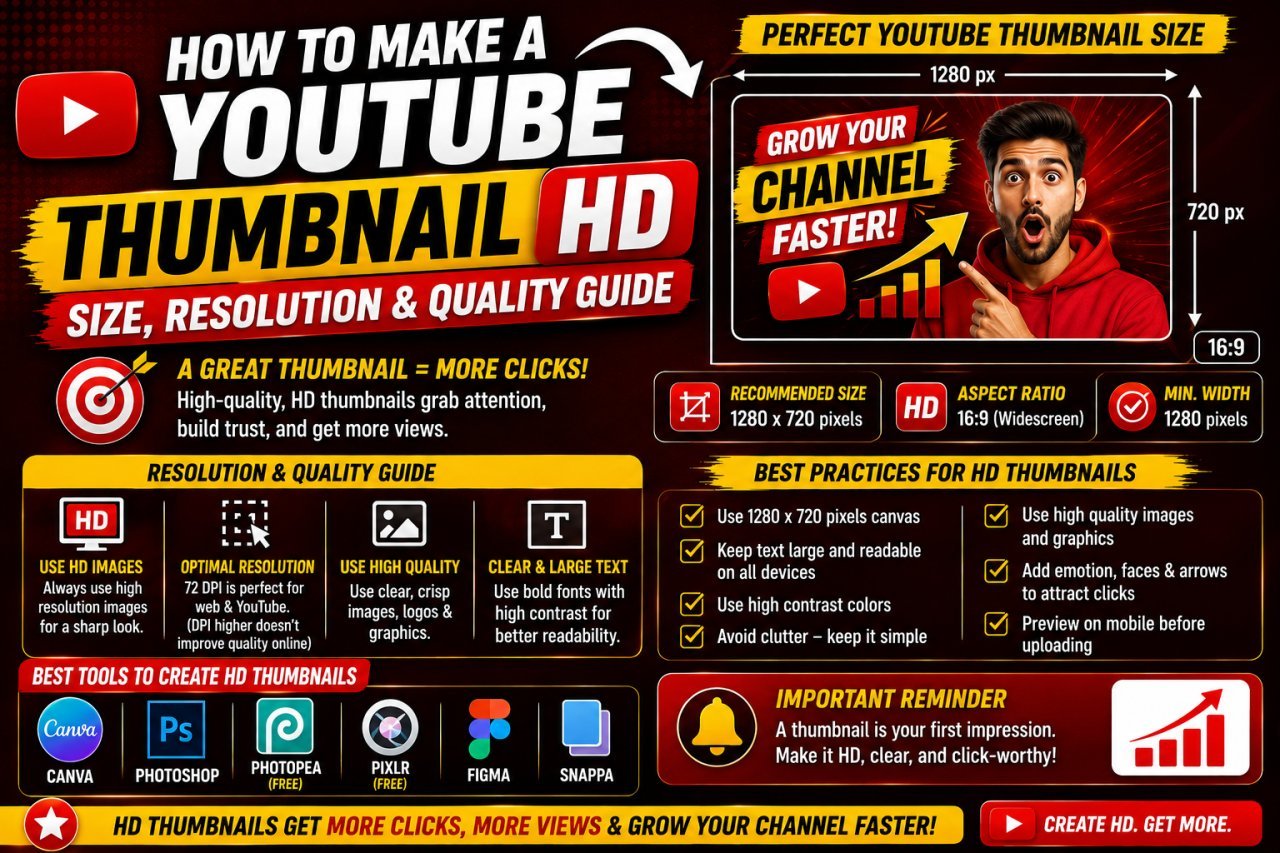
How to Make a YouTube Thumbnail HD: Size, Resolution & Quality Guide
If your YouTube thumbnail looks blurry, pixelated, soft, or low-quality after uploading, the problem may be the image's resolution, dimensions, compression, or export settings.
Learning how to make a YouTube thumbnail HD starts with choosing the right canvas and keeping the image quality high throughout the design process.
For standard YouTube video thumbnails, the recommended shape is 16:9. YouTube's current Help documentation recommends a minimum width of 640 pixels and recommends high-resolution thumbnails, including 3840 × 2160 pixels for videos. YouTube also supports common image formats such as JPG and PNG.
However, simply making a thumbnail larger does not automatically make it HD.
A low-resolution image enlarged to a bigger canvas can still look blurry. Likewise, an excellent design can lose quality if it is exported with excessive compression.
In this guide, you'll learn what HD means for a YouTube thumbnail, which dimensions and resolution to use, how to avoid blurry images, and how to prepare a sharp thumbnail before uploading it.
Why HD Thumbnail Quality Matters
A YouTube thumbnail needs to communicate an idea quickly.
Viewers may see your thumbnail at different sizes depending on their device, screen, and YouTube interface. A clean, sharp image gives your design a better visual foundation.
A blurry thumbnail can make even a good design look unfinished.
Common quality problems include:
- Blurry text
- Pixelated faces
- Soft product images
- Jagged edges
- Compression artifacts
- Low-detail photographs
- Distorted graphics
- Poor-quality logos
- Images that become noticeably soft after resizing
- YouTube Thumbnail Enhancer
The solution is not simply to increase the dimensions.
You need to maintain quality from the original image through the design and export process.
Think of Thumbnail Quality as a Chain
A simple way to understand this is:
Original image quality → Canvas size → Design → Resize → Export → Upload
If the original image is already poor quality, increasing its pixel dimensions cannot recreate the missing detail.
That's why starting with a good source image is just as important as choosing the correct thumbnail dimensions.
What Does HD Mean for a YouTube Thumbnail?
"HD" generally refers to a high-definition image with enough resolution to display clear visual detail.
However, HD is not a single YouTube thumbnail size.
You may hear terms such as:
- HD
- Full HD
- 1080p
- 2K
- 4K
- High resolution
These describe different levels of image dimensions or display resolution.
For YouTube thumbnails, the more useful questions are:
- Is the image using the correct aspect ratio?
- Are the pixel dimensions large enough?
- Is the source image sharp?
- Is the design being resized correctly?
- Has excessive compression been avoided?
For example, a 1920 × 1080 image is commonly called Full HD and has the same 16:9 aspect ratio used by standard horizontal YouTube thumbnails.
YouTube's current official recommendation for video thumbnails goes higher, with guidance recommending 3840 × 2160 pixels.
So don't assume that "HD" means you must use only 1280 × 720 or 1920 × 1080.
The important thing is to use a suitable resolution while maintaining the correct proportions and image quality.
YouTube Thumbnail Size and Resolution
For a standard horizontal YouTube video, the 16:9 aspect ratio is the key starting point.
Here are some common 16:9 dimensions:
| Dimensions | Common description | Aspect ratio |
|---|---|---|
| 640 × 360 px | Lower-resolution 16:9 | 16:9 |
| 1280 × 720 px | HD / practical working size | 16:9 |
| 1920 × 1080 px | Full HD | 16:9 |
| 2560 × 1440 px | QHD | 16:9 |
| 3840 × 2160 px | 4K / high-resolution | 16:9 |
YouTube's current Help documentation recommends 3840 × 2160 pixels for video thumbnails and specifies a minimum width of 640 pixels. YouTube Help — Add custom thumbnails
Which Size Should You Choose?
If you're creating a thumbnail from scratch, choose a resolution that your editing tool and workflow can handle comfortably.
For many everyday designs, 1280 × 720 or 1920 × 1080 provides a simple 16:9 working canvas.
If you want to follow YouTube's current high-resolution recommendation, you can design at 3840 × 2160 while keeping the same 16:9 ratio.
The most important rule is consistency.
Don't create a 16:9 design and then accidentally export it using a different shape.
Resolution vs Dimensions: What's the Difference?
These terms are often confused.
Dimensions
Image dimensions describe the number of pixels across the width and height.
For example:
1920 × 1080 pixels
means the image is 1920 pixels wide and 1080 pixels tall.
Resolution
Resolution can refer to the amount of image detail represented by the pixels, although the term is also used in different ways depending on the software or context.
For web images, pixel dimensions are usually the most practical specification to focus on.
Why This Matters
Suppose you have two images:
Image A: 1920 × 1080 Image B: 640 × 360
Both have the same 16:9 shape.
But Image A contains far more pixels.
If both are displayed at a similar physical size, Image A generally gives you more image data to work with.
That's why starting with a sufficiently large, sharp source image can help when creating a high-quality thumbnail.
One Important Warning
More pixels do not automatically mean better quality.
A blurry 3840 × 2160 image can still look worse than a sharp 1920 × 1080 image.
Source quality matters.
How to Make a YouTube Thumbnail HD
You don't need a complicated process to create a sharp YouTube thumbnail.
Follow these basic steps.
Step 1: Create a 16:9 Canvas
Start with a 16:9 canvas.
Common options include:
- 1280 × 720 px
- 1920 × 1080 px
- 3840 × 2160 px
If your design tool supports larger files without slowing down your workflow, a higher-resolution canvas gives you more pixels to work with.
Step 2: Use a High-Quality Original Image
Whenever possible, start with a sharp, high-resolution photograph or graphic.
Avoid repeatedly downloading and re-uploading compressed versions of the same image.
Every unnecessary compression step can reduce visual quality.
Step 3: Resize Proportionally
When changing the image size, keep the aspect ratio locked.
For example:
1920 × 1080 → 1280 × 720
This reduces the dimensions while maintaining the same shape.
Avoid manually changing the width and height independently.
Step 4: Keep Text Large and Clear
Small text can become difficult to read when a thumbnail is displayed as a small preview.
Use short phrases and sufficiently large lettering.
You don't need to put the video's entire title on the thumbnail.
Step 5: Avoid Excessive Effects
Heavy sharpening, excessive blur, strong noise, or repeated filters can reduce the clean appearance of the final image.
Use effects only when they improve the design.
Step 6: Export Carefully
Before exporting, check the final dimensions and file format.
Then inspect the exported image itself rather than assuming it looks identical to the editable project.
This catches problems caused by export settings or compression.
How to Avoid a Blurry YouTube Thumbnail
A blurry thumbnail can have several causes.
Use a Better Original
If the original photograph is tiny or already blurry, increasing its dimensions will not restore the missing detail.
Start with the highest-quality source available.
Don't Enlarge Too Aggressively
Increasing a small image to a much larger resolution can make it appear soft.
For example, taking a small 500 × 500 image and enlarging it several times does not create genuine new photographic detail.
Keep Text as Vector or High-Quality Text Layers
If your design software supports editable text layers, keep the text editable until the final export.
This can help maintain cleaner lettering than using a tiny rasterized text image.
Avoid Repeated Saving
Don't repeatedly open, compress, export, and re-edit the same JPG if you can avoid it.
A better workflow is:
Original → Edit → Final export
Keep your editable project file so you can make future changes without repeatedly degrading the final image.
Inspect the Final File
Open the exported thumbnail and zoom in.
Look for:
- Fuzzy text
- Blocky compression
- Jagged edges
- Soft faces
- Unexpected artifacts
If something looks wrong, return to the original project and export again rather than repeatedly editing the already-compressed thumbnail.
Beginner Checklist for a High-Quality YouTube Thumbnail
Before uploading your thumbnail, check these basics:
- The canvas uses a 16:9 aspect ratio.
- The dimensions are appropriate for your workflow.
- The original image is sharp enough.
- Important subjects are not accidentally cropped.
- The image has not been stretched.
- Text is easy to read.
- The design is not overloaded with tiny details.
- The final image has been exported at suitable quality.
- The file format is supported by YouTube.
- The file size meets YouTube's current requirements.
- The final exported image looks sharp when inspected.
How to Choose the Right Resolution for a YouTube Thumbnail
Choosing a thumbnail resolution is easier when you separate aspect ratio from pixel dimensions.
For a standard horizontal YouTube video, keep the design at 16:9. Then choose a suitable resolution based on your editing workflow.
A practical comparison:
| Resolution | Aspect Ratio | Best Use |
|---|---|---|
| 1280 × 720 | 16:9 | Simple thumbnail creation |
| 1920 × 1080 | 16:9 | High-quality Full HD workflow |
| 2560 × 1440 | 16:9 | Larger design projects |
| 3840 × 2160 | 16:9 | High-resolution workflow |
If you're a beginner, 1280 × 720 or 1920 × 1080 can be easier to manage.
If you want to work according to YouTube's current high-resolution recommendation, 3840 × 2160 is the recommended video-thumbnail resolution in YouTube's Help documentation. YouTube Help — Add custom thumbnails
There is no need to make the design unnecessarily complicated. The most important things are the correct 16:9 shape, good source images, readable text, and a clean final export.
HD vs Full HD vs 4K for YouTube Thumbnails
You may see different terms when searching for YouTube thumbnail sizes.
Here's a simple way to understand them:
| Term | Typical Dimensions | Aspect Ratio |
|---|---|---|
| HD | 1280 × 720 | 16:9 |
| Full HD | 1920 × 1080 | 16:9 |
| QHD | 2560 × 1440 | 16:9 |
| 4K UHD | 3840 × 2160 | 16:9 |
All of these examples use the same 16:9 shape.
The difference is the number of pixels.
A higher-resolution canvas can give you more room for detailed editing, but it does not automatically make the final thumbnail better.
For example, if you use a low-quality photograph on a 4K canvas, the photograph can still look blurry.
Higher canvas resolution + poor source image = poor result.
A better approach is:
Good source image + correct 16:9 canvas + careful editing + suitable export quality.
Start With a High-Quality Source Image
One of the easiest ways to improve thumbnail quality is to improve the image you start with.
If your original image is already blurry, pixelated, or heavily compressed, a larger thumbnail canvas won't magically restore the missing detail.
For example:
Small blurry image → enlarged thumbnail = larger blurry image
Instead, whenever possible, use:
- Original camera photographs
- High-resolution screenshots
- High-quality product images
- Properly licensed stock images
- Original graphics
- High-resolution logos
Be especially careful with images copied from social media or repeatedly downloaded from websites. The available version may already have been compressed or resized.
Keep an Original Copy
Save your original image separately.
Then create your thumbnail from that original rather than repeatedly editing the exported thumbnail.
A simple workflow is:
Original file → Thumbnail project → Final JPG/PNG
This makes future edits easier and helps avoid unnecessary quality loss.
How to Make YouTube Thumbnail Text Look Sharp
Text is often one of the first things people notice when a thumbnail looks low quality.
There are several ways to keep it clean.
Use a Large Enough Font
Avoid extremely small text.
Your thumbnail may look large while you're editing it, but viewers may see it as a small preview.
Use Strong Contrast
The text should be visually separated from the background.
For example:
- Light text on a dark area
- Dark text on a light area
- Text with a subtle outline
- Text placed over a clean background
Don't Put Too Much Text
A thumbnail does not need to repeat the entire video title.
Instead of:
"How to Make a YouTube Thumbnail HD: Complete Size, Resolution and Quality Guide"
a thumbnail might simply say:
"MAKE IT HD"
or:
"HD THUMBNAIL"
The article title can provide the detail. The thumbnail should communicate the main visual message quickly.
Keep Text Editable
If your design software supports text layers, keep the text editable until you're ready to export.
This makes it easier to change wording, font size, spacing, and position without rebuilding the design.
Pros and Cons of Different Thumbnail Workflows
1280 × 720 Workflow
Pros
- Simple to create.
- Easy for beginners.
- Uses the correct 16:9 ratio.
- Generally straightforward to edit.
Cons
- Less working resolution than larger canvases.
- Heavy editing or enlargement may expose source-image limitations.
1920 × 1080 Workflow
Pros
- Full HD dimensions.
- Good working resolution.
- Familiar 16:9 format.
- Useful for detailed designs.
Cons
- Larger project files.
- May require more system resources.
3840 × 2160 Workflow
Pros
- Follows YouTube's current recommended high-resolution dimensions.
- Provides a large working canvas.
- Useful for detailed designs.
Cons
- Larger files.
- More demanding on editing software and hardware.
- A poor source image can still look poor.
Background-Fill Workflow
Pros
- Preserves portrait or square images.
- Avoids unnecessary cropping.
- Gives you more design flexibility.
Cons
- Requires additional design work.
- Background selection needs to be handled carefully.
Conclusion
Creating an HD YouTube thumbnail is not simply about choosing the largest possible image size.
A good thumbnail starts with the correct 16:9 aspect ratio, a suitable pixel resolution, a sharp source image, and careful export settings.
For a standard horizontal YouTube video, you can work with dimensions such as 1280 × 720, 1920 × 1080, or 3840 × 2160 pixels, as long as the 16:9 ratio is maintained. YouTube's current guidance recommends 3840 × 2160 pixels for video thumbnails and specifies a minimum width of 640 pixels. YouTube Help — Add custom thumbnails
If your thumbnail still looks blurry after increasing its dimensions, look at the original image first. A low-quality source cannot usually be turned into a genuinely detailed image simply by increasing the canvas size.
For the best results, use a high-quality original image, resize proportionally, keep text readable, avoid excessive compression, and inspect the final exported file before uploading.
The simple formula is:
Correct ratio + suitable resolution + sharp source + good design + careful export = better thumbnail quality.
Final Reminder
Don't chase resolution alone.
A clean 1920 × 1080 thumbnail with a sharp image and readable design can be more useful than a poorly designed 3840 × 2160 thumbnail made from a low-quality source.
Focus on the complete workflow rather than one number.
Call To Action
Want to prepare a sharp, properly sized thumbnail without complicated editing?
Try Image EditPro to resize and prepare your images for your YouTube thumbnail workflow. Start with the correct 16:9 canvas, maintain image proportions, and create a clean thumbnail that is ready for upload.
Create your HD YouTube thumbnail with the right size, resolution, and quality.
1. What is the best resolution for a YouTube thumbnail?
For standard YouTube video thumbnails, YouTube's current guidance recommends 3840 × 2160 pixels and a 16:9 aspect ratio. A 1280 × 720 or 1920 × 1080 canvas also maintains the correct 16:9 shape and can be practical for many workflows.
2. How do I make a YouTube thumbnail HD?
Start with a sharp, high-resolution source image and create a 16:9 canvas. Use suitable dimensions such as 1920 × 1080 or 3840 × 2160, resize images proportionally, keep text readable, and export the final image at appropriate quality.
3. Is 1920 × 1080 good for a YouTube thumbnail?
Yes. 1920 × 1080 uses the 16:9 aspect ratio required for standard horizontal thumbnail design and provides a Full HD working canvas. YouTube's current recommendation for video thumbnails is a higher 3840 × 2160 resolution.
4. Is 1280 × 720 HD for YouTube thumbnails?
1280 × 720 has a 16:9 aspect ratio and is commonly used as an HD working size. However, YouTube's current Help documentation recommends 3840 × 2160 pixels for video thumbnails.
5. Why does my HD YouTube thumbnail look blurry?
A thumbnail can look blurry because the original image is low quality, it has been enlarged too much, excessive compression has been applied, or the design has been exported incorrectly. Increasing the pixel dimensions alone does not guarantee a sharper image.
6. Can I make a low-resolution image into an HD thumbnail?
You can increase its dimensions, but enlarging a low-resolution image does not recreate all the original detail. For the best result, start with the highest-quality original image available.
7. What aspect ratio should an HD YouTube thumbnail use?
A standard horizontal YouTube video thumbnail should use a 16:9 aspect ratio. Examples include 1280 × 720, 1920 × 1080, and 3840 × 2160.
8. Should I use JPG or PNG for a YouTube thumbnail?
Both JPG and PNG are supported for YouTube thumbnails. JPG can work well for photo-heavy designs, while PNG can be useful for graphics, text, and designs where preserving image information is important. Choose the format that gives you the best balance of quality and file size.
9. How can I prevent my YouTube thumbnail from losing quality?
Use a high-quality original image, maintain the 16:9 ratio, avoid unnecessary upscaling, keep the image proportions locked, use readable text, avoid excessive compression, and inspect the final exported file before uploading.
10. Does a 4K thumbnail always look better than a 1080p thumbnail?
Not necessarily. A larger 4K canvas provides more pixels, but the final quality also depends on the source image, design, resizing, and compression. A sharp and well-designed 1920 × 1080 thumbnail can look better than a poorly prepared 3840 × 2160 image.
Ready to optimize your images?
Every tool mentioned in this article is free to use. No upload, no signup, and no watermarks — ever.
Try our free toolsRelated articles
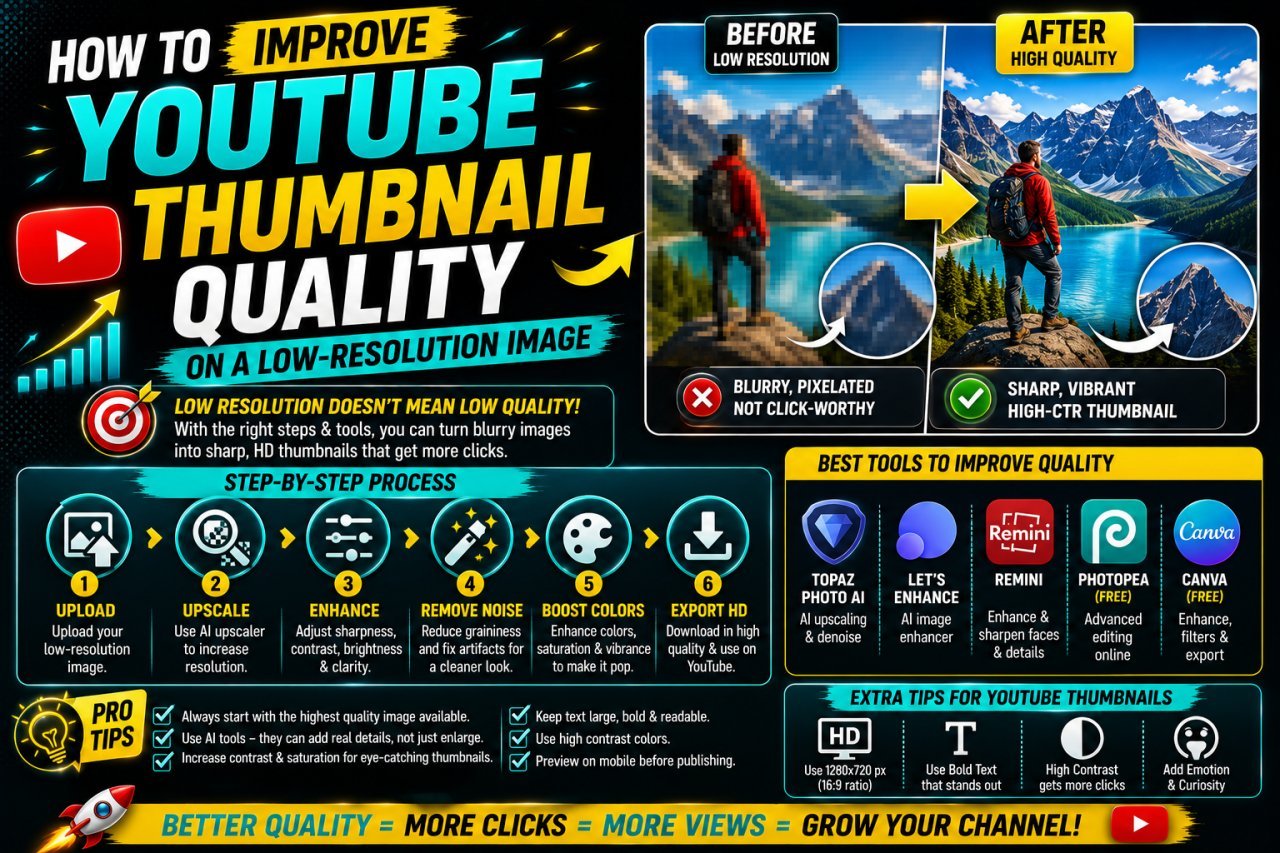
How to Improve YouTube Thumbnail Quality on a Low-Resolution Image
Learn how to improve YouTube thumbnail quality on a low-resolution image using resizing, sharpening, background techniques, compression control, and better export settings.
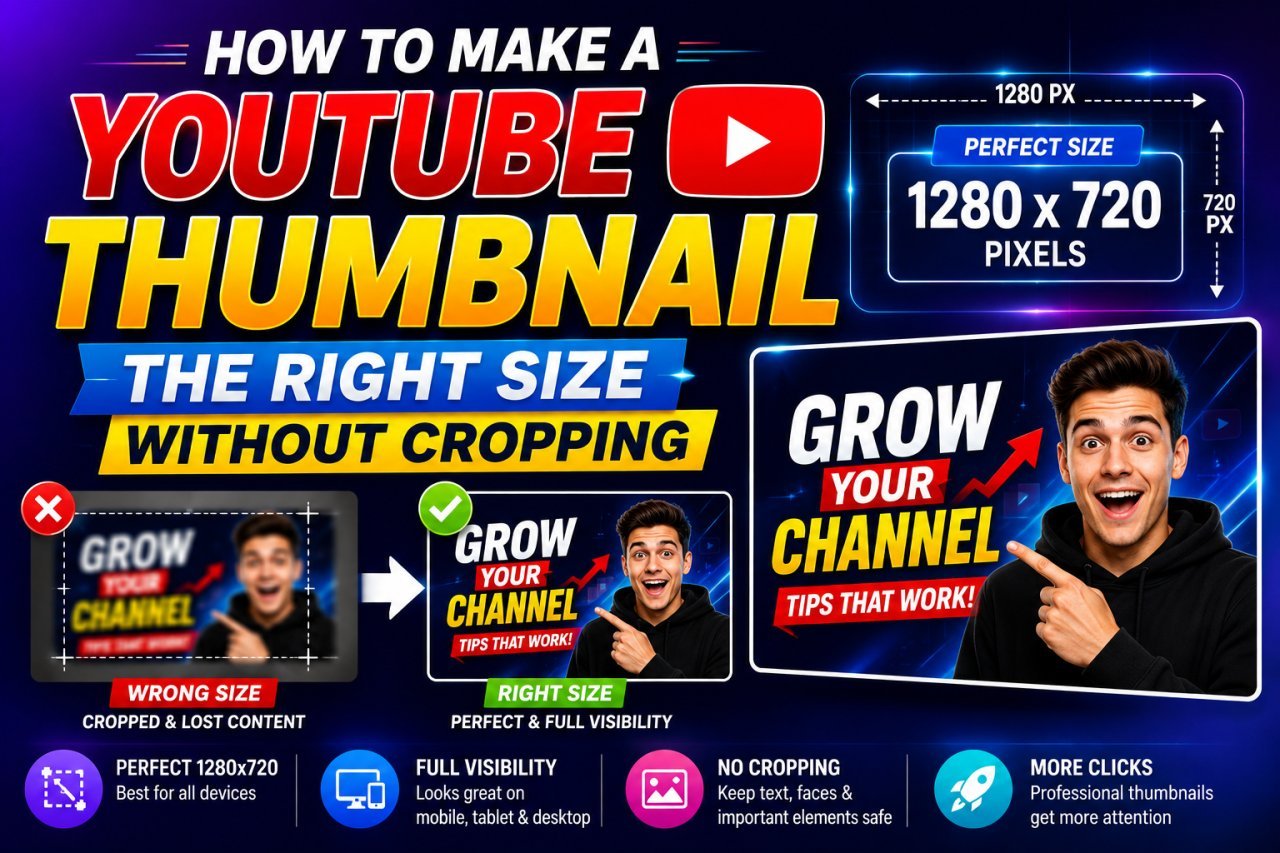
How to Make a YouTube Thumbnail the Right Size Without Cropping
Learn how to make a YouTube thumbnail the right size without cropping. Understand the correct aspect ratio, dimensions, resizing methods, and common mistakes.
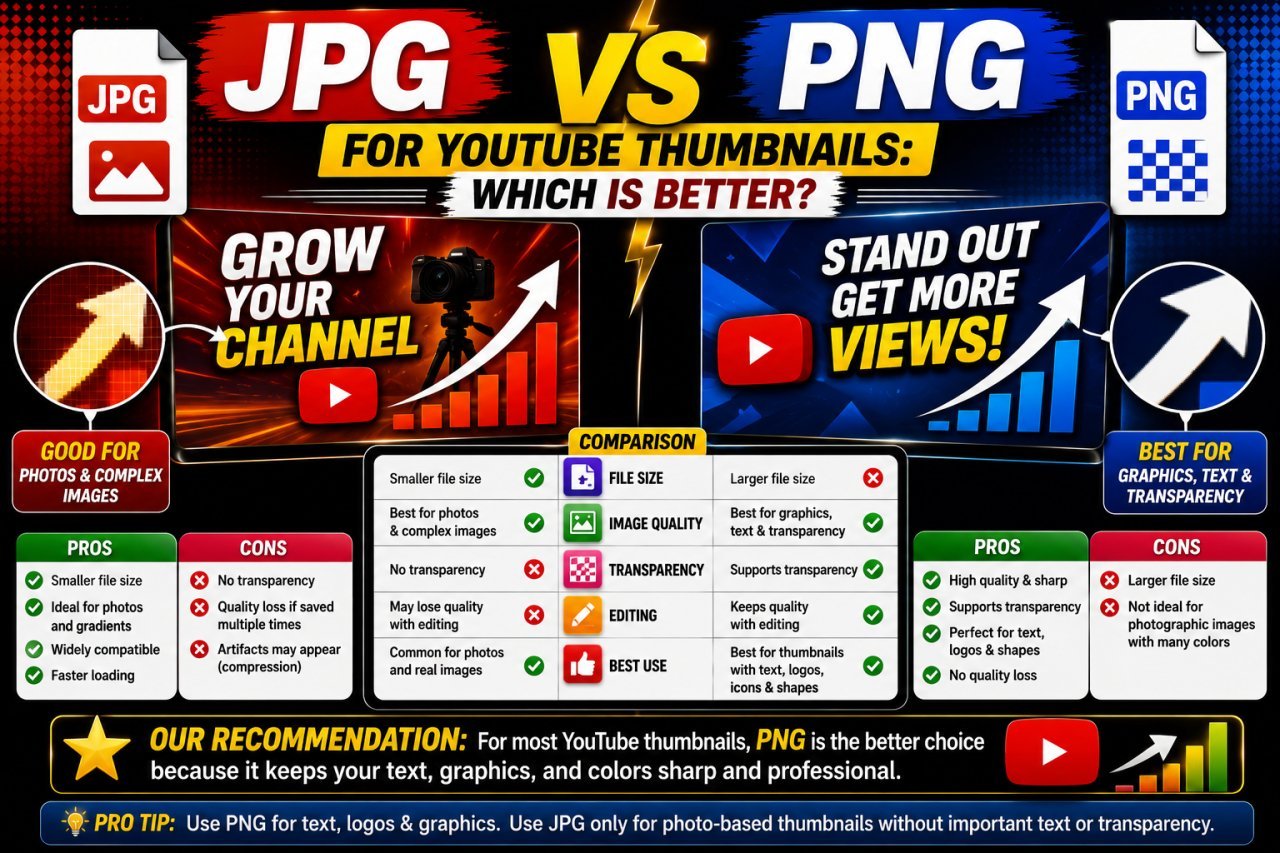
JPG vs PNG for YouTube Thumbnails: Which Is Better?
JPG vs PNG for YouTube thumbnails explained. Learn which format gives better quality, smaller file sizes, sharper text, cleaner graphics, and better results for different thumbnail designs.