
How to Crop a Photo to Any Size Without Losing Quality
Learn how to crop a photo to any size without losing quality. Discover the right dimensions, aspect ratios, resolution tips, and simple cropping techniques.
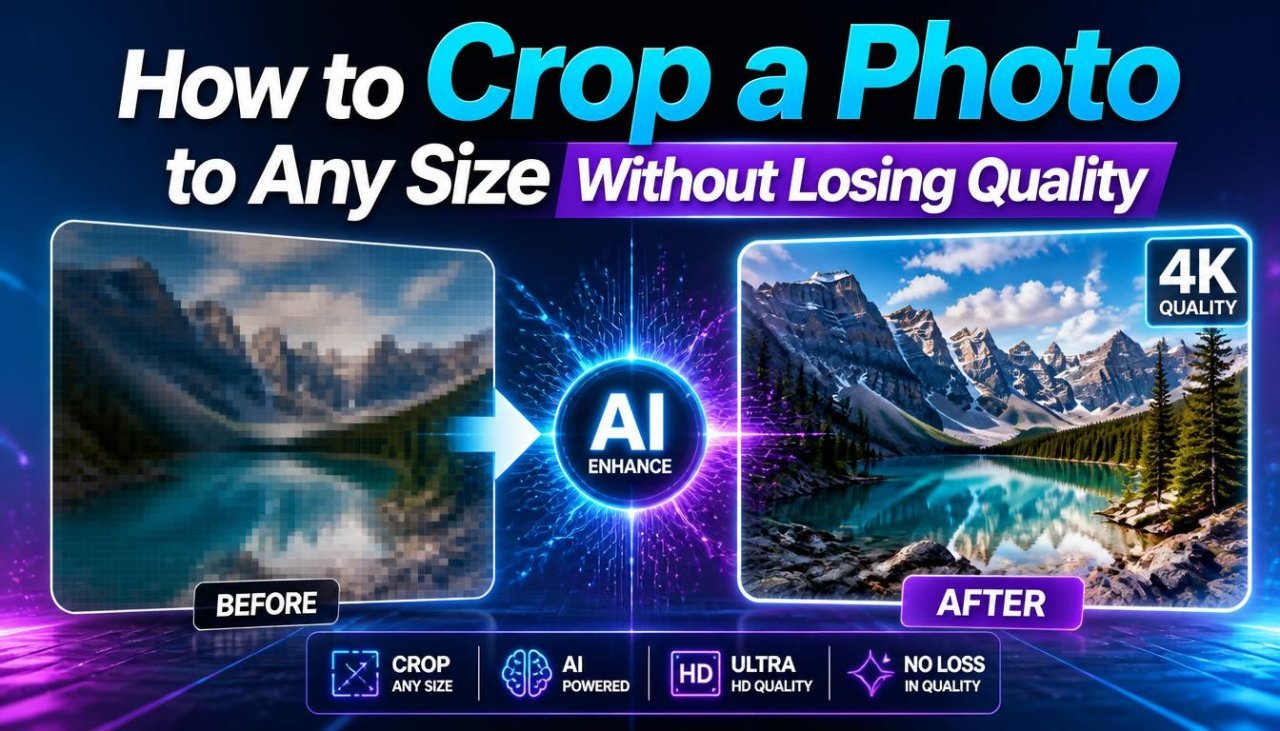
How to Crop a Photo to Any Size Without Losing Quality
Introduction
Knowing how to crop a photo to any size without losing quality is useful when an image needs to fit a specific space but you still want it to look sharp and natural.
You may need a photo at a particular width and height for a website, product listing, social media post, profile image, presentation, advertisement, or printed design. The challenge is that simply entering new dimensions does not always produce a good result.
Cropping and resizing are also two different processes.
Cropping removes part of the image. Resizing changes its dimensions.
When you combine the two correctly, you can prepare an image for a specific size while protecting as much of its original quality as possible.
This guide explains how photo cropping works, what image quality actually depends on, how aspect ratios affect your results, and how to choose the right dimensions before you crop.
-> All Tools
Why This Topic Matters
A photo can look perfect on your computer and then appear soft, pixelated, stretched, or poorly framed after being prepared for another purpose.
This often happens because of one of these problems:
- The image was enlarged too much.
- The wrong aspect ratio was used.
- Too much of the original photo was cropped.
- The original image was already low resolution.
- The image was repeatedly compressed.
- The wrong export settings were used.
- The subject was placed too close to the edge.
- A small image was used when a larger final size was required.
The good news is that cropping itself does not automatically ruin image quality.
The main goal is to crop carefully, preserve useful pixels, and avoid unnecessary enlargement or repeated compression.
What Does Cropping a Photo Mean?
Cropping means removing unwanted portions of an image.
For example, suppose your original photo is:
3000 × 2000 pixels
You might crop it to remove some of the background and create a composition of:
2000 × 2000 pixels
The image has become square because some of the original area was removed.
Cropping can help you:
- Remove distracting areas
- Improve composition
- Focus on the subject
- Match a required aspect ratio
- Prepare an image for a specific layout
- Create a more balanced photograph
However, cropping reduces the number of pixels available in the final image.
That is why the amount and location of the crop matter.
Cropping vs Resizing
These terms are often confused.
Cropping
Cropping removes part of the image.
Example:
3000 × 2000 → 2000 × 2000
Some image content disappears.
Resizing
Resizing changes the dimensions of the image.
Example:
3000 × 2000 → 1500 × 1000
The complete composition can remain visible, but the image becomes smaller.
Cropping and Resizing Together
Sometimes you need both.
For example, you might have a:
4000 × 3000 pixel image
but need a:
1200 × 800 pixel image
You can first crop to the required 3:2 aspect ratio if necessary and then resize to 1200 × 800.
The exact workflow depends on the original aspect ratio and the final requirement.
What Does "Without Losing Quality" Really Mean?
It is important to be realistic.
If you crop an image, you are removing pixels. If you then enlarge the remaining area significantly, some detail may be lost.
So "without losing quality" usually means:
Keep the final image as sharp and detailed as reasonably possible for its intended use.
You cannot guarantee that a tiny image will become a high-resolution photograph simply by changing its dimensions.
For the best result:
- Start with the highest-quality original available.
- Crop only what is necessary.
- Avoid excessive enlargement.
- Preserve the correct aspect ratio.
- Export using appropriate settings.
- Avoid repeatedly saving a compressed image.
Start With the Highest-Quality Original
The quality of your final image is strongly influenced by the source image.
If you have several versions of the same photograph, use the highest-quality original rather than a screenshot, thumbnail, or image downloaded from a messaging app.
For example:
| Source | Usually better choice? |
|---|---|
| Original camera file | Yes |
| High-resolution PNG/JPEG | Yes |
| Website original image | Depends |
| Social media download | Often lower quality |
| Screenshot | Usually no |
| Small thumbnail | No |
Starting with more pixels gives you more flexibility when cropping.
Understand Image Dimensions
Image dimensions are normally expressed as:
Width × Height
For example:
1920 × 1080 pixels
means:
- Width = 1920 pixels
- Height = 1080 pixels
A larger number of pixels generally provides more image information to work with.
However, dimensions alone do not tell you everything about visual quality. Compression, sharpness, focus, lighting, camera quality, and other factors also matter.
What Is an Aspect Ratio?
Aspect ratio describes the relationship between an image's width and height.
Common examples include:
| Dimensions | Approximate aspect ratio | Shape |
|---|---|---|
| 1000 × 1000 | 1:1 | Square |
| 1200 × 800 | 3:2 | Landscape |
| 1600 × 900 | 16:9 | Wide |
| 800 × 1200 | 2:3 | Portrait |
| 1080 × 1350 | 4:5 | Portrait |
| 1200 × 628 | About 1.91:1 | Wide |
Understanding aspect ratio is one of the most important parts of cropping.
If your destination requires a specific ratio, you can crop the image to that ratio before choosing the final pixel dimensions.
Why Aspect Ratio Matters When Cropping
Suppose your original image is:
4000 × 3000 pixels
Its aspect ratio is 4:3.
Now imagine the destination requires a 1:1 square image.
You cannot simply change 4000 × 3000 to 1000 × 1000 without either cropping or distorting the image.
If you want to preserve the original proportions, you need to crop the rectangular image into a square first.
You might crop the image to:
3000 × 3000
and then resize it to:
1000 × 1000
The exact crop position depends on the subject.
How to Choose the Correct Crop Area
The best crop is not always mathematically centered.
Look at the subject first.
Before cropping, identify:
- The main subject
- Faces
- Important objects
- Text
- Product edges
- Horizon lines
- Natural empty space
- Areas that can safely be removed
Keep important content away from the crop boundary whenever possible.
Example
If a person is standing on the right side of a landscape photograph, automatically centering the crop could cut them out.
Instead, position the crop around the person while maintaining the required aspect ratio.
Crop Around the Subject, Not Just the Numbers
Exact dimensions are important, but composition matters too.
Imagine you need a square image of a person.
A simple crop might place the person's face directly against the top edge.
A better crop may leave a small amount of space above the head.
Similarly, when cropping a product, avoid cutting through an important part of the product unless the design specifically calls for it.
How to Crop a Photo to an Exact Size
If you need a specific final dimension, such as:
1200 × 1200 pixels
a useful workflow is:
- Open the original photo.
- Check its current dimensions.
- Determine the required aspect ratio.
- Set the crop tool to that ratio.
- Position the crop around the important content.
- Apply the crop.
- Resize the resulting image to the exact pixel dimensions if necessary.
- Check the final image.
- Export using suitable quality settings.
This separates the composition decision from the final output size.
Why Cropping First Can Be Better Than Resizing First
Suppose you have a large 4000 × 3000 image and need a 1000 × 1000 square image.
If you resize the entire photo to 1000 × 750 first, you have already reduced the image.
You then need to crop it to 1000 × 750 or another suitable area, but you may have less flexibility.
A better workflow can be:
Original → Crop to correct aspect ratio → Resize to final dimensions
This allows you to make the composition decision while you still have the original image's full resolution.
When You Need an Exact Width and Height
Some platforms, designs, or templates may require exact dimensions.
For example:
- 800 × 800 pixels
- 1200 × 1200 pixels
- 1200 × 628 pixels
- 1920 × 1080 pixels
When exact dimensions matter, check whether the requirement refers to:
- Pixel dimensions
- Aspect ratio
- File size
- Resolution
- Orientation
These are not the same thing.
Pixel Dimensions vs File Size
A common misunderstanding is thinking that a larger file size automatically means better image quality.
It does not.
A photo may have large pixel dimensions but be heavily compressed.
Likewise, a smaller JPEG can still look perfectly good for a particular web use.
For example:
Image dimensions: 1600 × 1000 pixels
and
File size: 500 KB
are two different measurements.
Pixel dimensions describe the image's width and height.
File size describes how much storage the file uses.
How to Avoid Unnecessary Quality Loss
There are several practical habits that help.
Use the Original Image
Do not start with a small preview if a larger original is available.
Crop Only What You Need
Every crop removes part of the original composition.
Avoid Extreme Enlargement
If you crop away most of the image and then enlarge the remaining section substantially, the result may become soft.
Keep the Correct Aspect Ratio
This prevents distortion.
Avoid Repeated JPEG Saves
Repeatedly opening and exporting JPEG files can introduce additional compression.
When possible, do your edits in one workflow and export the final version once.
Inspect the Final Image
Check the result at 100% zoom when practical.
Look for:
- Soft details
- Jagged edges
- Compression artifacts
- Unwanted cropping
- Distortion
- Poor framing
Beginner-Friendly Cropping Workflow
If you are new to image editing, start with this simple process:
Step 1: Find the original photo.
Step 2: Check its dimensions.
Step 3: Decide the final size.
Step 4: Calculate or identify the required aspect ratio.
Step 5: Select the crop ratio.
Step 6: Position the crop around the important part of the photo.
Step 7: Crop the image.
Step 8: Resize to the final pixel dimensions if needed.
Step 9: Check the result.
Step 10: Export a new copy.
Keep the original file untouched.
Example: Crop a Photo to 1000 × 1000
Imagine your original image is:
3000 × 2000 pixels
You need:
1000 × 1000 pixels
Because the final image is square, first select a 1:1 crop.
Since the original image is wider than the required square shape, some of the left and right areas will be removed.
After selecting the important area, crop to a square and resize the result to:
1000 × 1000 pixels
This preserves the intended composition better than simply stretching the original image into a square.
Example: Crop a Photo to 1200 × 800
Suppose the original image is:
4000 × 3000 pixels
The target is:
1200 × 800 pixels
The target ratio is:
3:2
The original ratio is:
4:3
Therefore, some of the original image must be removed to create the 3:2 composition.
After choosing the crop area, resize the result to exactly:
1200 × 800 pixels
Example: Crop a Portrait to 1080 × 1350
The target ratio is:
4:5
If the original portrait is wider or narrower than this ratio, adjust the crop area while keeping the person's important features visible.
Pay particular attention to:
- Headroom
- Shoulders
- Face position
- Hands
- Clothing
- Background distractions
Then resize the cropped image to:
1080 × 1350 pixels
The Most Important Rule
If you want the best possible result, remember:
Crop for composition first. Resize for final dimensions second.
This simple distinction helps prevent many common image-quality problems.
Quick Quality Checklist
Before exporting your cropped photo, ask:
- Is the original file high quality?
- Did I use the correct aspect ratio?
- Did I crop out anything important?
- Is the subject positioned well?
- Did I avoid stretching the image?
- Did I resize only after choosing the crop?
- Is the final dimension correct?
- Does the image look sharp at its intended viewing size?
- Did I save the original separately?
If the answer to these questions is yes, your image is much more likely to look clean and professional.
Final Advice for Part 1
Cropping a photo to a specific size does not have to mean sacrificing quality.
The key is to understand the difference between cropping, resizing, dimensions, and aspect ratio.
Start with the best original image you have. Decide what final dimensions you need, select the appropriate aspect ratio, crop around the important content, and then resize the cropped image to the exact output size.
Most importantly, do not stretch the image to force it into a new shape.
A good workflow is:
Original Photo → Correct Aspect Ratio → Careful Crop → Exact Dimensions → Quality Check → Export
This approach gives you much more control over the final result.
How to Crop a Photo to Any Size Without Losing Quality: Advanced Tips and Best Practices
How to Crop a Photo Without Sacrificing Detail
The biggest mistake people make when cropping a photo is focusing only on the final dimensions.
For example, someone may need an image that is 800 × 800 pixels and immediately type those numbers into an editor.
But the more important question is:
What part of the original photo should remain?
Once the composition is correct, you can prepare the image for the exact output size.
A good cropping workflow protects three things:
- The subject
- The original proportions
- Enough resolution for the final use
Understand the Difference Between Crop Ratio and Output Size
These two settings often appear together, but they serve different purposes.
Crop Ratio
The crop ratio determines the shape of the selected area.
Examples:
- 1:1
- 4:5
- 3:2
- 16:9
Output Size
The output size determines the final pixel dimensions.
Examples:
- 500 × 500
- 1080 × 1080
- 1200 × 800
- 1920 × 1080
For example:
Crop ratio: 1:1
Output size: 1200 × 1200 pixels
The first controls the shape. The second controls the final dimensions.
Comparison: Common Cropping Methods
| Method | Keeps original composition? | Risk of distortion | Best use |
|---|---|---|---|
| Freehand crop | Depends | Low | Creative editing |
| Fixed aspect ratio crop | Usually | Low | Social media and web |
| Exact-size crop | Depends | Low | Specific templates |
| Crop + resize | Yes, if done correctly | Low | Most general uses |
| Stretch to exact size | Yes, technically | High | Usually avoid |
For most situations, crop + resize is a practical approach.
How to Choose the Best Crop Area
When an image contains a clear subject, use the subject as your guide.
For People
Try to avoid cutting through:
- The top of the head
- Important facial features
- Hands
- Feet when they are relevant
- Joints in awkward places
You should also consider where the person is looking.
If someone is looking toward the left side of the image, leaving some space in that direction can create a more natural composition.
For Products
Keep the complete product visible unless the purpose is a deliberate close-up.
Check:
- Product edges
- Labels
- Logos
- Buttons
- Packaging
- Important accessories
Avoid accidentally cutting away a feature that helps identify the product.
For Landscapes
Look at:
- Horizon lines
- Buildings
- Mountains
- Trees
- People
- Other important objects
A crop should not remove the main visual reason the photograph was taken.
Use the Rule of Thirds When Appropriate
A useful composition principle is the rule of thirds.
Imagine the image divided into nine sections using two horizontal and two vertical lines.
Placing the main subject near one of the intersections can sometimes create a balanced composition.
It is not a requirement, but it can help when deciding where to position the crop.
The most important point is to make the crop serve the photograph rather than blindly centering everything.
Leave Breathing Room
Do not automatically crop as tightly as possible.
A little space around the subject can make the final image feel more comfortable.
This is especially useful for:
- Portraits
- Product photos
- Profile pictures
- Website banners
- Marketing graphics
If the subject is already close to the edge of the original photo, be especially careful.
How to Crop for Different Aspect Ratios
1:1 Square
Useful for:
- Square profile images
- Product layouts
- Social media graphics
- Image grids
Example:
1000 × 1000
4:5 Portrait
Useful for certain portrait-oriented layouts.
Example:
1080 × 1350
When using this ratio, make sure the subject has enough vertical space.
3:2 Landscape
A common photographic ratio.
Example:
1200 × 800
This can work well for general landscape photography.
16:9 Wide
Useful for:
- Website banners
- Video thumbnails
- Presentation graphics
- Wide digital layouts
Example:
1920 × 1080
The wide crop can remove significant vertical content from a portrait-oriented original.
What Happens When You Crop Too Much?
Suppose you start with a 4000 × 3000 image.
You crop away most of the photograph and keep a small section containing the subject.
The remaining image may contain far fewer pixels.
If you then enlarge that small area to a large final size, details may become less sharp.
You may notice:
- Soft edges
- Reduced fine detail
- Visible pixelation
- Loss of texture
- Increased noise
This is why starting with a high-resolution original is so useful.
How Resolution Affects Cropping
Resolution and pixel dimensions are related but should not be treated as exactly the same thing.
For digital images, the number of pixels available determines how much detail can potentially be retained.
For example:
4000 × 3000 = 12 million pixels
while:
1000 × 750 = 750,000 pixels
The larger image provides substantially more pixels to work with.
If you crop a large image carefully, you have more flexibility than if you begin with a small image.
Do Not Upscale More Than Necessary
Upscaling means increasing the pixel dimensions of an image.
For example:
800 × 800 → 2400 × 2400
The image is now three times wider and three times taller in pixel dimensions.
That does not mean the original photograph suddenly contains three times more real detail.
Modern image-processing tools may improve enlarged images, but enlargement cannot reliably recreate every detail that was never captured in the original.
Therefore:
Start large whenever possible.
Best Workflow for Quality
A practical workflow is:
Step 1: Find the Best Original
Use the highest-resolution source available.
Step 2: Determine the Final Requirement
Know whether you need:
- Exact dimensions
- Specific aspect ratio
- Minimum resolution
- Maximum file size
Step 3: Choose the Crop Ratio
Set the crop tool to match the target shape.
Step 4: Compose the Crop
Move the crop area around the subject.
Step 5: Apply the Crop
Remove only the areas you do not need.
Step 6: Resize
Resize the cropped image to the final dimensions.
Step 7: Export
Use a suitable file format and quality setting.
Step 8: Review
Open the final file independently and inspect it.
PNG vs JPG for Cropped Photos
The best format depends on the image and where you will use it.
JPG
JPG is commonly used for photographs.
Advantages include:
- Usually smaller file sizes
- Broad compatibility
- Good for photographic images
- Useful for many websites
The trade-off is lossy compression.
PNG
PNG can be useful for:
- Graphics
- Images with text
- Logos
- Images requiring lossless compression
- Situations where transparency is needed
For an ordinary photograph that does not require transparency, JPG may often be more practical.
| Feature | JPG | PNG |
|---|---|---|
| Photographs | Excellent | Good |
| Transparency | No | Yes |
| Lossy compression | Yes | No |
| Typical file size | Smaller | Often larger |
| Graphics/text | Good | Excellent |
| Web compatibility | Very broad | Very broad |
The correct choice depends on the destination and the type of image.
How to Avoid Quality Loss During Export
Even a well-cropped photo can look worse after export if the settings are inappropriate.
When exporting:
- Use the correct dimensions.
- Avoid unnecessarily low quality.
- Choose the appropriate file format.
- Avoid repeatedly saving the same JPEG.
- Keep a high-quality original.
- Review the exported file.
If the image is being prepared for professional printing, follow the printer's specifications rather than relying on generic web settings.
Common Mistakes
Mistake 1: Starting With a Screenshot
A screenshot may have fewer pixels than the original image.
Better approach: Find the original file whenever possible.
Mistake 2: Cropping Before Checking the Requirement
You may crop the image to the wrong ratio and have to repeat the work.
Better approach: Determine the target aspect ratio first.
Mistake 3: Using Freehand Crop for an Exact Requirement
A freehand crop may not produce the exact ratio you need.
Better approach: Use a fixed aspect ratio when the destination requires one.
Mistake 4: Stretching Instead of Cropping
Changing a 4:3 image directly into 1:1 can distort the subject.
Better approach: Crop to 1:1 while preserving proportions.
Mistake 5: Cropping Too Close to the Subject
A tight crop can make the final image uncomfortable or remove important details.
Better approach: Leave appropriate breathing room.
Mistake 6: Enlarging a Small Crop
A small remaining area cannot always produce a large, detailed final image.
Better approach: Start with a high-resolution original and avoid excessive cropping.
Mistake 7: Repeatedly Exporting JPEG Files
Each lossy export can potentially introduce additional compression artifacts.
Better approach: Keep an editable or high-quality source and make the final export once.
Mistake 8: Ignoring the Final Viewing Context
An image that looks good at full size may look different in a small thumbnail.
Better approach: Check the image at the size and context where people will actually see it.
Practical Example: Product Photo
Imagine you have a product photo measuring:
4000 × 3000 pixels
You need a final image of:
1200 × 1200 pixels
Recommended Workflow
- Start with the 4000 × 3000 original.
- Set the crop ratio to 1:1.
- Position the crop around the entire product.
- Make sure the product is not touching the edges.
- Crop the image to a square.
- Resize the result to 1200 × 1200.
- Check the product edges and label.
- Export the final copy.
This is better than stretching the 4000 × 3000 image directly to 1200 × 1200.
Practical Example: Portrait Photo
Suppose you have a:
3000 × 4000 pixel portrait
You need:
1080 × 1350 pixels
The target ratio is 4:5.
Workflow
- Select a 4:5 crop.
- Position the crop around the person's face and body.
- Leave appropriate space above the head.
- Avoid cutting through important features.
- Apply the crop.
- Resize to 1080 × 1350.
- Inspect the image.
- Export.
The original 3:4 portrait is converted into the required 4:5 composition by removing only the necessary areas.
Practical Example: Website Banner
Suppose you have:
3000 × 2000 pixels
but your website banner needs a wide format.
Instead of shrinking the entire image until it becomes extremely short, choose the required aspect ratio first.
For a 16:9 output:
- Select a 16:9 crop.
- Position the crop around the important subject.
- Keep text-free areas if the website will place text over the image.
- Crop.
- Resize to the required banner dimensions.
- Check the final result on both desktop and mobile layouts.
This is particularly important for banners because responsive websites may display different portions of a wide image on smaller screens.
Pros and Cons of Cropping to an Exact Size
Pros
- Produces predictable dimensions
- Helps meet platform requirements
- Improves composition
- Removes distracting areas
- Makes image collections more consistent
- Can focus attention on the subject
Cons
- Removes part of the original photograph
- Aggressive crops can reduce available detail
- Different aspect ratios may require different versions
- A poor crop can damage composition
- Enlarging heavily cropped areas can reveal softness
The key is to balance the technical requirement with the visual quality of the photograph.
Best Practices for Different Types of Photos
| Photo type | Best cropping approach |
|---|---|
| Portrait | Protect face and important body areas |
| Product | Keep product edges and identifying details |
| Landscape | Protect major scenery and horizon |
| Food | Keep the main dish prominent |
| Architecture | Watch straight lines and important structures |
| Pet | Keep face and body comfortably framed |
| Group photo | Make sure people near the edges remain visible |
| Website banner | Leave useful space for text if required |
How to Make Multiple Photos the Same Size
If you have many images that need identical dimensions, consistency becomes important.
For example, an online catalog may require:
1200 × 1200 pixels
for every product.
Use the same workflow for each image:
- Check the original.
- Select the same target ratio.
- Position the crop around the subject.
- Crop.
- Resize to the same final dimensions.
- Export using consistent settings.
Do not automatically use the exact same crop position for every photo.
The subject may be positioned differently in each original image.
The dimensions should be consistent; the composition can be adjusted individually.
Quality Check Before Publishing
After cropping and exporting, inspect the final file.
Check the Dimensions
Confirm that the file has the intended width and height.
Check Sharpness
Look for softness around important details.
Check Composition
Make sure the subject is not awkwardly positioned.
Check Edges
Look for accidental cropping of:
- Faces
- Product labels
- Text
- Hands
- Feet
- Important objects
Check File Format
Make sure the final format is compatible with the destination.
Check File Size
For websites, excessively large files can be inconvenient. But do not reduce quality unnecessarily just to make a tiny file.
A Simple Decision Tree
Use this quick guide:
Do you need a specific shape?
→ Yes: determine the aspect ratio.
Do you need exact pixel dimensions?
→ Yes: crop to the correct ratio, then resize.
Do you need the entire photograph?
→ Yes: consider expanding the canvas instead of cropping.
Is the final image much larger than the cropped area?
→ Yes: reconsider the crop or use a higher-resolution original.
Does the image look distorted?
→ Check whether the original proportions were preserved.
Does the image look soft?
→ Check the source resolution and how much you cropped or enlarged it.
Actionable Advice
If you regularly prepare images for websites or online publishing, create a simple image-preparation workflow.
Keep:
- A high-quality original
- An editable working copy when possible
- A final web version
- A clear file naming system
For example:
product-original.jpg
product-square-1200.jpg
product-banner-1920.jpg
Rotate Image Online — Free, Private, In Your Browser
This prevents you from repeatedly editing the same compressed file.
Final Advice for Part 2
The safest way to crop a photo to any size without losing quality is not to focus only on the final numbers.
Start with a high-quality original, determine the required aspect ratio, compose the crop around the important content, and then resize the cropped image to the final dimensions.
Avoid stretching, excessive cropping, unnecessary enlargement, and repeated compression.
A reliable workflow is:
High-Quality Original → Target Ratio → Composition → Crop → Resize → Export → Quality Check
This approach gives you control over both the technical dimensions and the visual result.
Conclusion
Learning how to crop a photo to any size without losing quality is mainly about using the right workflow rather than relying on a single editing setting.
Start with the highest-quality original image available. Before cropping, identify the required dimensions and aspect ratio. Then choose the crop area carefully so important parts of the photo remain visible.
Once the composition is correct, resize the cropped image to the required pixel dimensions.
The most important distinction is between cropping and resizing. Cropping removes part of the image, while resizing changes its dimensions. When you need a specific shape and size, using both in the correct order can produce a cleaner result.
You should also avoid stretching an image to force it into a different shape. Stretching can distort people, products, buildings, and other objects.
For the best possible result:
Use a high-quality original → choose the correct aspect ratio → crop carefully → resize to the required dimensions → export once → check the final image.
There is no editing method that can guarantee unlimited quality from a very small or heavily compressed source. However, careful cropping and sensible resizing can help preserve as much of the available image quality as possible.
If the entire photograph needs to remain visible, remember that cropping may not be the right solution. In that situation, expanding the canvas can be a better option.
Key Takeaways
- Crop a photo to the required aspect ratio before resizing it to exact dimensions.
- Start with the highest-quality original image available.
- Cropping removes parts of an image.
- Resizing changes the image dimensions.
- Do not stretch a photo to force it into a new shape.
- Use fixed aspect ratios when a specific shape is required.
- Keep faces, products, text, and important objects away from the crop boundary.
- Avoid excessive cropping followed by significant enlargement.
- Check the final pixel dimensions before exporting.
- Avoid repeatedly saving and compressing the same JPEG.
- Use the appropriate image format for the final purpose.
- Keep the original file separate from your edited copy.
- If the complete image must remain visible, consider expanding the canvas instead of cropping.
- Always inspect the final exported image before publishing.
Call to Action
Need to prepare a photo for a specific size?
Start with the original image, choose the required aspect ratio, position the crop around the important content, and resize the result to the exact dimensions you need.
Crop carefully, resize sensibly, and keep your original file safe.
That simple workflow can help you create images that look sharp, balanced, and suitable for their intended use.
Frequently Asked Questions
1. How can I crop a photo to any size without losing quality?
Start with the highest-quality original available. Choose the required aspect ratio, crop the image around the important content, and then resize the cropped image to the final dimensions. Avoid excessive cropping, stretching, and unnecessary enlargement.
2. Does cropping a photo reduce its quality?
Cropping removes pixels from the image, but cropping itself does not necessarily make the remaining pixels blurry. Quality can become a concern when a small cropped area is enlarged significantly or when the original image is already low resolution.
3. Should I crop or resize a photo first?
If you need a different aspect ratio, it is generally useful to crop to the correct ratio first and resize to the final pixel dimensions afterward. This gives you more control over the composition while working with the original resolution.
4. How do I crop a photo to an exact size?
First determine the required width and height. Calculate or select the corresponding aspect ratio, crop the photo to that ratio, and then resize the cropped image to the exact pixel dimensions.
5. What is the best image size for cropping?
There is no single best size for every situation. Use the largest suitable original available and determine the final dimensions based on where the image will be used.
6. How do I crop a photo without making it blurry?
Start with a high-resolution original, avoid cropping away most of the image, and do not enlarge the remaining area excessively. Export the final image using appropriate quality settings.
7. What is the difference between cropping and resizing?
Cropping removes part of an image, while resizing changes the width and height of the image. Cropping changes the composition; resizing changes the pixel dimensions.
8. Can I crop a photo to 1000 × 1000 pixels?
Yes. A 1000 × 1000 image is square and has a 1:1 aspect ratio. Select a square crop, position it around the important content, crop the image, and resize the result to 1000 × 1000 pixels.
9. What happens if I crop too much of a photo?
Cropping too much reduces the number of pixels available in the remaining image. If the small cropped area is then enlarged significantly, the final result may appear soft or pixelated.
10. Can I crop a photo without losing any part of it?
Not if you are changing the aspect ratio by cropping. Cropping removes image content. If you need a different overall shape while keeping the entire photograph visible, consider expanding the canvas and adding space around the image instead.
Ready to optimize your images?
Every tool mentioned in this article is free to use. No upload, no signup, and no watermarks — ever.
Try our free toolsRelated articles
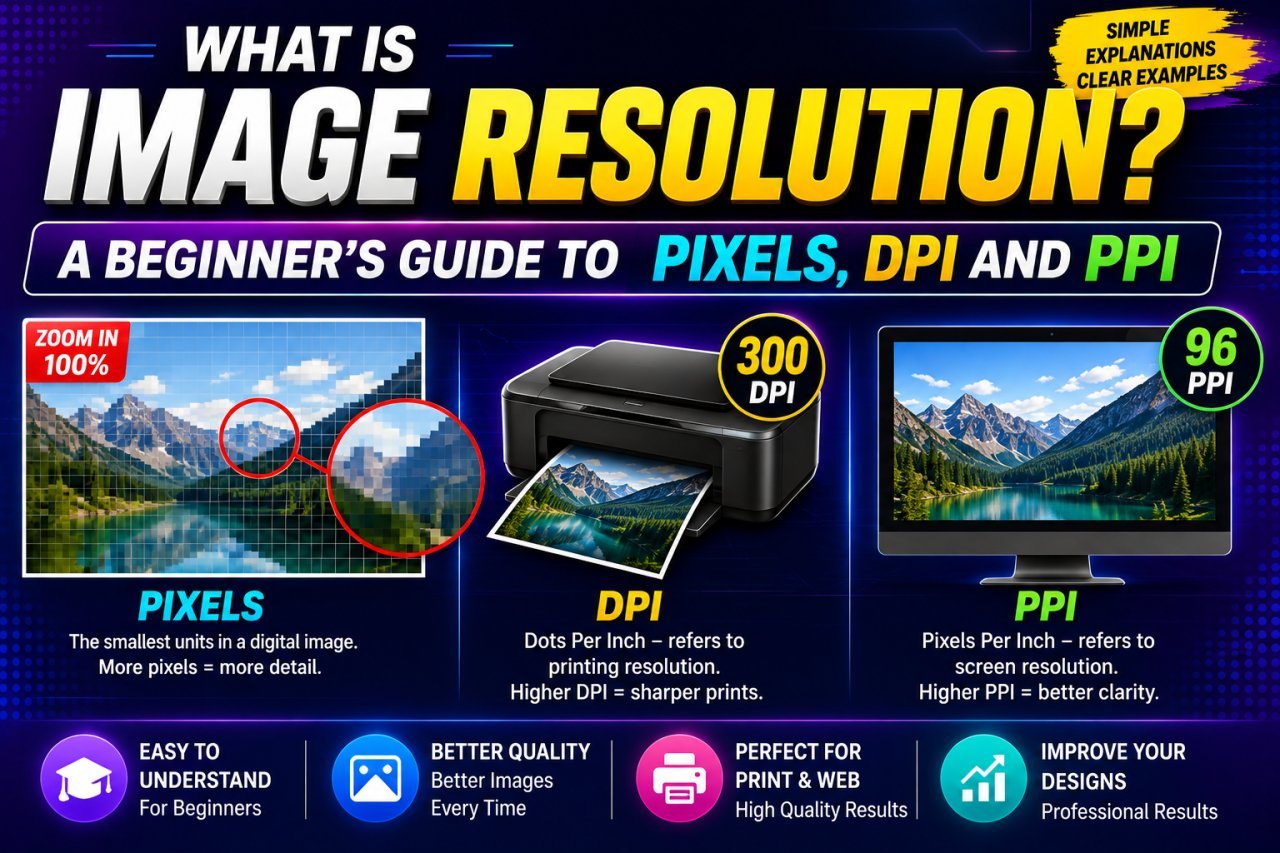
What Is Image Resolution? A Beginner’s Guide to Pixels, DPI and PPI
Learn what image resolution means, how pixels work, and the difference between DPI and PPI. A simple beginner’s guide with practical examples.
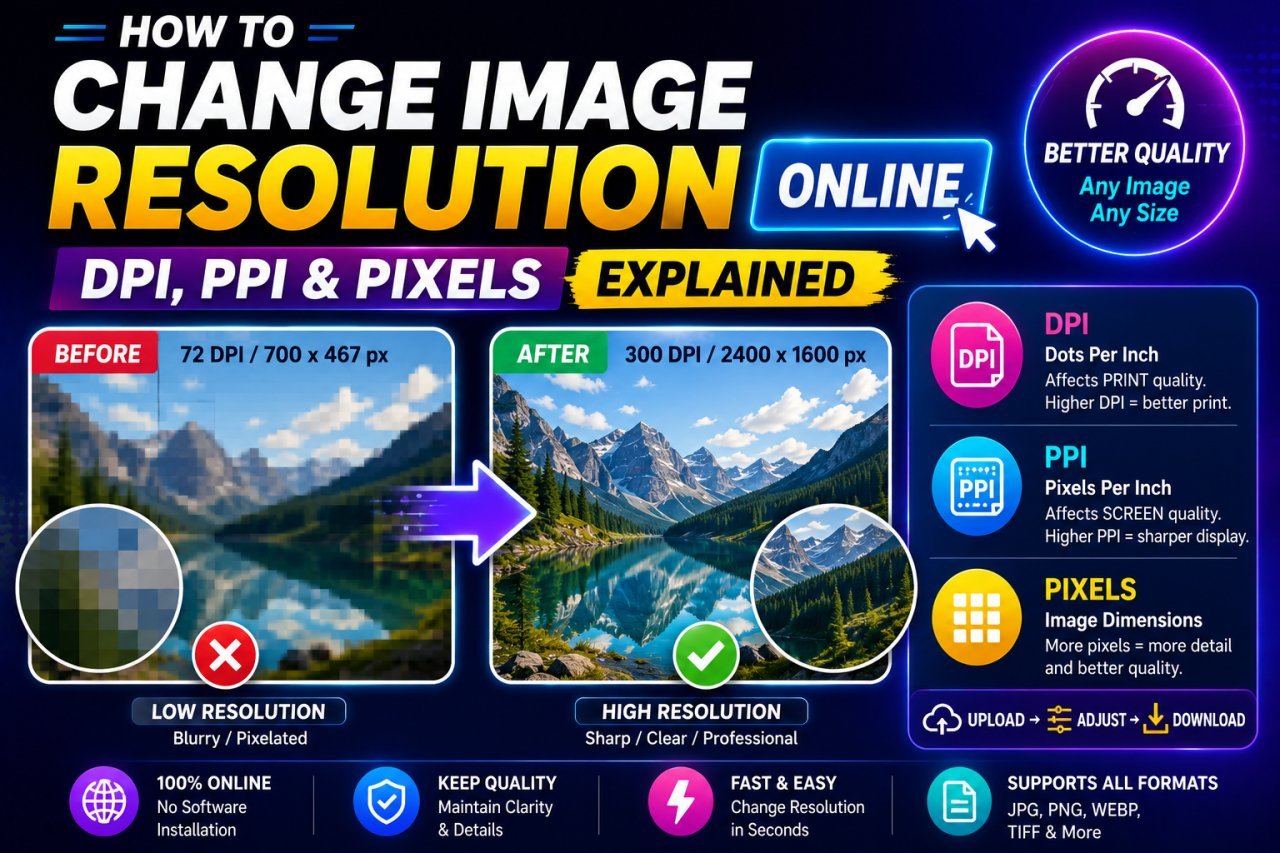
How to Change Image Resolution Online: DPI, PPI & Pixels Explained
Learn how to change image resolution online and understand DPI, PPI, and pixels. Discover the difference between digital image size and print resolution.
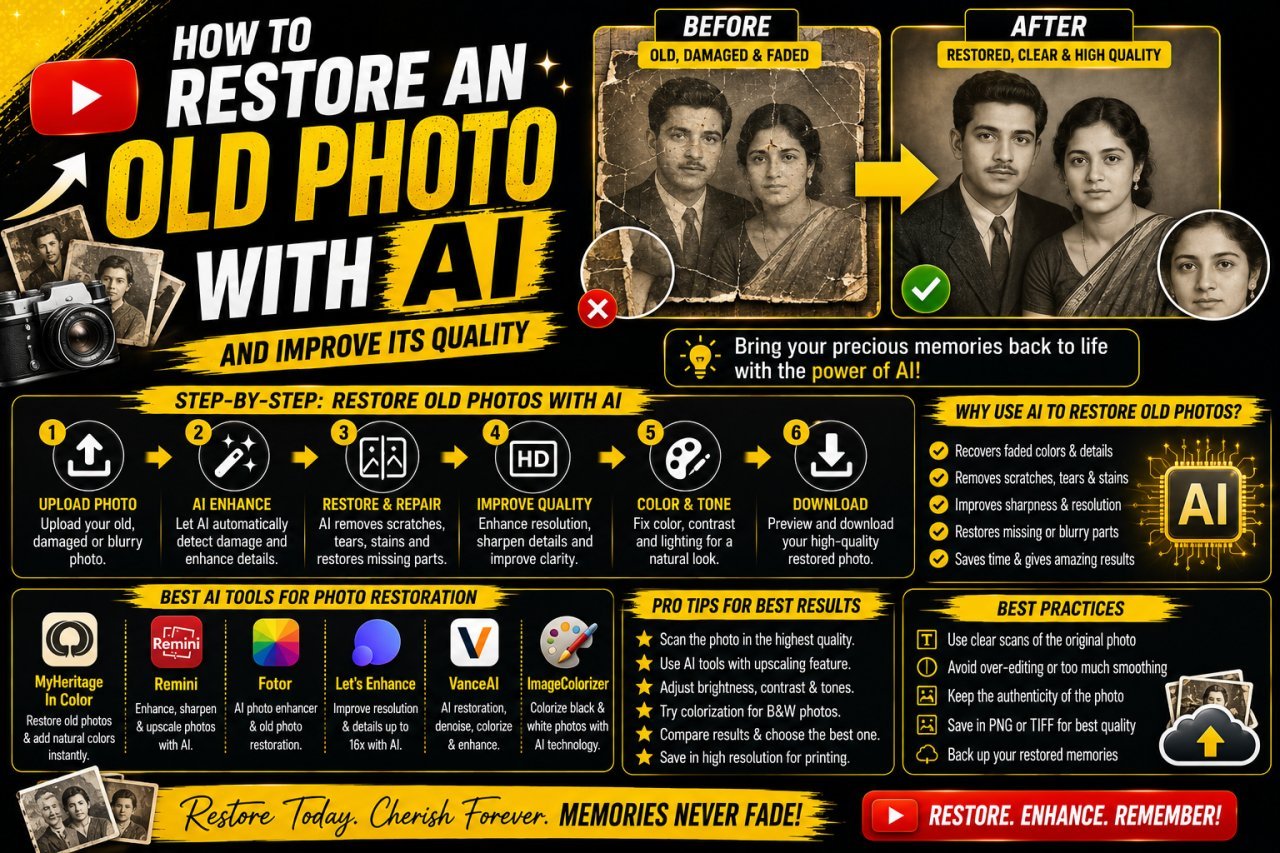
How to Restore an Old Photo With AI: Complete Beginner's Guide
Learn how to restore an old photo with AI by repairing damage, improving clarity, reducing noise, and bringing faded photographs back to life with simple techniques.