How to Resize Images Without Losing Quality (The Real Guide)
Resizing seems trivial but most tools make it look worse than it should. Here's how to keep images crisp regardless of which direction you're going.
You'd think resizing an image would be a solved problem. Drop it in, set new dimensions, save. But the difference between a good resize and a bad one is significant — and most casual tools default to mediocre.
Here's what actually matters when resizing, whether you're going smaller or larger.
The fundamental rule: down is easier than up
Downscaling (making a 4000×3000 image into 800×600) is almost always clean. You're discarding pixels intelligently; the result usually looks sharper than the original at the new viewing size.
Upscaling (making a 400×300 image into 1600×1200) is hard. You're inventing pixels that weren't there. Even AI upscalers — discussed in our upscaling guide — have limits.
If you have a choice, always start with a larger image and downsize as needed.
Resampling algorithms: why they matter
When software resizes an image, it has to decide what colour each new pixel should be. Different algorithms make different tradeoffs:
| Algorithm | Speed | Quality | Best for |
|---|---|---|---|
| Nearest Neighbour | Fastest | Worst (jagged) | Pixel art, retro graphics |
| Bilinear | Fast | OK (soft) | Real-time previews |
| Bicubic | Medium | Good (slight soft) | General downsizing |
| Lanczos | Slow | Sharpest | Quality downsizing |
| AI super-resolution | Slowest | Best (esp. upscaling) | Recovering detail |
For most situations, Bicubic or Lanczos strikes the right balance. Tools that default to Nearest Neighbour (some basic editors) make your photos look terrible — avoid them.
Our free Image Resize uses high-quality canvas resampling (browser's bicubic equivalent) — produces output close to Photoshop's Bicubic Sharper.
Step-by-step: a downsize that keeps quality
- Start with the original. Don't resize an already-resized image — quality compounds badly.
- Decide your target dimensions. Match the actual display size (e.g. if your website shows photos at 800px wide, resize to 800px, not 1600px "just in case").
- Maintain aspect ratio. Unless you're cropping intentionally, don't stretch — it distorts the subject.
- Use a good resampler. Bicubic or Lanczos.
- Sharpen slightly after resize. Downsampling softens images by 5-15%. A subtle sharpening pass restores apparent sharpness without artefacts.
For step-by-step in our free Resize tool:
- Drop image → set new width or height (other auto-fills if Lock Ratio is on) → preview → download
- Output is in the same format as input (JPG stays JPG, etc.)
When to crop vs resize
These are different operations:
- Resize: scale the whole image proportionally
- Crop: remove parts of the image to change aspect ratio or framing
Common confusion: "I need this 1080×1080 from a 4032×3024 photo." You can't get there with resize alone — the aspect ratio is wrong. You need to crop first, then resize:
- Crop to 3024×3024 (centred or repositioned, your choice)
- Resize to 1080×1080
Our Crop tool has aspect-ratio presets for Instagram (1:1), stories (9:16), thumbnails (16:9), etc. Crop first, then resize for clean output.
Format matters during resize
When you resize, the output format affects final quality:
- PNG out → PNG in: lossless, no quality loss from the format step, file size large
- JPG out → JPG in: each save introduces JPG compression artefacts. If you keep editing and re-saving, quality degrades. Set quality to 85+ to minimise damage.
- PNG in → JPG out: good for photos (smaller files), bad for graphics with sharp edges
- JPG in → WEBP out: great combination — WEBP at quality 80 typically beats JPG at quality 85 with smaller file size
For most web use, JPG to WEBP or PNG to WEBP conversion combined with resize gives the best quality-per-byte ratio.
Common resize mistakes
- Resizing tiny images to "make them bigger" — interpolation can't invent detail. Use AI upscaling instead.
- Stretching to fit instead of cropping — distorts subjects. Use Crop tool first.
- Saving JPG at quality 50 after resize — compounds quality loss. Use 85+ for general work.
- Resizing multiple times in one session — each pass loses information. Resize once from the original.
- Forgetting to set explicit dimensions on the webpage — even a perfectly resized image causes layout shift if HTML doesn't specify width/height.
Bulk resize workflow
Got 50 photos all needing the same size? Sequential one-by-one resize is tedious. Faster options:
- Use a desktop tool (XnConvert, IrfanView) to batch-process locally
- Use a script (Python + Pillow, ImageMagick CLI)
- Use our Bulk Compressor — handles up to 20 (Free) or 100 (Pro) files at once with quality presets
Size by use case
Common target dimensions for popular platforms:
| Platform / use | Recommended size |
|---|---|
| Hero image, full-bleed website | 1920 × 1080 |
| Inline blog image | 800 × 600 or 1200 × 800 |
| Thumbnail | 400 × 300 |
| Instagram square post | 1080 × 1080 |
| Instagram story | 1080 × 1920 |
| YouTube thumbnail | 1280 × 720 |
| LinkedIn cover | 1584 × 396 |
| Twitter/X post | 1200 × 675 |
| Email newsletter | 600 × 400 |
If you frequently need any of these, set them as presets in your tool. Our Resize tool has the common ones built in.
Resize, then compress
The 1-2 punch of optimization:
- Resize to actual display dimensions
- Compress to suitable quality (typically 80-85% for photos)
A 4 MB phone photo becomes a 200 KB web image — a 20× reduction with no visible quality loss.
Try our free Image Compressor after resizing for the full optimization in two steps.
Ready to optimize your images?
Every tool mentioned in this article is free to use. No upload, no signup, no watermarks on small files.
Try our free toolsRelated articles
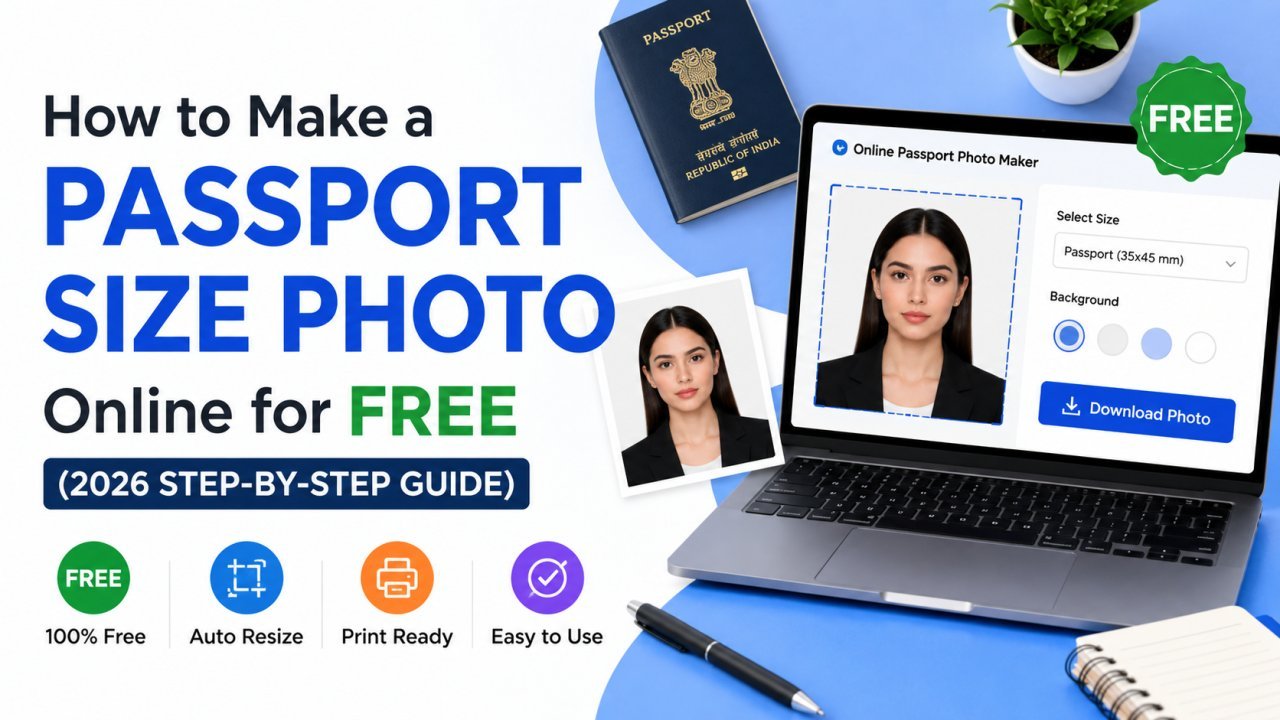
How to Make a Passport Size Photo Online for Free (2026 Step-by-Step Guide)
You don't need a photo studio for a passport, visa, or exam photo anymore. Here's how to turn a normal selfie into a perfectly sized, correctly cropped passport photo online — free and in minutes.
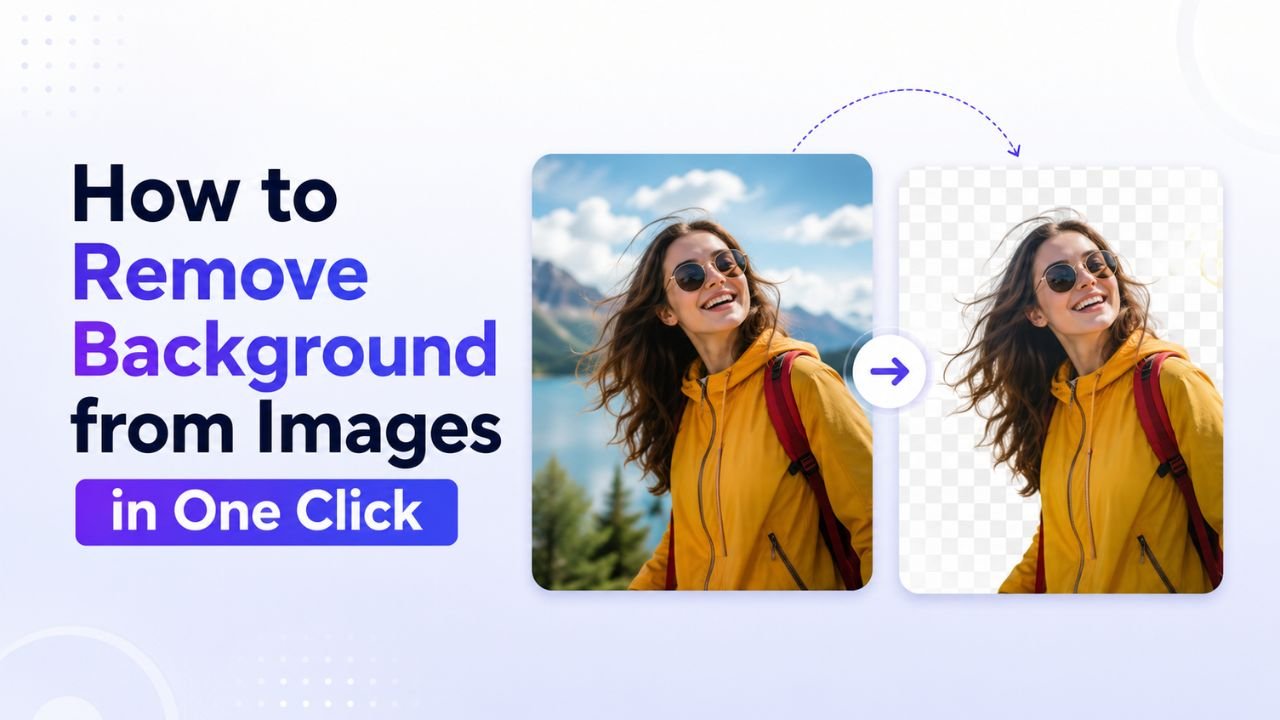
How to Remove Background from Images in One Click (Free, No Photoshop)
Background removal used to take 10 minutes per image with the Pen Tool. In 2026 it takes one click. Here's the practical guide for any image type.
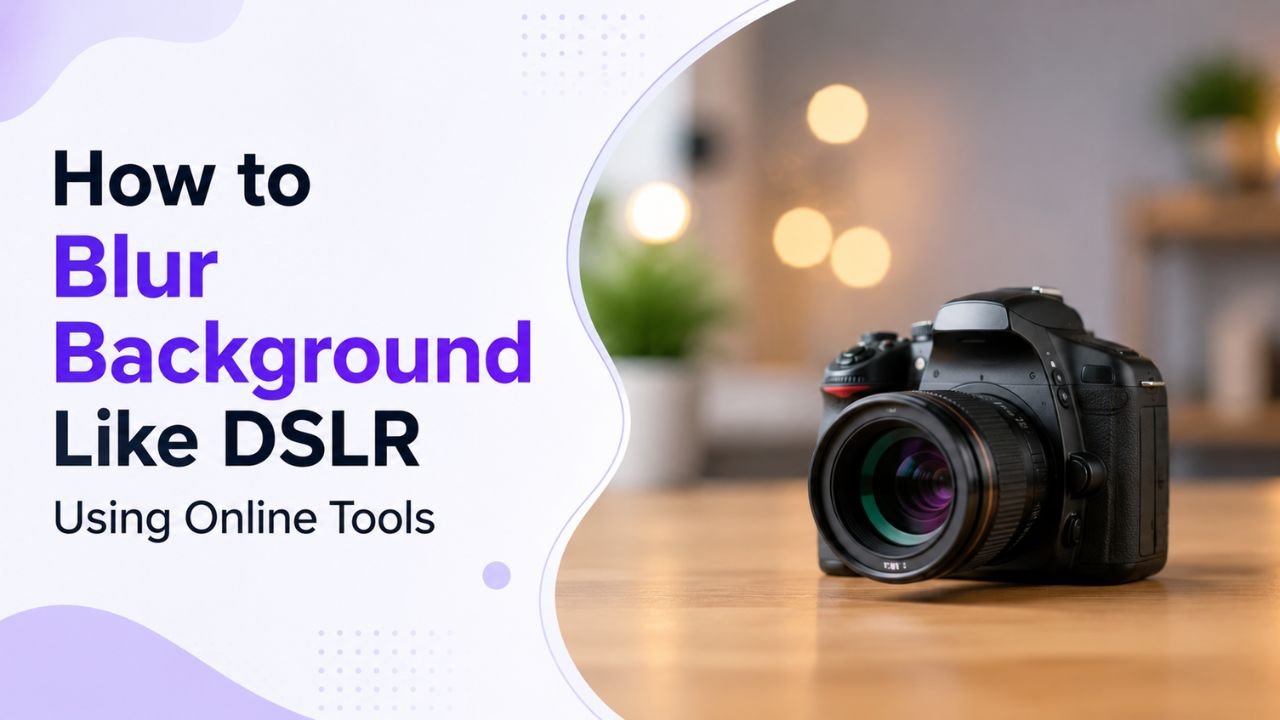
How to Blur Background Like a DSLR Using Online Tools (No Camera Needed)
That dreamy DSLR portrait blur (bokeh) is now reproducible from any phone photo — using free online tools that simulate depth of field convincingly.