How to Compress Images Without Any Visible Quality Loss
There's a science to picking the exact quality setting where files shrink dramatically but no human can spot the difference. Here's how to find that sweet spot every time.
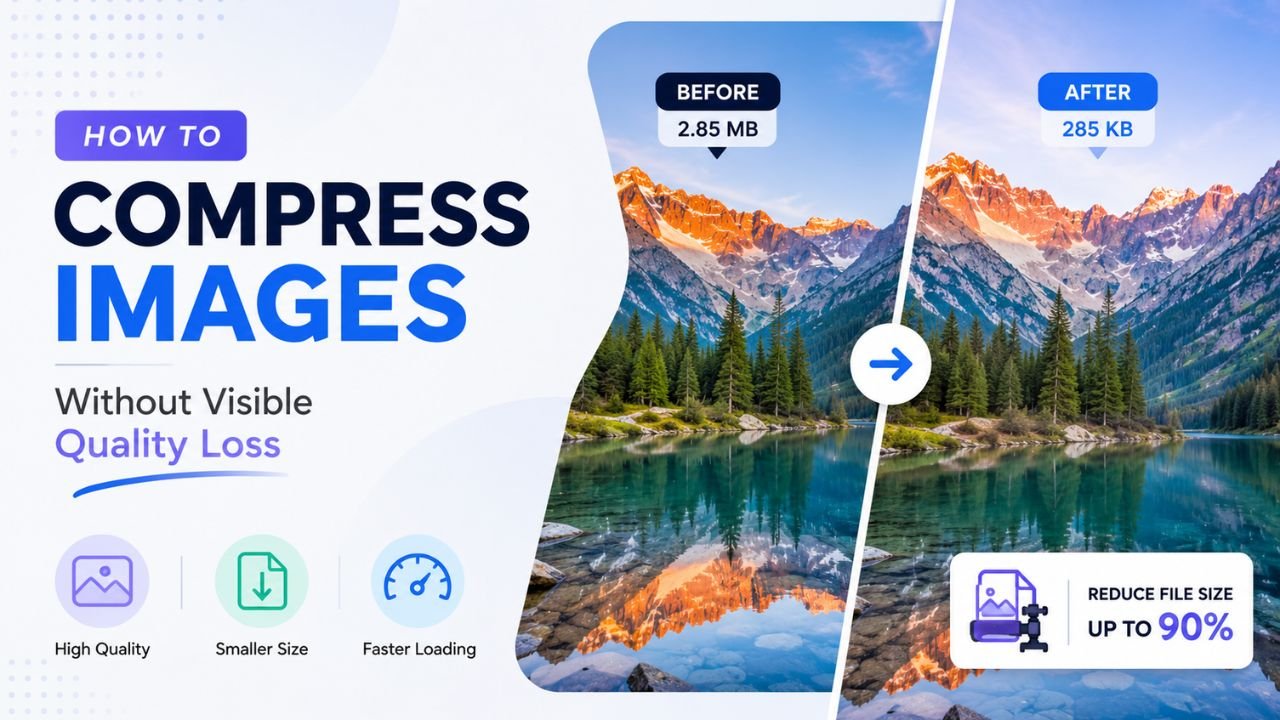
The promise: shrink a photo to 20% of its original size with zero visible quality difference. The reality in 2026: this is genuinely achievable for most photos, if you understand what compression actually does and where the visible threshold lies.
Here's the practical guide.
What "visible quality loss" actually means
Compression introduces three potential artefacts:
- Blocking — small square patterns in smooth areas (sky, skin)
- Ringing — halos around sharp edges (text, contours)
- Colour shifting — subtle changes in hue, especially in reds
At a high enough quality setting (typically 80+ for JPG), all three are present but below human perception threshold. Most viewers won't see them unless they actively zoom to 200%+ and compare.
The trick is hitting that threshold consistently.
The quality scale, decoded
JPG quality settings 0-100 are not linear. Each tool's "75" means slightly different things, but generally:
| Quality | Visual experience | Use case |
|---|---|---|
| 100 | Indistinguishable from raw | Archival, photography portfolios |
| 90-95 | Visually identical to original | Hero shots, magazine quality |
| 80-89 | Imperceptible difference at normal viewing | Sweet spot for most web |
| 70-79 | Slight softening on close inspection | Blog images, thumbnails |
| 60-69 | Visible softening, faint blocking | Backgrounds, large hero images at distance |
| 50-59 | Noticeable artefacts | Quick sharing, low-stakes use |
| <50 | Visibly degraded | Avoid for anything but proof-of-concept |
Practical rule: start at quality 85. If the result is "obviously" smaller than the original, the compression worked. If you can't tell the difference, you're in the sweet spot.
Where the visible threshold actually is (and what shifts it)
The exact "visible loss" line depends on:
- Image content — busy photos (forest, crowd, fabric) hide artefacts well. Smooth content (sky, skin, gradients) reveals them at higher quality settings.
- Display size — a photo viewed at 200px wide can survive quality 60. At 1200px wide, it needs quality 80+.
- Viewing distance — phone-held photos hide artefacts that desktop monitors reveal.
- Display brightness — darker rooms forgive lower-quality images. Brightly-lit phones reveal them.
In practice: quality 80-85 for general web work handles 95% of cases without anyone noticing.
The two-quality strategy
Pros often use two different quality settings:
- Hero images (visible on first scroll, large display): quality 85-90
- Below the fold images (further into the page, often viewed in passing): quality 75-80
This squeezes ~30-40% more savings out of below-the-fold images without affecting first-impression quality.
A practical workflow for "shrink as much as possible, but invisibly"
-
Pick the right format first — WEBP saves 25-35% over JPG at the same quality. Format choice matters before quality choice. See our PNG vs JPG vs WEBP guide.
-
Resize to actual display dimensions — over-sized images waste bytes regardless of compression. Use our free Resize tool.
-
Set quality to 85 as your default. Use our free Image Compressor with the slider at 85.
-
A/B compare — open the original and compressed side-by-side at 100% zoom. If you can't spot the difference, drop quality to 80 and check again. Keep dropping until you can spot the difference, then bump back up one notch.
-
Strip metadata to claw back another 50-200 KB. Free EXIF Remover.
Format-specific quality sweet spots
For different formats, "quality 80" means different things:
- JPG quality 80: generally invisible loss for photos
- WEBP quality 80: slightly cleaner than JPG 80 with 25% smaller file
- PNG-8 (palette quantisation): drop to 256 colours; invisible for screenshots, terrible for photos
- PNG-24: "quality" doesn't apply (lossless); savings come from optimising the compression algorithm
For most users, WEBP at quality 80 is the optimal modern choice. Try JPG to WEBP for a quick test on existing files.
Lossy vs lossless: when each makes sense
- Lossy compression (JPG, WEBP at quality<100, AVIF) — invisible quality loss for substantial file savings. Best for photos.
- Lossless compression (PNG, WEBP lossless, AVIF lossless) — pixel-perfect identical to original, smaller savings. Best for graphics with sharp edges, screenshots, technical content.
Mixing them up is a common mistake:
- Don't save photos as lossless PNG — files will be 6-12× larger than JPG with no quality benefit at normal viewing.
- Don't save screenshots as JPG — sharp text gets fuzzy artefacts.
Compression myths worth busting
"Re-compressing degrades quality each time." True for JPG (each save introduces new artefacts). Workflow: keep an original PNG/RAW master, export to JPG/WEBP only once for distribution.
"Higher quality always means bigger file." Mostly true, but past quality 90, the file size grows fast while visible improvement stops. Quality 100 can be 3× the size of quality 90 with zero visible benefit.
"Compressed images take longer to load than they save." False. Smaller files always load faster. Decompression CPU is microseconds; network transfer is the bottleneck.
"WEBP doesn't work on iPhones." Outdated. iOS has supported WEBP since 2020. Some old iOS apps may still not, but mobile Safari handles it fine.
Bulk compression workflow
For 10+ images at once, manual one-by-one is tedious. Use our free Bulk Compressor:
- Drop up to 20 files (Free) or 100 (Pro)
- Pick "Balanced" preset (quality 80, our recommended default)
- Click "Compress all"
- Download as ZIP
Time: 30-60 seconds for a batch of 20.
The 80/20 of invisible compression
If you change only two things about your image workflow:
- Use WEBP instead of JPG for web images (25-35% smaller, same quality)
- Use quality 80-85 instead of quality 95-100 (50-60% smaller, no visible loss)
Combined, those two changes typically cut image weight by 60-70% with no human able to tell the difference. The rest of optimization (resizing, metadata stripping, CDN, etc.) gets you the final 10-20%.
Try the workflow with our free Image Compressor — runs in your browser, no upload, no signup.
Ready to optimize your images?
Every tool mentioned in this article is free to use. No upload, no signup, no watermarks on small files.
Try our free toolsRelated articles
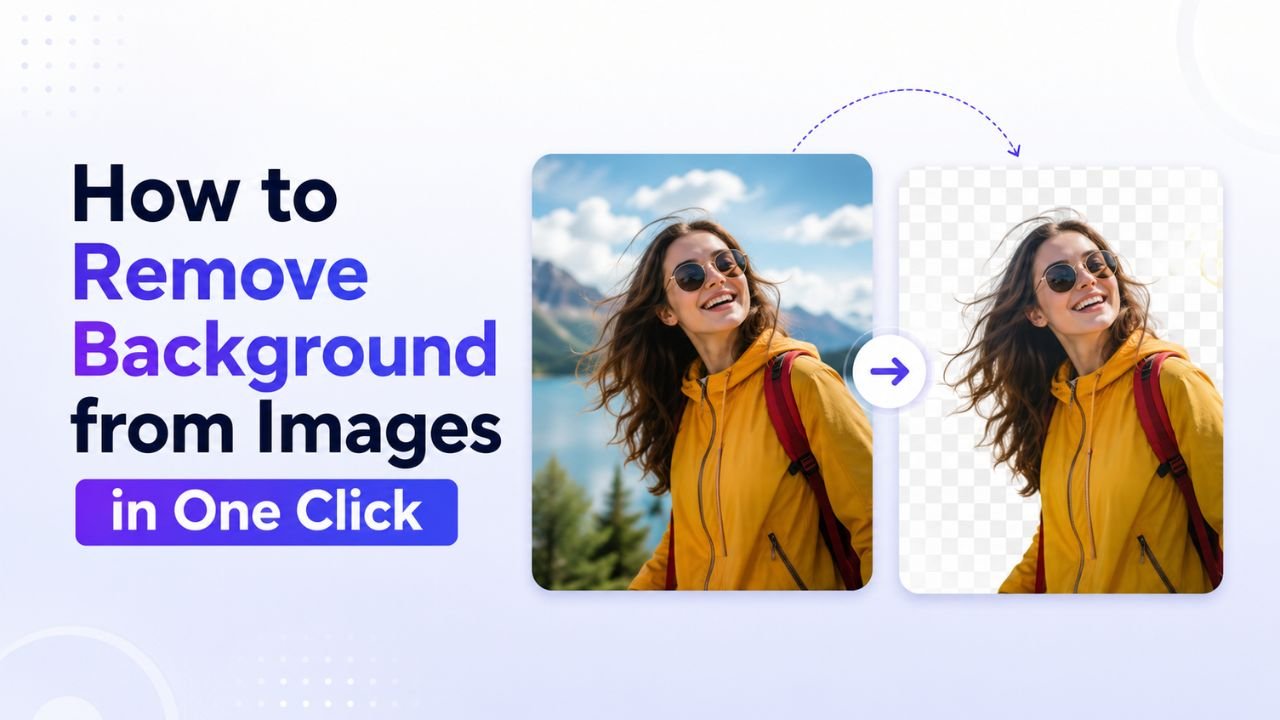
How to Remove Background from Images in One Click (Free, No Photoshop)
Background removal used to take 10 minutes per image with the Pen Tool. In 2026 it takes one click. Here's the practical guide for any image type.

How to Blur Background Like a DSLR Using Online Tools (No Camera Needed)
That dreamy DSLR portrait blur (bokeh) is now reproducible from any phone photo — using free online tools that simulate depth of field convincingly.
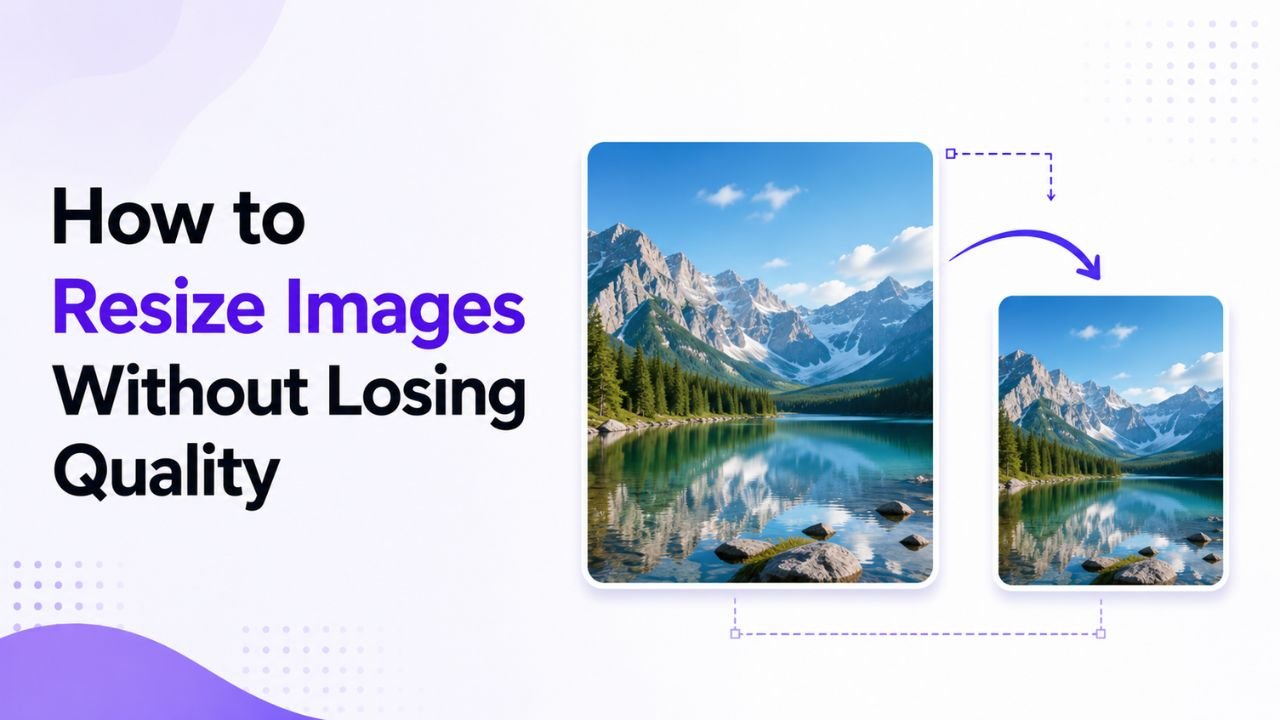
How to Resize Images Without Losing Quality (The Real Guide)
Resizing seems trivial but most tools make it look worse than it should. Here's how to keep images crisp regardless of which direction you're going.