
How to Remove Unwanted Objects From a YouTube Thumbnail
Learn how to remove unwanted objects from a YouTube thumbnail using simple editing methods. Clean up distractions, keep your subject clear, and create a more focused thumbnail.
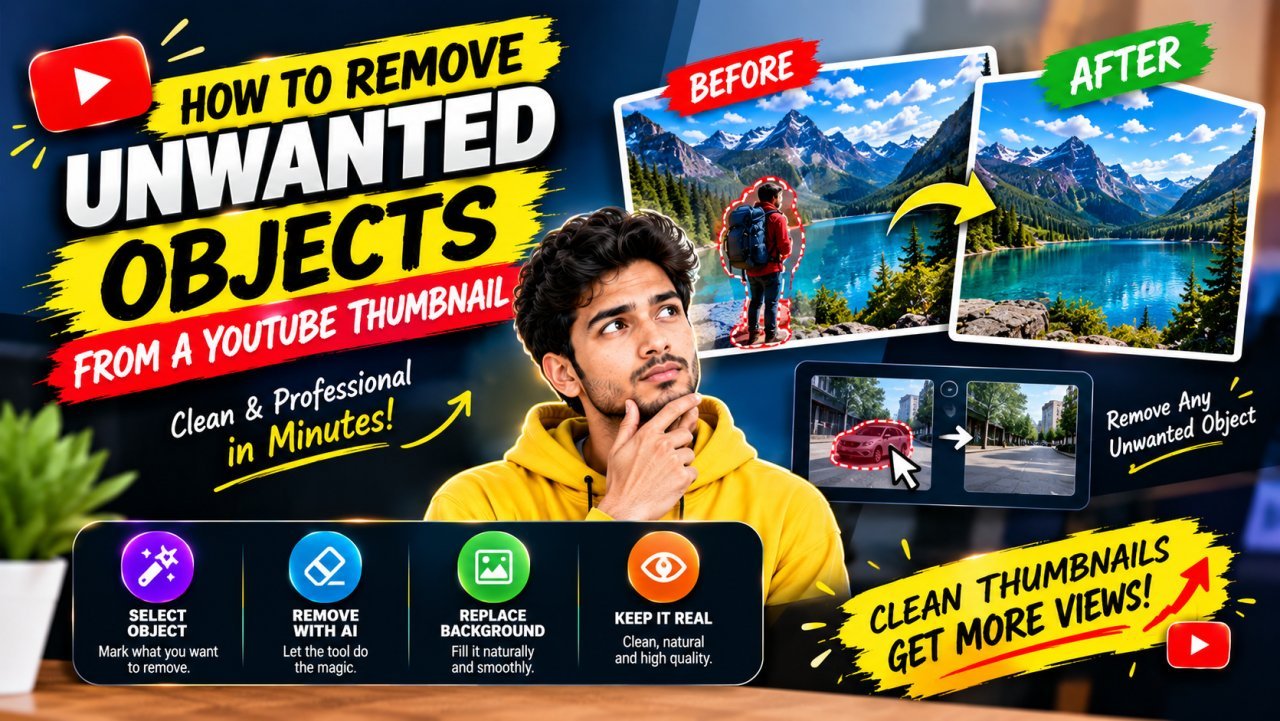
How to Remove Unwanted Objects From a YouTube Thumbnail
A cluttered thumbnail can distract viewers from the main subject. An extra person, a stray object, a messy background detail, or an accidental mark may pull attention away from what your video is about.
Learning how to remove unwanted objects from a YouTube thumbnail helps you create a cleaner design without starting over. You can use an object-removal tool, a selection-and-fill method, or a manual editing approach, depending on the image and the tool you have.
This guide explains how to identify what to remove, choose a suitable editing method, and check the result so your thumbnail still looks natural.
Why Remove Unwanted Objects From a Thumbnail?
A YouTube thumbnail has limited space. Every visible element competes for attention, so unnecessary details can make the image harder to understand at a glance.
Removing distractions can help you:
- All Tools
- Keep attention on the main person, product, or subject.
- Make the thumbnail look cleaner and more intentional.
- Create space for a short headline or graphic.
- Fix small mistakes in an otherwise useful image.
- Reuse a good photo instead of taking a new one.
The goal is not to remove every detail. A background object may help explain the video or make the scene feel real. Remove it when it distracts from the main message, creates confusion, or makes the composition feel crowded.
What Counts as an Unwanted Object?
An unwanted object is anything in the image that does not support the thumbnail’s main idea.
Common examples include:
- A person in the background who is not part of the video.
- A distracting sign, pole, or piece of equipment.
- A stray item on a desk or table.
- A mark, stain, or accidental object near the subject.
- A background detail that competes with the headline.
- An object covering part of the main subject.
Before editing, ask yourself: Would the thumbnail communicate the same idea more clearly without this item? If the answer is yes, removing it may improve the design.
Choose What to Remove Before You Edit
It is easy to over-edit a thumbnail. Start by identifying the specific distraction rather than making changes to the whole image.
Keep the main subject intact
Avoid removing details that help viewers recognize the person, product, or scene. For example, if the video is about a camera, removing the camera itself would weaken the thumbnail’s message.
Check whether the object overlaps the subject
An object in an empty area is usually easier to remove than one covering a face, hand, product, or important part of the scene. If it overlaps the subject, the editor may need to reconstruct missing details, which can take more care.
Consider the space behind the object
Look at the area around the unwanted item. A plain wall, sky, or smooth surface is often easier to repair than a busy background with patterns, text, or many edges.
Understand the Main Object-Removal Methods
Different editing methods work best for different images. You do not need the most advanced software for every small cleanup.
| Method | Best for | What to expect |
|---|---|---|
| Automatic object removal | Small or clearly separated distractions | Quick results, but edges and textures may need review |
| Selection and fill | Objects surrounded by a simple background | More control over the area being repaired |
| Clone or healing tools | Small marks and repeated textures | Careful manual work can look natural |
| Crop or reposition | Objects near the edge of the image | Often the simplest fix if cropping does not harm the composition |
| Rebuild with layers | Complex thumbnail designs | Useful when the background and foreground are separate elements |
A useful rule: Try the simplest method that preserves the main subject and the image’s natural appearance.
Prepare Your Thumbnail Before Editing
A little preparation can prevent avoidable mistakes.
1. Keep an untouched copy
Duplicate the image or save a separate copy before editing. This gives you a way back if the removal looks unnatural or you remove the wrong detail.
2. Work at a suitable image size
Edit the full-resolution image when possible. If you enlarge a small thumbnail before removing an object, the result may look soft or pixelated.
3. Zoom in for precision
Zoom in when selecting the object, especially if it is close to hair, clothing, text, or a product edge. Zoom out afterward to check whether the repair looks right in the full composition.
4. Identify the area that needs rebuilding
When you remove an object, the editor must fill the space it occupied. Look at nearby colours, textures, and lines. These details can help you judge whether the repaired area looks believable.
How to Remove an Unwanted Object From a YouTube Thumbnail
The exact button names vary by editing app, but the general process is similar.
Step 1: Open the thumbnail in an image editor
Open your thumbnail in an editor that supports object removal, healing, cloning, selection, or content-aware fill. If your thumbnail is made from separate layers, keep those layers editable.
Step 2: Select the unwanted object
Choose the object-removal or selection tool, then mark the item you want to remove.
Try to select the whole object, including its shadow if the shadow is also distracting. Avoid selecting too much of the surrounding area, because a large selection may cause the editor to replace details you wanted to keep.
Step 3: Apply the removal tool
Run the object-removal, healing, or fill command. The editor will attempt to replace the selected area using nearby image information or generated content.
Do not assume the first result is final. Automatic tools may leave blurry patches, repeated patterns, or strange edges.
Step 4: Inspect the repaired area
Zoom in and look for:
- Blurry or smeared textures.
- Repeated patterns that look unnatural.
- Lines that no longer connect.
- Unusual colour patches.
- Edges that appear too sharp or too soft.
- Leftover pieces of the removed object.
If you notice a problem, undo the change and try a smaller selection or a different method.
Step 5: Refine the repair
Use a healing or clone tool to correct small flaws. Sample a nearby area with a similar colour or texture, then carefully paint over the remaining marks.
Work in short strokes and review the result often. Large strokes can create obvious repeated patterns, especially on walls, fabric, grass, or other textured surfaces.
Step 6: Review the full thumbnail
Zoom out and look at the entire design. The repair may look convincing when enlarged but become a noticeable blur at thumbnail size.
Check that the main subject is still easy to see and that the image’s balance has not changed in an unwanted way.
Step 7: Save an editable copy and export the final image
Keep a working version in the editor’s native format if available. Export a separate image for upload, then open that exported file to make sure it looks as expected.
When Cropping Is Better Than Object Removal
Sometimes the unwanted item is near the edge of the image. If cropping it out does not cut off the subject or remove useful context, cropping may be faster and cleaner than repairing the background.
Cropping is worth trying when:
- The object is close to an outer edge.
- The main subject remains well framed.
- The image still works in a 16:9 layout.
- The crop does not remove important text or visual context.
Avoid cropping if it makes the subject feel cramped or removes a detail that helps explain the video. In that case, object removal may be the better choice.
Advanced Ways to Remove Unwanted Objects From a YouTube Thumbnail
The basic removal process works well for simple distractions. More difficult images may need a different approach, especially when an object overlaps a person, covers a pattern, or sits against a detailed background.
The key is to choose a method that fits the image rather than forcing one tool to handle every situation.
Method 1: Use an Automatic Object-Removal Tool
Automatic object-removal tools are useful when the unwanted item is clearly separated from the main subject. Depending on the editor, you may brush over the object, draw around it, or select it before applying the removal command.
For better results:
- Select the unwanted object carefully.
- Include its shadow or reflection if those details should also disappear.
- Avoid selecting nearby parts of the main subject.
- Apply the removal tool.
- Inspect the repaired area at both close-up and full-thumbnail size.
Automatic tools may struggle with complex textures, repeating patterns, or objects that cover important details. If the result looks artificial, undo it and try a smaller selection or a manual repair.
Method 2: Use a Healing Tool for Small Distractions
Healing tools can help remove small marks, spots, or objects by blending the repaired area with nearby pixels. They are often useful for simple backgrounds and minor imperfections.
Use a healing tool when the unwanted item is small and the surrounding area has a similar colour or texture. Work in short strokes instead of painting over a large area at once.
After each stroke, check whether the texture still looks natural. If the tool creates a smudge or soft patch, undo that stroke and try a smaller area.
Method 3: Use a Clone Tool for Repeating Textures
A clone tool copies pixels from one part of an image to another. This can be helpful when repairing backgrounds such as a plain wall, a floor, or a surface with a consistent texture.
A careful workflow is:
- Choose a clean area that resembles the area you want to repair.
- Sample that area as the source.
- Paint over a small part of the unwanted object.
- Change the source area as needed to avoid obvious repetition.
- Review the repaired area from a distance.
The main risk is creating repeated patterns. If the same patch appears several times, the edited area may look unnatural. Vary the sample area and use smaller strokes to reduce this effect.
Method 4: Rebuild the Background With Layers
If your thumbnail has separate layers, you may be able to hide or delete the unwanted object without repairing the whole image.
For example, a thumbnail might contain:
- A background photo.
- A person or product cutout.
- Text and graphic elements.
- Decorative shapes.
If the unwanted item is on its own layer, hide or remove that layer. If it is part of the background photo, you may need to repair the photo first and then keep the other layers intact.
Layer-based editing is especially useful when you want to move the subject, adjust the background, or change the text later.
Practical Examples: Which Method Should You Use?
The best method depends on what the object is and what sits behind it.
| Example | Suggested approach | What to check |
|---|---|---|
| A small mark on a plain wall | Healing tool | Make sure the wall colour stays even |
| A bottle on a simple table | Object removal or clone tool | Check the table edge and shadows |
| A person in the background | Automatic removal, followed by manual cleanup | Inspect nearby people and background details |
| A pole crossing a patterned wall | Clone tool or careful selection and fill | Make sure the pattern lines continue naturally |
| An object near the image edge | Crop, if the composition still works | Keep the main subject comfortably framed |
| An object covering part of a face or product | Careful manual editing or a different photo | Avoid changing important subject details |
If an object covers a large or important part of the image, removing it may require reconstructing details that are not visible anywhere else. In that situation, using another photo may produce a more believable result than trying to repair the image.
How to Make the Edited Area Look Natural
Removing an object is only part of the job. The repaired background should fit the rest of the image.
Match the surrounding texture
Look at the area around the removed object. If the background contains wood grain, bricks, grass, fabric, or other texture, the repaired section should follow the same visual pattern.
A smooth patch inside a detailed background can make the edit easy to notice. Use a suitable repair method and inspect the result carefully.
Preserve straight lines and edges
Objects often overlap lines such as shelves, walls, roads, tables, or building edges. After removal, check that these lines still look continuous.
If a line bends or stops unexpectedly, repair it with a careful selection or clone technique. Avoid making the line too perfect if the original scene contains natural perspective or unevenness.
Check shadows and reflections
An object may cast a shadow or appear in a reflective surface. Removing only the object can leave behind a shadow or reflection that makes the edit look incomplete.
Remove these details only when they belong to the unwanted object. Be careful not to erase shadows or reflections that help the main subject look grounded in the scene.
Avoid over-smoothing
A repaired area that is much softer than the rest of the image can look like a blur. Compare the sharpness of the repaired section with nearby details.
If the area looks too smooth, undo the repair and try a smaller selection or a different tool. The goal is to make the edit fit the original image, not to make the repaired area stand out.
Choosing a Tool for the Job
You do not need to choose an editor based only on its name or popularity. Look for the features that match your task.
Before choosing a tool, check whether it offers:
- Object removal or content-aware fill.
- Healing or clone tools for manual cleanup.
- Layers, if your thumbnail design uses separate elements.
- Undo and redo controls.
- A way to export the finished image at a suitable size.
For a small distraction on a simple background, a basic editor may be enough. For a complex image, choose a tool that gives you more control over selections and repairs.
Common Mistakes to Avoid
Selecting too much of the image
A large selection can remove nearby details that should stay. Select the unwanted object closely, but include any shadow or reflection that also needs to go.
Expecting every automatic result to be perfect
Automatic tools can save time, but they may produce strange textures or edges. Always inspect the result before exporting.
Ignoring the background pattern
A repair may look acceptable on a plain surface but obvious on a patterned one. Check whether lines, textures, and repeated details continue naturally.
Removing useful context
Not every background object is a distraction. A relevant object may help viewers understand the video. Remove it only when it weakens the thumbnail’s message.
Cropping too tightly
Cropping can remove an unwanted object quickly, but it may also make the subject feel cramped or cut off important details. Review the full composition before choosing this method.
Forgetting to keep the original
Always preserve an untouched copy. If the edit becomes difficult to fix, you can return to the original instead of starting from scratch.
Before-and-After Review Checklist
Use this checklist before exporting your edited thumbnail.
- The unwanted object is fully removed.
- No distracting shadow or reflection remains.
- The main subject has not been accidentally changed.
- Background lines and patterns look natural.
- The repaired area does not look blurry or smeared.
- There are no obvious repeated clone patterns.
- The image still looks balanced at thumbnail size.
- Any text remains readable and unobstructed.
- The exported image looks like the version shown in the editor.
Part 2 Summary
Choose the object-removal method based on the image: automatic removal for simple distractions, healing for small marks, cloning for consistent textures, and layer editing when the design is already separated into parts. Review the repair closely, then check the complete thumbnail at a small size. If the object covers important details or the repair looks unnatural, consider using another photo.
Conclusion
Removing unwanted objects from a YouTube thumbnail can make the design cleaner and help viewers focus on the main subject. Start by deciding whether the object is truly distracting, then choose a suitable method: automatic removal, healing, cloning, cropping, or layer editing.
After making the change, inspect the repaired area for blurry patches, repeated textures, broken lines, or leftover shadows. Then zoom out and check that the full thumbnail still looks balanced.
If an object covers an important part of the subject or the repair looks unnatural, using another photo may be the better choice. A clear, believable thumbnail is more effective than an over-edited one.
Key Takeaways
- Remove objects only when they distract from the thumbnail’s main message.
- Save an untouched copy before editing.
- Use automatic removal for simple distractions, healing for small marks, and cloning for consistent textures.
- Check shadows, reflections, patterns, and straight lines after removing an object.
- Crop an object near the edge only if the composition still works.
- Review the image both close up and at thumbnail size.
- Keep an editable version so you can make changes later.
Call to Action
Ready to clean up your next YouTube thumbnail? Open your image editor, remove one distracting element, and review the result at a small size before publishing. Explore more thumbnail tutorials on our blog for practical ways to create clearer, more focused designs.
1. How do I remove unwanted objects from a YouTube thumbnail?
Open the thumbnail in an image editor, select the unwanted object, and use an object-removal, healing, cloning, or fill tool. Inspect the repaired area and refine it if needed.
2. Can I remove an object from a thumbnail for free?
Yes. Some free image editors offer object-removal or manual repair tools. Check the features and export options of the editor you choose.
3. How do I remove a person from the background of a thumbnail?
Use an object-removal tool or carefully select the person and repair the area behind them. Check nearby edges and background details for unnatural patches.
4. Can I remove an object from a JPG thumbnail?
Yes. Open the JPG in an editor and use an object-removal or selection tool. Since a JPG is usually flattened, the editor may need to reconstruct the area behind the object.
5. How do I remove a small mark from a thumbnail?
Try a healing tool or a clone tool. Use short strokes and sample a nearby area with a similar colour or texture.
6. Why does the background look blurry after object removal?
The editor may have filled the selected area with a smooth or mismatched texture. Try a smaller selection, a different repair tool, or careful manual cleanup.
7. Can I remove an object without changing the rest of the thumbnail?
Often, yes. Select only the unwanted object and keep other elements on separate layers when possible. Review the result to make sure nearby details were not altered.
8. Is cropping better than removing an object?
Cropping may be easier when the object is near the image edge and the subject remains well framed. If cropping cuts off important content, use an object-removal method instead.
9. What should I do if an object covers part of a face or product?
Removing it may require rebuilding details that are hidden. Try careful editing, but consider using another photo if the result looks distorted or unnatural.
10. How can I check whether the object removal looks natural?
Inspect the repair closely for smudges, repeated patterns, broken lines, leftover shadows, and unusual edges. Then zoom out to check the full thumbnail at a small size.
Link Suggestions
Ready to optimize your images?
Every tool mentioned in this article is free to use. No upload, no signup, and no watermarks — ever.
Try our free toolsRelated articles
How to Blur the Background in a YouTube Thumbnail
Learn how to blur the background in a YouTube thumbnail with simple editing steps. Make your subject stand out while keeping the design clean and easy to understand.

How to Change the Background of a YouTube Thumbnail
Learn how to change the background of a YouTube thumbnail, remove an existing background, add a new image or colour, and keep your design clear and professional.
How to Extract the Best Frame From a Video for a YouTube Thumbnail
Learn how to extract the best frame from a video for a YouTube thumbnail, choose a sharp frame, improve its quality, and create a more effective thumbnail.