How to Convert Photos into Cartoon Style (Free Tools + Manual Methods)
From AI one-click cartoonizers to manual posterization techniques — six ways to give photos that drawn-by-hand cartoon look, ranked by quality.
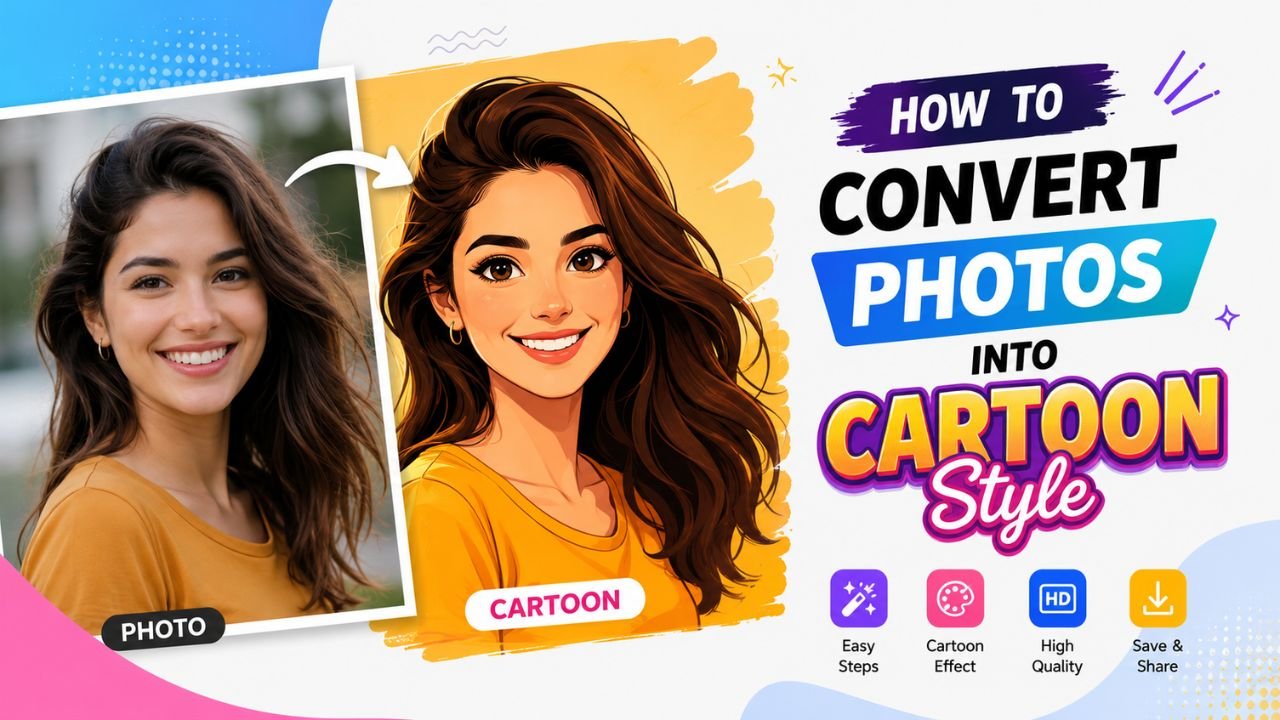
Cartoon-style photos are everywhere on social media — your face turned into a Pixar character, your dog as a Disney sketch, a city street as a Studio Ghibli scene. Most of them are AI-generated, and most are free to create in 2026.
Here are the methods that actually work, ranked by quality.
Style 1: AI cartoonizer (the easy way)
Best for: portraits, pets, single-subject photos.
Tools (mostly free with limits):
- Picsart's AI Cartoon filter
- Vansportraits, Cartoonify, Photo Lab
- Lensa AI (paid)
- DALL-E / Midjourney with "in the style of [cartoon]" prompt
Process: drop photo → pick style (Pixar, Disney, anime, comic, manga, etc.) → wait 5-30 seconds → download.
Output quality: generally good for portraits, mixed for groups, often awkward for landscapes. Free tiers may add watermarks.
Watch out for: uncanny valley effects on real human faces — AI sometimes makes adult faces look like children, or vice versa. Always preview before sharing.
Style 2: Style transfer (AI but more artistic)
Best for: landscapes, complex scenes, getting specific artistic styles.
Tools: DeepAI Cartoonizer, Stable Diffusion img2img, neural style transfer apps.
These take your photo + a reference style image and merge them. Result: your photo "painted" in the style of the reference. Works for:
- "My photo as a Van Gogh painting"
- "My city as a Studio Ghibli scene"
- "My selfie as a 1950s comic"
Less constrained than category-based cartoonizers, but requires more experimentation.
Style 3: Manual posterization
Best for: graphics, illustrations, controlled creative effects.
Posterization reduces the number of colours in your image to give it a flat, painted look. The classic "Andy Warhol pop art" effect.
In any image editor (Photopea, GIMP, Photoshop, even free phone editors):
- Open the photo
- Apply Posterize filter — set to 3-5 levels (5 = "subtle" cartoon; 3 = "loud" pop art)
- Optionally apply "Edge Detect" or "Find Edges" on a duplicate layer
- Blend the edge layer on top of the posterized version with darken or multiply mode
- Adjust opacity to taste
Time: 2-5 minutes. Result: cartoon-like, controllable, not AI-dependent.
Style 4: Comic-style ink lines
Best for: illustrative photos, dramatic portraits.
- Open your photo
- Duplicate the layer
- Desaturate the duplicate
- Apply "Find Edges" → invert if needed (you want black lines on white background)
- Multiply this edge layer over the colour original (set blend mode to "Multiply")
- Posterize the colour layer for flatter colours
Result: comic-book look with visible ink outlines.
Style 5: Anime-style portraits
Best for: portraits specifically — works less well for landscapes.
Anime portraits typically have:
- Smooth skin (anti-shine)
- Enlarged eyes
- Simplified hair shapes
- Solid colour blocks instead of gradients
AI anime tools (Waifu Labs, NovelAI, anime-style Stable Diffusion models) produce convincing anime portraits with:
- Photo input → "anime style" prompt
- Outputs vary in quality from "obviously processed photo" to "looks hand-drawn"
For free anime portrait conversion, Tensor.art and Leonardo AI have specialized anime models.
Style 6: Watercolour and painted styles
Best for: landscapes, still life, mood pieces.
Different from cartoon — painted styles emulate watercolour, oil paint, gouache, etc. Free tools:
- Snapseed (Looks → Pop) — quick painted feel
- Prisma — paid app with 50+ painting styles
- Photopea filter stack — manual approach with Oil Paint + smudge
These don't look "cartoon" in the comic sense, but they share the "stylized vs photographic" goal.
Post-cartoon workflow
Once you have a cartoon-style version, common follow-ups:
- Crop to your platform — Instagram square, story format, etc. Use our free Crop tool.
- Resize to platform spec (free Resize)
- Remove background if you want to layer onto a new scene (Background Remover)
- Compress for sharing (free Image Compressor)
- Save as PNG if the style has flat colours and sharp edges (better compression than JPG for that content)
Tips for better-looking cartoon output
- Start with a sharp, well-lit photo. Cartoonization can't fix bad input.
- Front-facing portraits work best — three-quarter angles and side profiles often confuse AI tools.
- Solid backgrounds before processing — busy backgrounds make AI choose weird stylization choices. Remove the background first if needed.
- Generate 3-5 variants and pick the best — AI is non-deterministic; different seeds produce different results.
- Don't over-process — a single style filter usually beats two stacked filters.
When NOT to cartoonize
A few cases where the cartoon style doesn't work well:
- Professional headshots / LinkedIn — keep it real
- Property / real estate photos — buyers want truth, not illustrations
- Product photography for marketplaces — Amazon, Etsy, etc. usually require realistic photos
- News and editorial photography — manipulating real photos for ostensibly factual content is ethically dicey
Cartoonization works best for: social media branding, personal projects, kids' content, fan art, party invitations, profile pictures with personality.
Free tier reality check
For 90% of casual cartoon-style projects, free tools work:
- One-time fun project? → free AI app (Picsart, Photo Lab, Vansportraits)
- Branded content (multiple images, consistent style)? → invest 30 min in learning manual posterization workflow in Photopea
- Professional work? → paid AI tool or a real illustrator
Common cartoonization mistakes
- Cartoonizing without first checking the original photo quality — garbage in, garbage out
- Stacking multiple cartoon filters — produces over-processed mush
- Using the same filter on everything — your feed looks robotic
- Forgetting to compress before posting — cartoon images are often larger than the original photo
- Posting AI-generated content without disclosure — increasingly important for trust
Recap
- AI cartoonizer apps for quick portraits (free with limits)
- Style transfer for landscapes and specific artistic styles
- Manual posterization + edge detect for full creative control
- Comic-style ink lines for dramatic portraits
- Anime-specific tools for that look
- Painted styles (watercolour, oil) for mood pieces
Each method has its place. Try a few on the same photo — you'll quickly see which style your image responds to best.
For the post-cartoonization workflow, our free image tools handle resize, crop, compress, background removal — all in your browser, no upload required.
Ready to optimize your images?
Every tool mentioned in this article is free to use. No upload, no signup, no watermarks on small files.
Try our free toolsRelated articles
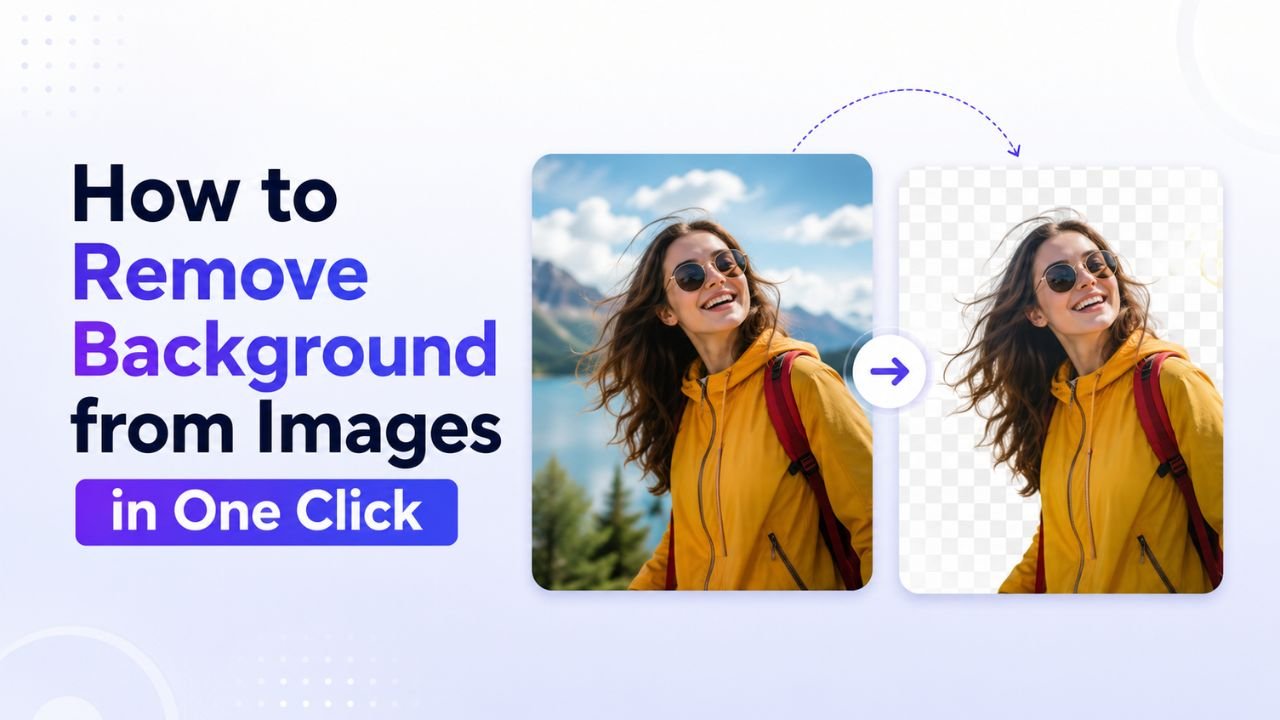
How to Remove Background from Images in One Click (Free, No Photoshop)
Background removal used to take 10 minutes per image with the Pen Tool. In 2026 it takes one click. Here's the practical guide for any image type.
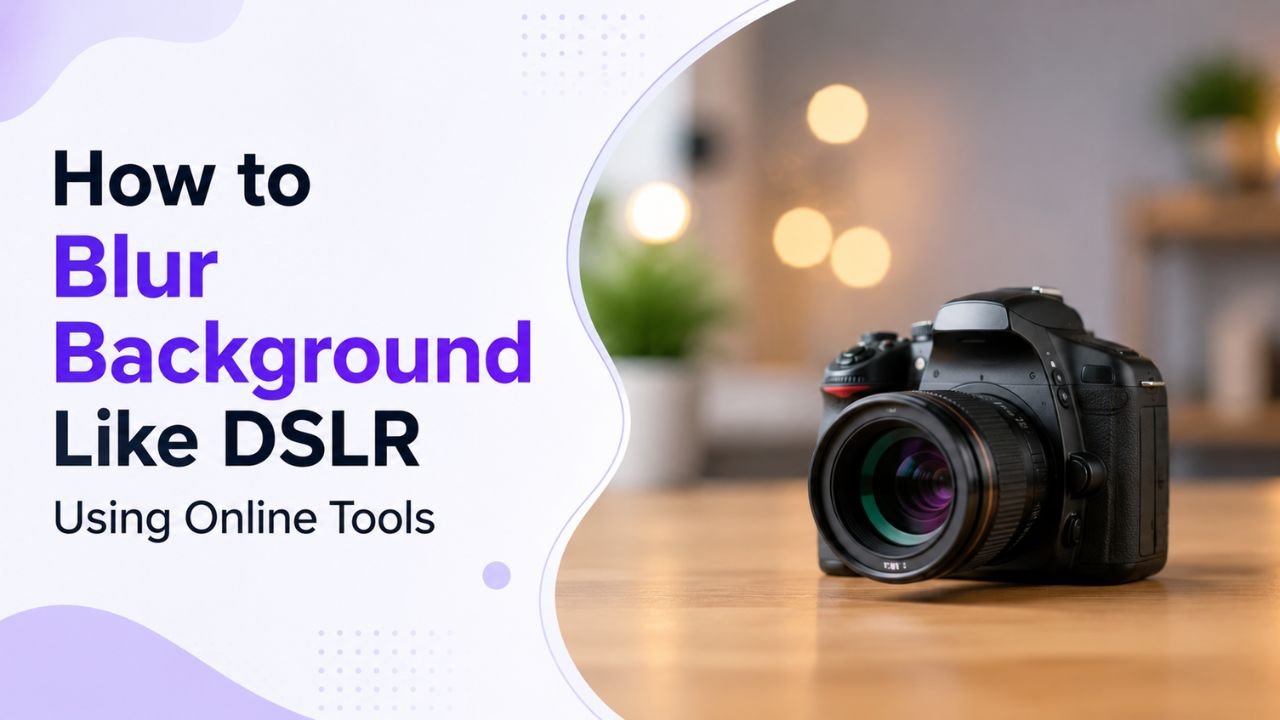
How to Blur Background Like a DSLR Using Online Tools (No Camera Needed)
That dreamy DSLR portrait blur (bokeh) is now reproducible from any phone photo — using free online tools that simulate depth of field convincingly.
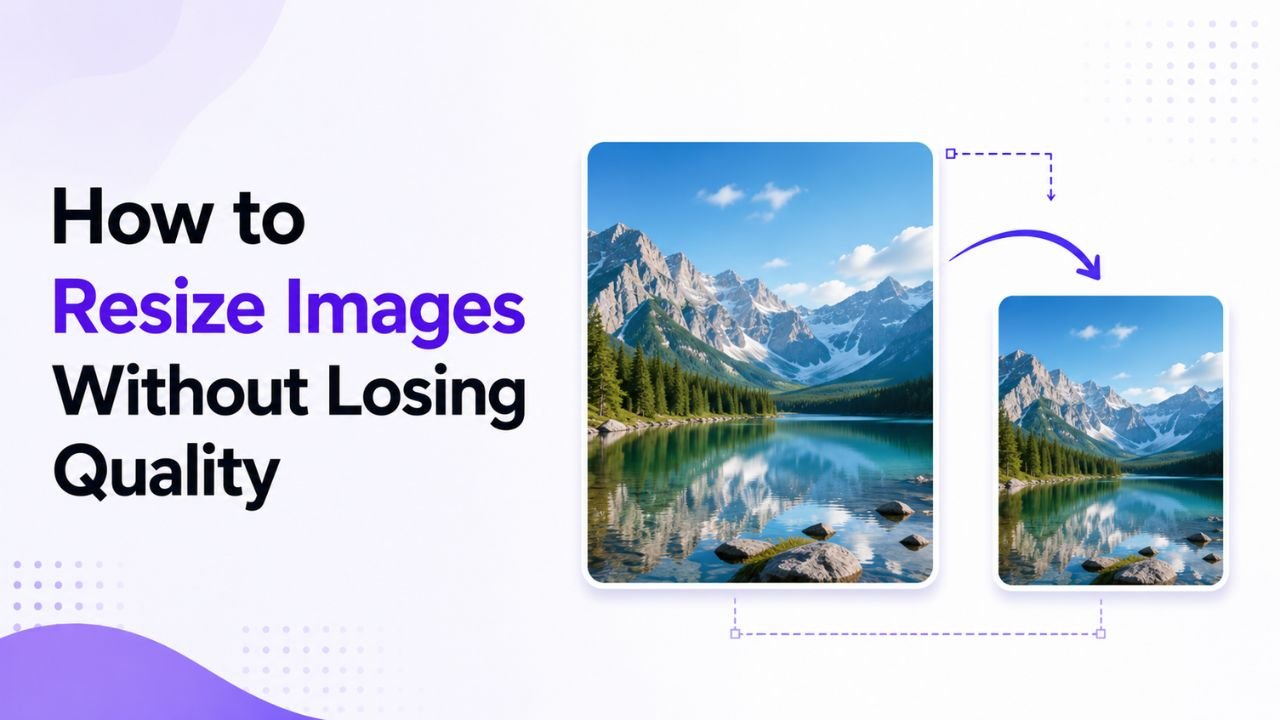
How to Resize Images Without Losing Quality (The Real Guide)
Resizing seems trivial but most tools make it look worse than it should. Here's how to keep images crisp regardless of which direction you're going.