
YouTube Thumbnail Size, Resolution and Format: How to Export an HD Thumbnail
The right YouTube thumbnail size, aspect ratio, file size limit and format, plus how to export a sharp HD thumbnail that stays under 2 MB without cropping or stretching.
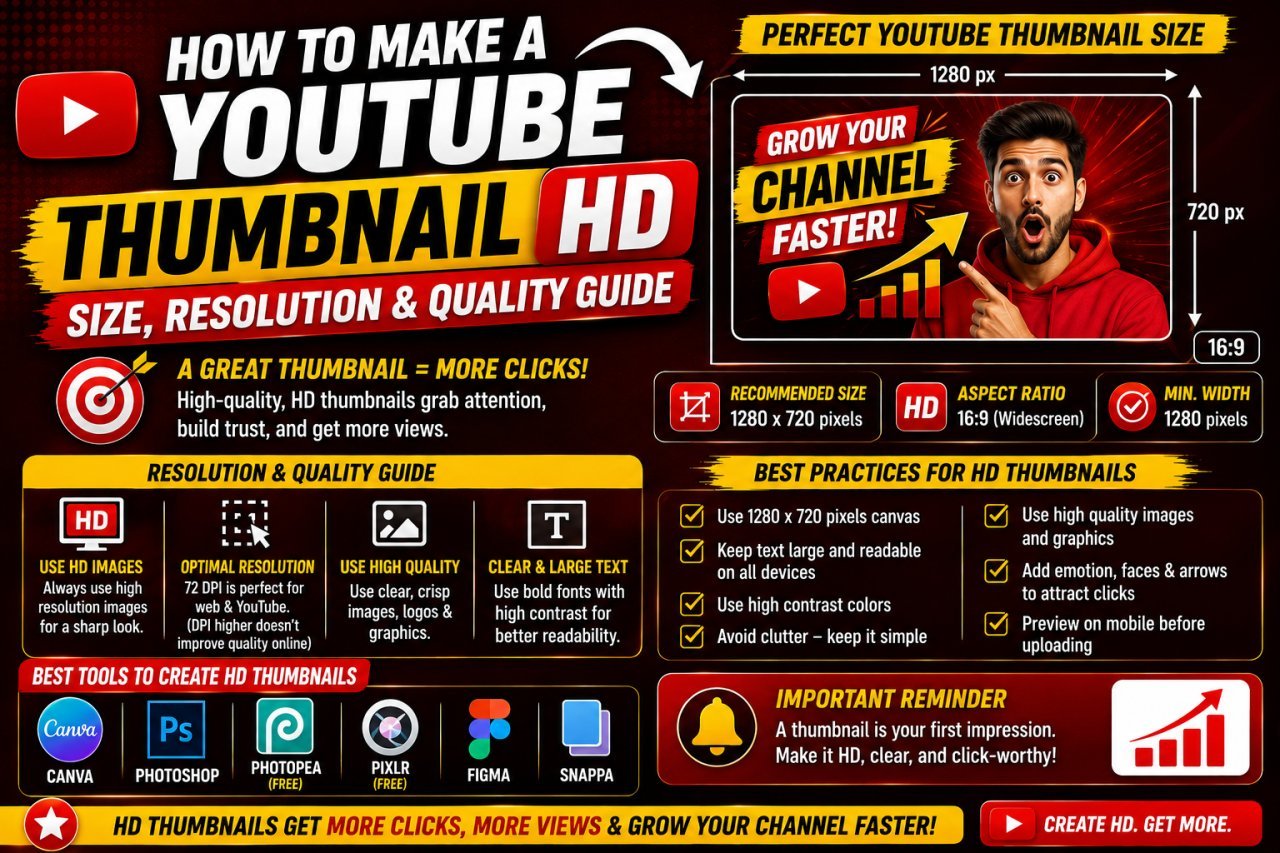
A standard YouTube thumbnail should be a 16:9 image. YouTube's help page lists 1280 × 720 pixels (minimum width 640 px), in JPG, GIF or PNG, and under 2 MB. You can design at a larger 16:9 size such as 1920 × 1080 for extra sharpness, but the exported file still has to fit the limit. This guide covers the size, aspect ratio, file limit and format choice, and then a step-by-step export routine that keeps the thumbnail HD.
Official YouTube Thumbnail Requirements
These are the numbers that matter when you upload a custom thumbnail in YouTube Studio, as listed on YouTube's Add video thumbnails help page:
| Setting | Requirement |
|---|---|
| Recommended resolution | 1280 × 720 px |
| Minimum width | 640 px |
| Aspect ratio | 16:9 |
| File formats | JPG, GIF, PNG |
| Maximum file size | 2 MB |
YouTube occasionally updates this page (and custom thumbnails require a verified account), so check it if an upload is rejected. Anything outside these rules either gets refused or gets resized and recompressed by YouTube in a way you cannot control.
Formats such as WebP, AVIF and HEIC are not on that list. If your editor or phone saved the thumbnail in one of them, convert it to JPG or PNG first, for example with WebP to JPG.
What "HD" Means for a Thumbnail
"HD" is not a separate YouTube setting. It simply describes how many pixels the image has. All of the following sizes share the same 16:9 shape:
| Name | Pixels | Total pixels |
|---|---|---|
| Minimum | 640 × 360 | about 0.23 million |
| HD (720p) | 1280 × 720 | about 0.92 million |
| Full HD (1080p) | 1920 × 1080 | about 2.07 million |
| QHD (1440p) | 2560 × 1440 | about 3.69 million |
| 4K UHD | 3840 × 2160 | about 8.29 million |
1280 × 720 is HD and meets YouTube's recommendation. Going larger gives you more pixels, which helps on big screens and leaves room for cropping during design, but it also makes the file heavier. A 4K canvas holds nine times the pixels of 1280 × 720, so a 4K PNG will almost never fit under 2 MB.
Pixels Do Not Equal Sharpness
A 3840 × 2160 thumbnail built from a blurry 600-pixel phone screenshot is still blurry; it just has more pixels of blur. What makes a thumbnail look HD is the chain from source to upload:
Sharp source image → 16:9 canvas → proportional resizing → sensible compression → one final export
A weak link anywhere in that chain shows up in the final image. If your starting image is too small, see how to upscale a YouTube thumbnail without making it blurry before you go further.
Which Canvas Size to Choose
- 1280 × 720: the safe default. Matches YouTube's recommendation, is light to edit, and a high-quality JPG at this size sits comfortably under 2 MB.
- 1920 × 1080: a good choice if your video is 1080p and you grab frames from it, or if you want a bit more detail on TVs and large monitors. Export as JPG to stay under the limit.
- 3840 × 2160: only worth it if your source photos are genuinely 4K-sharp. Keep a 4K master if you like, but expect to export a smaller or more compressed copy for upload.
Whatever you choose, pick it before you start designing. Text and subject sizes are much easier to judge on the final canvas than after rescaling.
Aspect Ratio: Getting 16:9 Without Cropping or Stretching
Most "my thumbnail got cut off" problems come from a source image with a different shape than 16:9. A phone photo is usually 9:16 (vertical) or 3:4, an Instagram image is often 1:1 or 4:5, and a camera photo is commonly 3:2. When any of these is forced into a 16:9 frame, one of three things happens:
| What you do | Result |
|---|---|
| Resize with the ratio locked | The image keeps its shape but no longer fills 16:9 |
| Crop to 16:9 | The frame is filled, but the top/bottom or sides are cut off |
| Change width and height independently | The frame is filled, but faces and objects are squashed or stretched |
Stretching is the one to avoid entirely. A 1000 × 1000 photo typed straight into 1280 × 720 becomes visibly distorted: faces get wider, circles become ovals.
Option 1: Crop to 16:9 When the Subject Fits
If the important part of the photo (a face, a product) sits in a horizontal band, cropping is fine. Use the 16:9 preset in Crop, position the frame over the subject, then resize the result to your canvas size. Leave some breathing room around faces and keep key elements away from the bottom-right corner, where YouTube overlays the video duration.
Option 2: Place the Whole Photo on a 16:9 Canvas
When cropping would cut off something important, do not crop. In your design app, create a 1280 × 720 canvas, place the full photo in it at its natural proportions, and fill the empty sides with:
- a solid brand colour or a gradient,
- an enlarged, blurred copy of the same photo behind the original, or
- your headline text and graphics, using the space as part of the layout.
This is the standard way to turn a vertical clip or square image into a horizontal thumbnail without losing any of it.
Option 3: Resize an Image That Is Already 16:9
If the source is already 16:9 (a 1080p or 4K video frame, for example), scaling it down is lossless in terms of composition: 1920 × 1080 → 1280 × 720 keeps everything. The Resize tool has a YouTube 1280 × 720 preset, or you can enter pixels with the aspect ratio locked.
JPG vs PNG (and GIF) for YouTube Thumbnails
All three formats are accepted, but they behave very differently at 2 MB.
| JPG | PNG | GIF | |
|---|---|---|---|
| Compression | Lossy (adjustable quality) | Lossless | Lossless, limited to 256 colours |
| Photos, faces, video frames | Very good at high quality | Very good, but large files | Poor (colour banding) |
| Flat colours, bold text, logos | Good at high quality; artifacts at low quality | Excellent | Acceptable for very simple graphics |
| Transparency | No | Yes | Yes (on/off only) |
| Typical size at 1280 × 720 | Small | Often several times larger for photos | Varies |
When to Use JPG
Use JPG when the thumbnail is mostly photographic: a face, a product shot, a gameplay frame you captured yourself, a landscape. JPG compresses smooth gradients and fine texture efficiently, so a high-quality export usually lands far below 2 MB. Exported at a high quality setting, viewers will not see a difference from PNG at feed size.
When to Use PNG
Use PNG when the design is mainly flat colour blocks, large lettering, icons, and simple shapes, and the file still fits under 2 MB. PNG keeps hard edges around text perfectly clean, whereas a low-quality JPG can leave faint blocky "ringing" around letters.
Transparency Does Not Survive Upload
PNG transparency is useful while you build the design, for example a cut-out of yourself placed over a new backdrop. But a thumbnail is displayed as a full rectangle, so flatten everything onto a solid background before export. Do not rely on transparent areas in the final file.
A Format Cannot Add Detail
Saving a blurry image as PNG preserves the blur exactly; converting a heavily compressed JPG to PNG does not bring back what JPG discarded. A practical workflow is to keep your editable project (and a PNG master if you like), then export one final JPG or PNG for upload. MDN's image file type guide has more detail on how each format stores data.
Staying Under 2 MB Without Losing Quality
Resizing and compression solve different problems, and you often need both:
- Resizing reduces the number of pixels (for example 3840 × 2160 → 1280 × 720). Fewer pixels means a smaller file before any compression.
- Compression reduces how much data stores those pixels. Dimensions stay the same, file size drops.
If a thumbnail is over the limit, work through these in order:
- Check the dimensions. If it is larger than you need, resize it first. Do not crush a 4K image with heavy compression when a 1280 × 720 copy would fit easily at high quality.
- Check the format. A photo-heavy PNG is the most common reason a thumbnail exceeds 2 MB. Converting it with PNG to JPG usually solves the problem in one step.
- Lower JPG quality gradually. Start high (around 85 to 90 on a 0 to 100 scale) and step down only if needed. Compare each result with the original at 100% zoom and at small size. Stop as soon as the file fits.
- Use a target-size tool if you want a guaranteed result. The compress to 2 MB preset aims for a file just under the limit, and the main image compressor shows a before/after comparison so you can see what changed.
Where Compression Damage Shows First
Over-compression is easiest to spot in:
- Text edges: blocky halos or smudging around letters, especially thin or small fonts.
- Faces: skin turns waxy, and eyes and hair lose texture.
- Gradients and skies: visible bands of colour instead of smooth transitions.
- Sharp diagonal lines: stair-stepping and noise along edges.
If any of these appear, go back one quality step. A slightly larger file under 2 MB is always better than a smaller one with damaged text.
Avoid Saving the Same JPG Repeatedly
Every time you open a JPG, edit it, and save it as JPG again, the compression runs again and small losses add up. Keep the editable project file, make changes there, and export a fresh JPG each time.
Exporting an HD Thumbnail Step by Step
Here is a complete routine from blank canvas to upload.
Step 1: Start From the Best Source You Have
Use the original camera photo, a full-resolution screenshot, or a frame exported from your video file, not an image saved from a messaging app or downloaded from social media, which has usually been resized and compressed already. Use your own photos and footage, or images you have a licence to use.
Step 2: Set a 16:9 Canvas
Create a 1280 × 720 or 1920 × 1080 canvas before placing anything. Fit non-16:9 photos using the crop or canvas methods above.
Step 3: Scale Elements Down, Not Up
Shrinking a large photo onto the canvas keeps it sharp. Enlarging a small one makes it soft. If an element must be enlarged, do it once with a proper upscaler instead of dragging it bigger in your editor. The YouTube Thumbnail Enhancer upscales and sharpens a soft image and outputs it at 1280 × 720.
Step 4: Keep Text as Live Text Until Export
Type your headline directly in the design app rather than pasting in a screenshot of text, and keep it editable until the final export. For font size, outlines and contrast, see how to make YouTube thumbnail text clear and sharp.
Step 5: Sharpen Lightly, at Final Size
If you sharpen, do it once at the final export size and keep it subtle. Over-sharpening creates bright halos and exaggerates noise and JPEG blocks, which then get compressed again by YouTube.
Step 6: Export Once and Check the Numbers
Export a JPG (or PNG for graphics-only designs), then confirm three things in the file's properties: 16:9 dimensions, at least 1280 px wide, and under 2 MB.
Step 7: Preview It Small
Shrink the exported file to roughly the size of a thumbnail in a phone feed and look at it for a few seconds. The main subject and headline should still be recognizable. For layout, colour and composition decisions that affect clicks, see how to make a YouTube thumbnail that gets more clicks.
Step 8: Upload and Check the Live Result
Upload in YouTube Studio, then view the thumbnail on both a phone and a desktop. YouTube creates its own smaller copies of every thumbnail, so some softening at tiny sizes is normal. If it looks noticeably worse than your file, work through why a YouTube thumbnail looks blurry after upload.
Quick Reference
| Question | Answer |
|---|---|
| Aspect ratio | 16:9 |
| Recommended size | 1280 × 720 px (larger 16:9 is fine) |
| Minimum width | 640 px |
| Formats | JPG, GIF, PNG |
| File size limit | 2 MB |
| Best format for photos | High-quality JPG |
| Best format for flat graphics | PNG, if under 2 MB |
| Non-16:9 photo | Crop to 16:9 or place on a 16:9 canvas; never stretch |
| Too large | Resize first, then compress gradually |
Frequently Asked Questions
What is the correct YouTube thumbnail size?
Use a 16:9 image. YouTube's help page lists 1280 × 720 pixels with a minimum width of 640 pixels, in JPG, GIF or PNG, under 2 MB. You can design larger (1920 × 1080 or 3840 × 2160) as long as you keep 16:9 and the exported file stays under the size limit.
Is 1920 × 1080 better than 1280 × 720 for a YouTube thumbnail?
Both are 16:9 and both are accepted. 1920 × 1080 gives you more pixels to work with and can look slightly crisper on large screens, but it is harder to keep under 2 MB, especially as a PNG. A sharp 1280 × 720 file beats a soft, over-compressed 1080p one.
Should I upload my YouTube thumbnail as JPG or PNG?
For most thumbnails with faces, photos or video frames, a high-quality JPG is the practical choice because it stays well under 2 MB. Use PNG when the design is mostly flat colours, text and graphics and the file still fits under the limit. If unsure, export both and compare them at small size.
How do I reduce a thumbnail below 2 MB without making it blurry?
First make sure the image is not larger than you need, then export as JPG and lower the quality gradually instead of jumping to the lowest setting. Check text edges and faces after each step. A 1280 × 720 JPG at high quality is usually far below 2 MB.
How do I make a vertical or square photo fit a 16:9 thumbnail without cropping?
Do not stretch it. Either crop to 16:9 if the subject still fits, or place the whole photo on a 16:9 canvas in your editor and fill the sides with a solid colour, a gradient or a blurred, enlarged copy of the same photo.
Related articles
How to Change, Remove or Blur the Background of a YouTube Thumbnail
Remove, replace or blur the background of your own YouTube thumbnail, clean up distracting objects, and make the cutout look natural at 1280×720.
Why Does My YouTube Thumbnail Look Blurry After Upload? Causes and Fixes
A blurry, pixelated or low-quality YouTube thumbnail usually loses its sharpness before upload. Here is how to find the exact step and fix it.
How to Extract the Best Frame From Your Video for a YouTube Thumbnail
Find the sharpest moment in your own video, export it at full resolution instead of screenshotting a player, and turn it into a clean 1280×720 thumbnail.