
How to Make a YouTube Thumbnail the Right Size Without Cropping
Learn how to make a YouTube thumbnail the right size without cropping. Understand the correct aspect ratio, dimensions, resizing methods, and common mistakes.
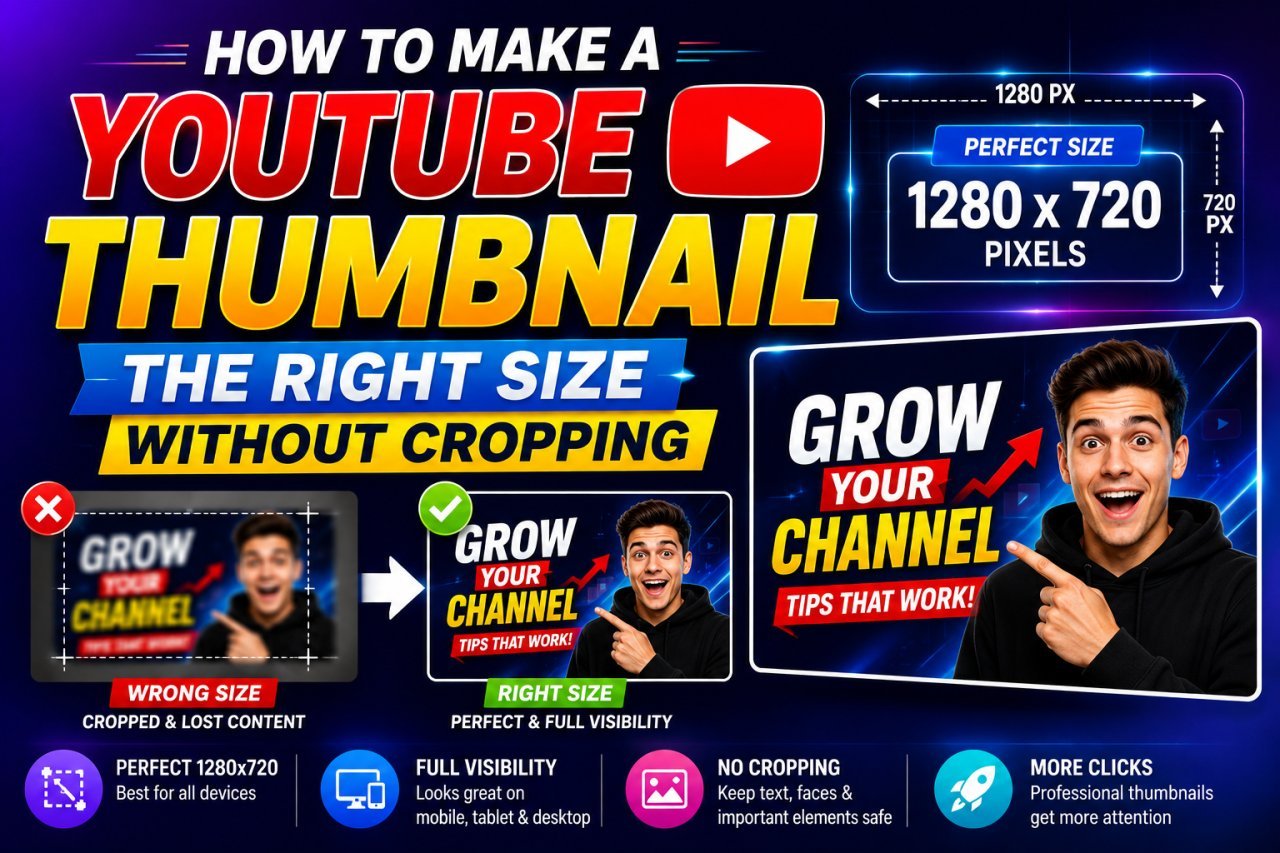
How to Make a YouTube Thumbnail the Right Size Without Cropping
If your YouTube thumbnail looks cropped, stretched, or cuts off important parts of the image after resizing, the problem is usually not the image itself. It is often the aspect ratio.
Learning how to make a YouTube thumbnail the right size without cropping starts with one simple rule: your design needs to fit the correct shape before you resize it.
For standard YouTube videos, the 16:9 aspect ratio is the key. YouTube recommends a 16:9 ratio for video thumbnails, with a minimum width of 640 pixels. YouTube's current guidance also recommends high-resolution thumbnails, including 3840 × 2160 pixels for videos.
That does not mean every thumbnail must be created at 3840 × 2160. What matters most when you want to avoid unwanted cropping is keeping the same 16:9 shape from the beginning.
This guide explains how to resize or create a YouTube thumbnail correctly, why cropping happens, and how beginners can avoid it.
-> All Tools -> YouTube Thumbnail Enhancer
Why This Topic Matters
A thumbnail is one of the first things viewers see when browsing YouTube.
If your thumbnail has been cropped incorrectly, several things can go wrong:
- A person's face may be cut off.
- Important text may disappear.
- A product may be pushed outside the frame.
- Logos can become partially hidden.
- The composition can look unbalanced.
- The thumbnail may appear different from the design you created.
The good news is that you usually don't need complicated editing software to solve the problem.
The most important thing is to understand the difference between resizing, cropping, and changing the canvas.
Once you know how these work, creating a properly sized thumbnail becomes much easier.
What Is the Correct YouTube Thumbnail Size?
For a standard YouTube video, the important measurement is the 16:9 aspect ratio.
A common working size is:
| Thumbnail property | Recommended approach |
|---|---|
| Aspect ratio | 16:9 |
| Common working size | 1280 × 720 px |
| High-resolution option | 3840 × 2160 px |
| Minimum width | 640 px |
| Common formats | JPG or PNG |
The most important point is to maintain the 16:9 aspect ratio.
For example:
- 1280 × 720 = 16:9
- 1920 × 1080 = 16:9
- 3840 × 2160 = 16:9
All three have the same shape.
The pixel dimensions can change, but the aspect ratio stays the same.
Why YouTube Thumbnails Get Cropped
Cropping usually happens when your original image and your thumbnail canvas have different aspect ratios.
For example, imagine you have a portrait image:
1080 × 1350 pixels
That image has a 4:5 ratio.
Now you try to force it into a standard YouTube thumbnail:
1280 × 720 pixels
The two shapes are very different.
If an editor tries to fill the entire 1280 × 720 canvas using the portrait image, part of the image has to be removed.
That is cropping.
Simple Example
If the important part of your image is a person's face and that face is positioned near the top or bottom of the original image, forcing the image into a wide 16:9 frame may remove part of the face or other important details.
This is why resizing alone is not always the right solution.
Resize vs Crop: What's the Difference?
These two terms are often used interchangeably, but they do different things.
Resizing
Resizing changes the dimensions of an image while keeping the image content.
For example:
1920 × 1080 → 1280 × 720
Both are 16:9, so the entire image can be resized without cropping.
Cropping
Cropping removes part of the original image.
For example, if your source image is square:
2000 × 2000
and you need a wide 16:9 thumbnail, an editor may remove part of the top and bottom to make the image fit.
Quick Comparison
| Action | What happens? | Risk of losing content |
|---|---|---|
| Resize | Changes image dimensions | Low if ratios match |
| Crop | Removes part of the image | High |
| Stretch | Changes proportions | Image can look distorted |
| Add canvas/background | Keeps original content inside a larger frame | Very low |
If your goal is specifically to make a YouTube thumbnail without cropping, resizing is ideal when your source image already has a 16:9 ratio.
If it does not, adding space around the image is often better than forcing it to fill the entire frame.
How to Make a YouTube Thumbnail Without Cropping
Method 1: Start With a 16:9 Canvas
This is the easiest method if you are designing a thumbnail from scratch.
Create a new design using a 16:9 canvas.
A practical option is:
1280 × 720 pixels
Then place your photos, text, logos, and graphics inside the canvas.
Because your design already has the correct shape, you don't need to crop the finished thumbnail just to make it fit YouTube.
Method 2: Resize a 16:9 Image
If your existing image is already 16:9, you can resize it without cropping.
For example:
1920 × 1080 → 1280 × 720
or:
3840 × 2160 → 1280 × 720
The shape stays the same.
Method 3: Add Space Instead of Cropping
If your photo is not 16:9, place the complete photo inside a 16:9 canvas.
You can then use:
- A blurred version of the photo as the background
- A solid background
- A branded background
- A gradient
- Additional design elements
This allows you to preserve the complete original image instead of cutting away important content.
Why Stretching the Image Is Usually a Bad Idea
Another common mistake is changing the width and height independently.
Imagine your original image is:
1000 × 1000 pixels
You change it directly to:
1280 × 720 pixels
The image has been squeezed horizontally or vertically.
A person's face may look wider. A product may look shorter. Circles can become ovals.
The thumbnail technically has the right dimensions, but it does not look professional.
Never sacrifice image proportions just to hit a specific pixel size.
Instead, maintain the original aspect ratio and use a suitable canvas when necessary.
A Beginner-Friendly Thumbnail Workflow
Here is a simple workflow you can use for almost every standard YouTube video.
- Create a 16:9 canvas.
- Place your main image inside it.
- Keep important subjects away from the extreme edges.
- Add your headline or text.
- Check the thumbnail at a small size.
- Export it as JPG or PNG.
- Make sure the final file meets YouTube's upload requirements.
For standard video thumbnails, YouTube recommends a 16:9 ratio.
Step 1: Choose Your Canvas
Start with a 16:9 canvas.
A practical option is:
1280 × 720 pixels
Step 2: Add Your Main Image
Place the main photo or graphic onto the canvas.
Do not immediately stretch it to fill every corner. First check whether its aspect ratio matches the canvas.
Step 3: Protect Important Content
Keep important elements such as faces, product details, numbers, short text, logos, and before-and-after results away from the extreme edges.
Step 4: Add Text
Use short, readable text rather than filling the thumbnail with a paragraph.
Step 5: Check at Small Size
Zoom out before exporting. Make sure the main subject and message are still easy to recognize.
Step 6: Export
Save the final image as JPG or PNG and check the file size before uploading.
Understanding Aspect Ratio Before Resizing
The easiest way to prevent unwanted cropping is to check the aspect ratio before changing the image size.
Aspect ratio describes the relationship between an image's width and height.
For a standard YouTube thumbnail, that relationship is 16:9.
Here are some common 16:9 dimensions:
| Width | Height | Ratio |
|---|---|---|
| 640 px | 360 px | 16:9 |
| 1280 px | 720 px | 16:9 |
| 1920 px | 1080 px | 16:9 |
| 2560 px | 1440 px | 16:9 |
| 3840 px | 2160 px | 16:9 |
The numbers are different, but the shape is identical.
This means an image created at 1920 × 1080 can generally be reduced to 1280 × 720 without changing the composition.
The problem starts when the original image has another ratio, such as 1:1, 4:5, or 9:16.
Instead of forcing a different-shaped image into the thumbnail, create a 16:9 canvas and position the original image inside it.
That approach gives you much more control over what remains visible.
Keep Important Elements Away From the Edges
Even when your thumbnail has the correct dimensions, placing important content directly against the edge can create problems.
Keep some visual space around:
- Faces
- Text
- Product names
- Logos
- Numbers
- Important objects
For example, if a person's face touches the left edge of the thumbnail, the design can feel cramped.
Instead, leave enough breathing room around the subject.
This is not a guarantee against every possible display variation, but it is a good design practice and makes the thumbnail easier to understand.
A Simple Composition Rule
Think of your thumbnail as three areas:
Main subject → Supporting visual → Short text
Don't try to fill every available pixel.
A clean thumbnail with one strong idea is usually easier to understand than one packed with too many elements.
Practical Examples
Example 1: 1920 × 1080 Photo
Your photo is:
1920 × 1080
This is already 16:9.
You can resize it to:
1280 × 720
without cropping, assuming the editing tool maintains the aspect ratio.
Example 2: 2000 × 2000 Square Photo
Your image is:
2000 × 2000
This is a 1:1 ratio, not 16:9.
If you force it into a 1280 × 720 frame, part of the image may be cropped.
A better option is to place the square image inside a 1280 × 720 canvas and use the extra horizontal space as part of the design.
Example 3: Smartphone Portrait Photo
Suppose your photo is:
1080 × 1920
This is a vertical 9:16 image.
Trying to make the entire photo fill a horizontal 16:9 thumbnail will require substantial cropping.
Instead, place the portrait image on a 16:9 background.
You can enlarge the background version, blur it, and keep the original portrait image visible in the foreground.
Example 4: Existing Thumbnail Is Already 16:9
If your old thumbnail is:
1280 × 720
and you want a larger version, you can maintain the same ratio while increasing the dimensions.
The important thing is to keep the proportions locked during resizing.
Which Method Should You Use?
| Method | Keeps Full Image? | Risk of Distortion | Best For |
|---|---|---|---|
| Resize with locked ratio | Yes | Low | Existing 16:9 images |
| Crop to fill | No | Low | Images where some content can be removed |
| Stretch to fit | Yes | High | Generally avoid |
| Add background/canvas | Yes | Low | Portrait or square images |
| Rebuild design on 16:9 canvas | Yes | Low | New thumbnails |
| Use blurred background | Yes | Low | Photos that don't match 16:9 |
For the specific goal of making a YouTube thumbnail without cropping, the safest choices are usually locked-ratio resizing or placing the image on a 16:9 canvas.
Best Practices for a Professional Thumbnail
Use these practices every time you create or resize a thumbnail:
- Start with a 16:9 canvas for standard horizontal YouTube videos.
- Keep the aspect ratio locked when resizing.
- Don't stretch images to fit.
- Use a background when the source image has a different ratio.
- Keep the main subject easy to recognize.
- Leave breathing room around important text.
- Use short, readable thumbnail text.
- Check the design at a small viewing size.
- Avoid unnecessary visual clutter.
- Export in a supported image format.
- Check the final file size before uploading.
- Review YouTube's current thumbnail requirements when publishing.
The goal is not simply to make the image technically fit.
The goal is to make sure the entire design remains clear, balanced, and recognizable after resizing.
Conclusion
Making a YouTube thumbnail the right size without cropping is mainly about understanding aspect ratio, not simply changing the pixel dimensions.
For standard horizontal YouTube videos, a 16:9 canvas is the safest starting point. If your original image is already 16:9, you can resize it proportionally without removing any important content.
When the original image is square, portrait, or another shape, don't force it into a 16:9 frame. Instead, place the complete image on a 16:9 canvas and use the surrounding space as part of the design.
Avoid stretching images because it can distort faces, products, logos, and other visual elements.
Before uploading, check the thumbnail at a small size, make sure important elements are clearly visible, and confirm that the final file follows YouTube's current requirements.
The goal is simple: use the correct ratio, preserve the important content, and create a thumbnail that remains clear at every size.
Key Takeaways
- Use a 16:9 aspect ratio for standard horizontal YouTube video thumbnails.
- 1280 × 720 pixels is a practical 16:9 working size.
- YouTube's current guidance recommends high-resolution thumbnails, including 3840 × 2160 pixels for videos.
- Resize proportionally when your original image is already 16:9.
- Don't stretch an image to force it into the correct dimensions.
- If your image is square or vertical, use a 16:9 canvas instead of automatically cropping it.
- Keep faces, text, logos, and important objects away from the extreme edges.
- Preview the thumbnail at a small size before uploading.
- Always check YouTube's current upload requirements because platform specifications can change.
Call To Action
Need a quick way to prepare your image for YouTube?
Use Image EditPro to resize and prepare your images while keeping the original composition under control. Start with the correct 16:9 canvas, position your image carefully, and create a thumbnail that looks clean without unnecessary cropping.
Create your YouTube thumbnail with the right size and keep your important content visible.
1. What is the correct size for a YouTube thumbnail?
For standard YouTube video thumbnails, the recommended aspect ratio is 16:9. A commonly used working size is 1280 × 720 pixels, while YouTube's current guidance recommends high-resolution thumbnails, including 3840 × 2160 pixels for videos.
2. How do I resize a YouTube thumbnail without cropping?
First check whether the original image is 16:9. If it is, resize it proportionally with the aspect ratio locked. If the image has a different shape, place it on a 16:9 canvas instead of forcing it to fill the frame.
3. Why does my YouTube thumbnail keep getting cropped?
Cropping usually happens when the original image and the thumbnail canvas have different aspect ratios. For example, a square or portrait image may be cropped when it is forced into a wide 16:9 frame.
4. Is 1280 × 720 a good YouTube thumbnail size?
Yes. 1280 × 720 has the correct 16:9 aspect ratio and is a practical size for creating standard YouTube thumbnails. YouTube's current documentation also provides higher-resolution recommendations for video thumbnails.
5. Can I use a portrait photo as a YouTube thumbnail without cropping?
Yes. Instead of cropping the portrait photo, place it on a 16:9 canvas. You can use a background, blurred version of the image, gradient, or other design elements to fill the unused space.
6. What file format should I use for a YouTube thumbnail?
JPG and PNG are commonly supported formats for YouTube thumbnails. You should also check the current YouTube file-size requirements before uploading because limits can depend on the upload method.
7. How can I make sure my thumbnail looks good after resizing?
Check the thumbnail at a small viewing size before uploading. Make sure the main subject, text, and important details are still easy to recognize. Also confirm that the image has the correct aspect ratio and has not been stretched or unintentionally cropped.
Ready to optimize your images?
Every tool mentioned in this article is free to use. No upload, no signup, and no watermarks — ever.
Try our free toolsRelated articles
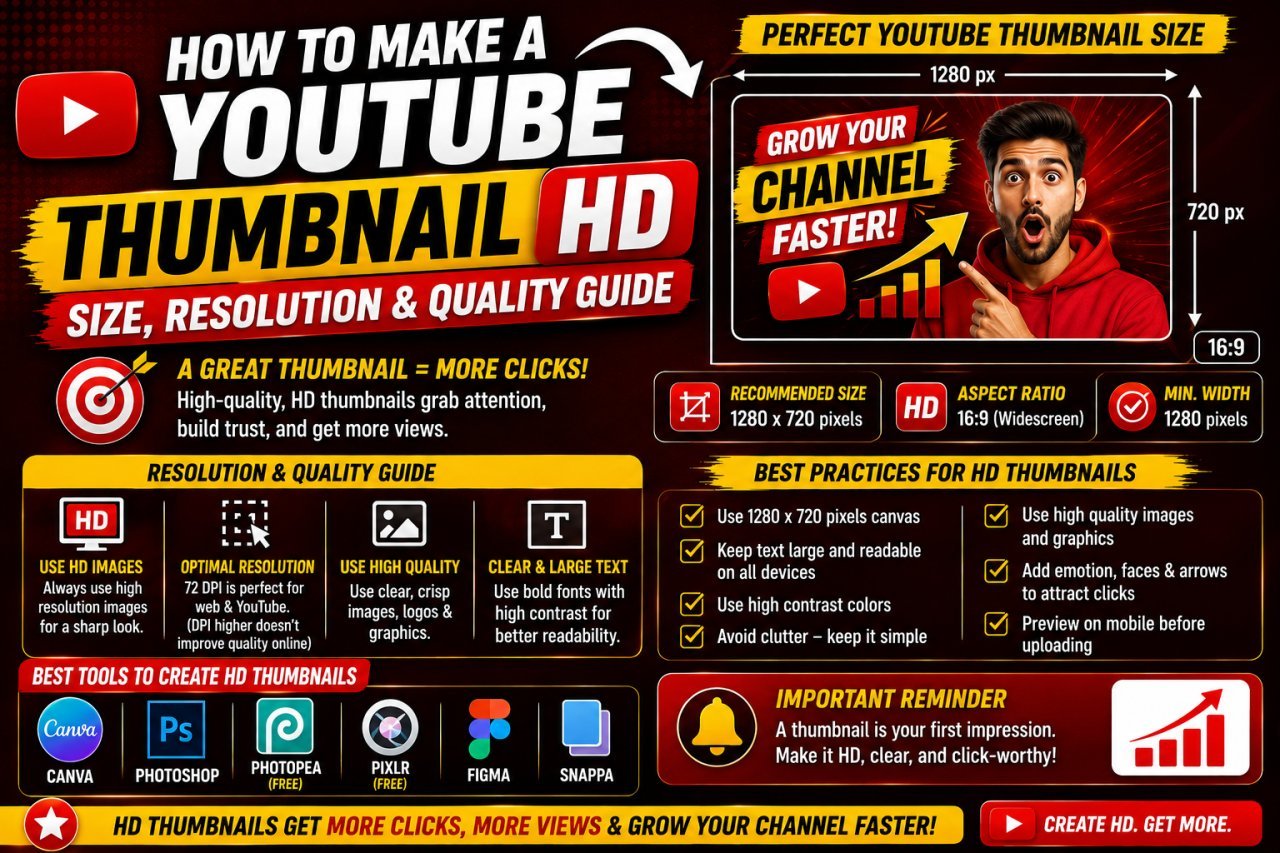
How to Make a YouTube Thumbnail HD: Size, Resolution & Quality Guide
Learn how to make a YouTube thumbnail HD with the right size, resolution, image quality, and export settings. Create sharp thumbnails without blur or pixelation.
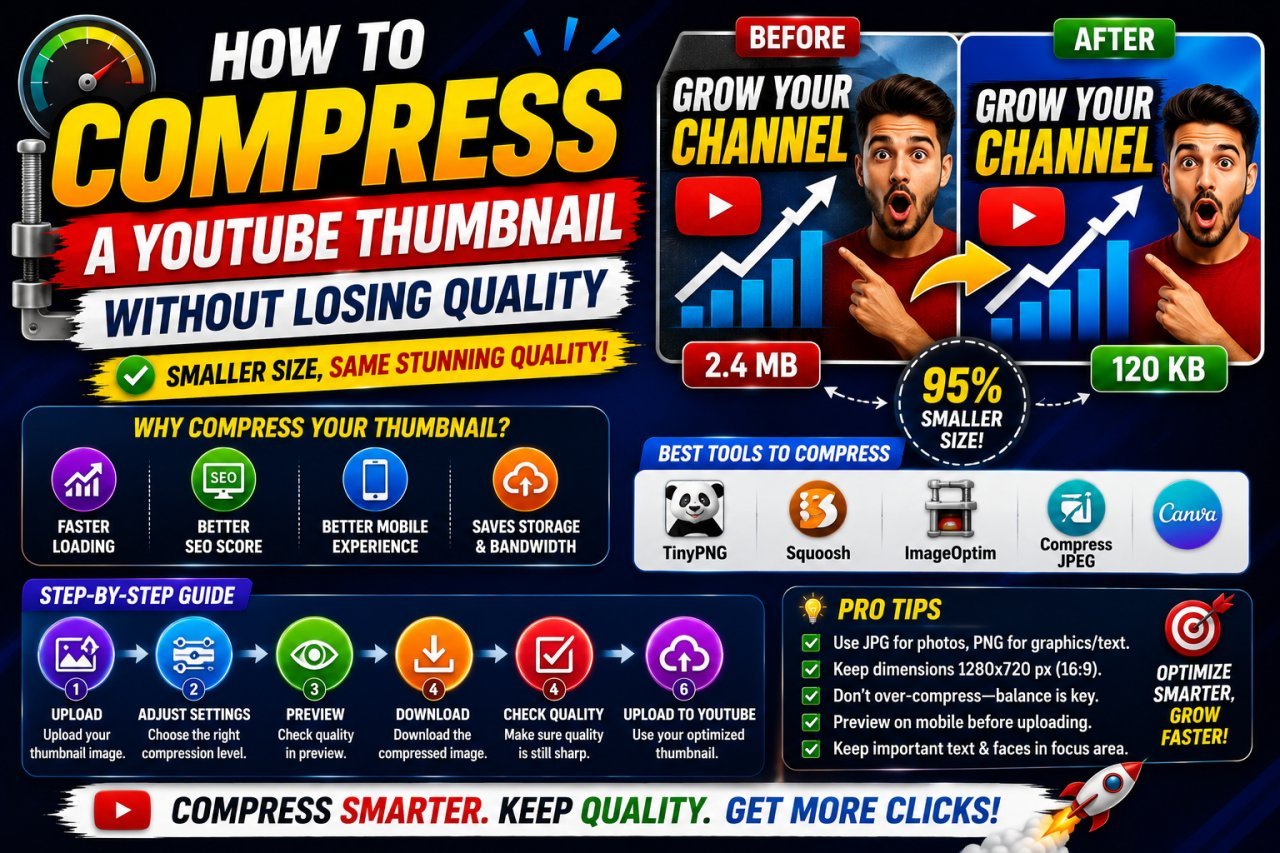
How to Compress a YouTube Thumbnail Without Losing Quality
Learn how to compress a YouTube thumbnail without losing quality using the right dimensions, file format, compression settings, and simple image optimization techniques.
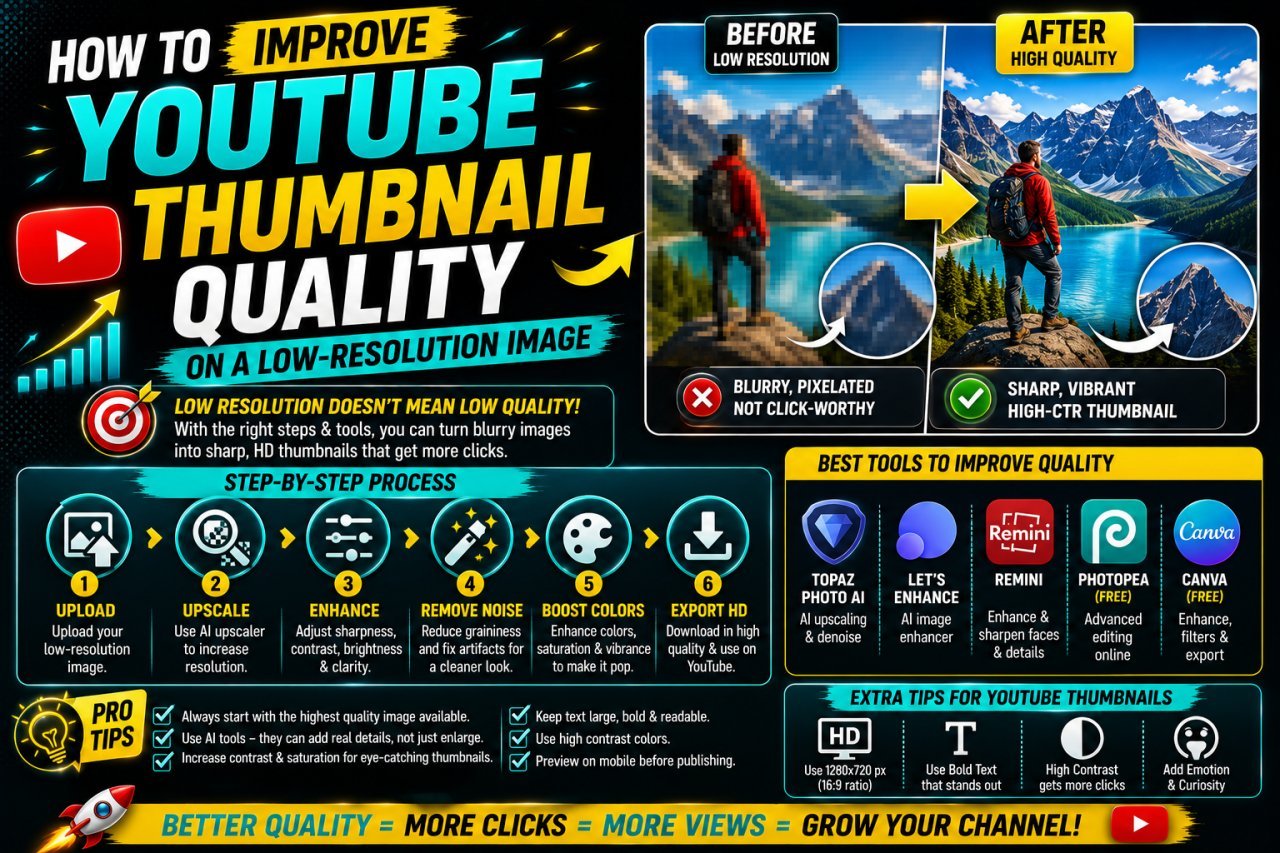
How to Improve YouTube Thumbnail Quality on a Low-Resolution Image
Learn how to improve YouTube thumbnail quality on a low-resolution image using resizing, sharpening, background techniques, compression control, and better export settings.