
How to Improve YouTube Thumbnail Quality on a Low-Resolution Image
Learn how to improve YouTube thumbnail quality on a low-resolution image using resizing, sharpening, background techniques, compression control, and better export settings.
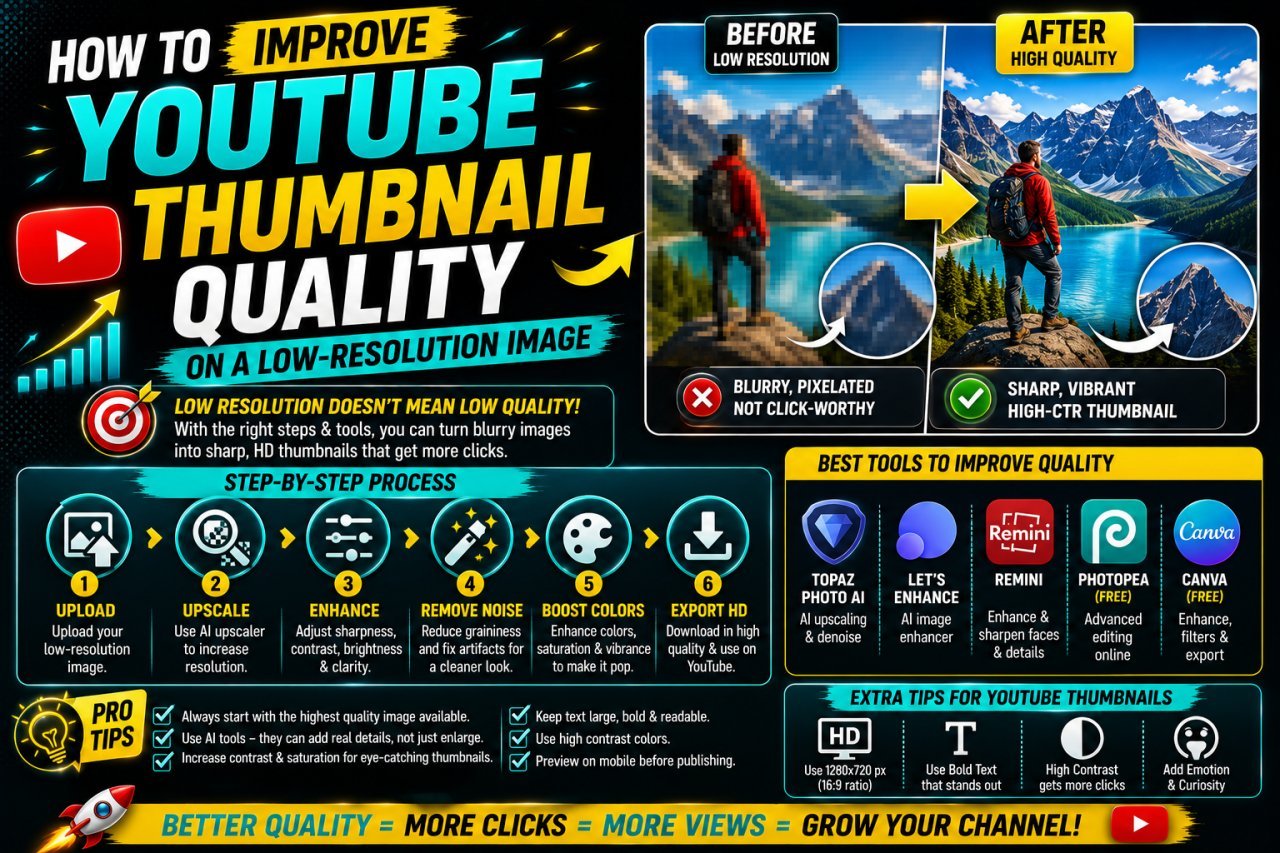
How to Improve YouTube Thumbnail Quality on a Low-Resolution Image
A low-resolution image can make a YouTube thumbnail look blurry, pixelated, or soft. This becomes especially noticeable when you enlarge a small image to fit a standard YouTube thumbnail canvas.
The good news is that you can often improve YouTube thumbnail quality on a low-resolution image with the right editing workflow.
However, there is an important limitation to understand first: you cannot recover detail that was never captured in the original image. Increasing the pixel dimensions can make an image larger, but it does not automatically make the original details sharper.
The best approach is to improve what you can while avoiding edits that make the image look artificial.
For a standard horizontal YouTube video, the thumbnail should use a 16:9 aspect ratio. YouTube's current Help documentation recommends a minimum width of 640 pixels and recommends high-resolution video thumbnails, including 3840 × 2160 pixels. YouTube Help — Add custom thumbnails
In this guide, you'll learn how to work with low-resolution images, when upscaling helps, how sharpening should be used, how to avoid distortion, and how to create the best possible thumbnail from the source you have.
Why Do Low-Resolution Images Look Blurry?
An image is made up of pixels.
When an image has relatively few pixels and you enlarge it significantly, those pixels have to cover a much larger area.
For example, imagine you have a small image:
600 × 400 pixels
You want to use it in a much larger thumbnail design.
When enlarged, the editing software needs to estimate additional pixels or interpolate between existing ones.
This can result in:
- Soft edges
- Blurry faces
- Blocky details
- Jagged lines
- Loss of texture
- Soft text
- Visible pixel patterns
The problem becomes more noticeable when the original image contains important fine details.
A Simple Example
Imagine a small photograph of a person.
At its original size, the face may look acceptable.
After significant enlargement, you may notice that:
- Eyes lose detail.
- Hair looks soft.
- Skin texture disappears.
- Edges become less defined.
Increasing the canvas size does not recreate those original details.
This is why starting with the best available source image is always preferable.
What Is a Low-Resolution Image?
There isn't one universal pixel number that automatically makes an image "low resolution."
It depends on how large the image needs to be displayed and what you're using it for.
For a YouTube thumbnail, an image may become problematic when its original dimensions are too small for the size of the final design.
For example:
| Original image | Intended thumbnail | Potential issue |
|---|---|---|
| 400 × 300 px | 1280 × 720 px | Significant enlargement |
| 600 × 400 px | 1920 × 1080 px | Likely softness |
| 800 × 800 px | 1280 × 720 px | Ratio and enlargement issue |
| 1280 × 720 px | 1280 × 720 px | Suitable dimensions |
| 1920 × 1080 px | 1920 × 1080 px | Suitable dimensions |
These examples are only practical illustrations.
Image quality also depends on factors such as focus, compression, lighting, source format, and the quality of the original capture.
So don't judge an image only by its pixel dimensions.
A small but sharp image may still work reasonably well when viewed as a small thumbnail, while a larger but heavily compressed image may look poor.
Step 1: Check the Original Image Before Editing
Before trying to improve a low-resolution thumbnail image, find the best original version available.
This simple step can make a bigger difference than adding multiple filters.
Look for:
- The original camera photo
- The original screenshot
- The original design file
- A higher-quality download
- An original product image
- An uncompressed version
- A larger version from the legitimate source
Avoid using a screenshot of an already compressed image when the original file is available.
Why This Matters
Suppose you have this chain:
Original photo → social media upload → screenshot → thumbnail
The screenshot may contain less detail than the original.
Instead, try to work from:
Original photo → thumbnail
The fewer unnecessary quality-loss steps, the better.
Keep the Original Safe
Never overwrite your original image while experimenting.
Create a separate working copy.
That way, if sharpening, resizing, or other edits don't work, you can start again without losing the source.
Step 2: Use the Correct YouTube Thumbnail Canvas
For a standard horizontal YouTube video, start with a 16:9 canvas.
Common 16:9 dimensions include:
| Canvas size | Ratio |
|---|---|
| 1280 × 720 px | 16:9 |
| 1920 × 1080 px | 16:9 |
| 2560 × 1440 px | 16:9 |
| 3840 × 2160 px | 16:9 |
YouTube's current documentation recommends 3840 × 2160 pixels for video thumbnails and specifies a minimum width of 640 pixels. YouTube Help — Add custom thumbnails
The canvas and the source image are two different things.
Your canvas can be large while the source image is small.
The challenge is deciding how to use the small source image without making its limitations obvious.
Don't Stretch the Source
If your low-resolution image has the correct ratio, resize it proportionally.
If it doesn't match 16:9, consider placing it on the canvas rather than stretching it.
This prevents people, products, and objects from appearing unnaturally wide or narrow.
Step 3: Upscale the Image Carefully
Upscaling means increasing the pixel dimensions of an image.
For example:
800 × 600 → 1600 × 1200
The image becomes larger, but the software has to estimate the new pixel information.
Traditional resizing methods may produce a softer result, while modern image-enhancement tools can sometimes produce a more visually pleasing enlargement.
But there is an important rule:
Upscaling can improve usability, but it cannot guarantee genuine recovery of missing detail.
If the original face is already heavily pixelated, enlarging it may simply make the pixelation easier to see.
When Upscaling Can Help
Upscaling can be useful when:
- The source is reasonably sharp.
- The image only needs moderate enlargement.
- The thumbnail will be viewed relatively small.
- You need additional working space.
- The enhancement tool produces a natural result.
When Upscaling May Not Help Much
Be cautious when:
- The source is extremely tiny.
- The image is badly out of focus.
- Details are already missing.
- The source contains heavy compression artifacts.
- You enlarge it several times.
The goal is not to make the image as large as possible.
The goal is to make it usable and visually clean.
Step 4: Use Sharpening Carefully
Sharpening can make edges appear more defined.
It can be useful after resizing because enlargement can make an image appear softer.
However, sharpening does not recreate missing information.
If you sharpen too aggressively, you may create:
- Harsh outlines
- Bright halos
- Artificial-looking skin
- Excessive noise
- Jagged edges
- Unnatural details
A Better Approach
Use moderate sharpening and compare the result with the original.
Ask yourself:
Does this look clearer, or does it simply look more processed?
If the image starts showing obvious halos around faces, objects, or text, reduce the sharpening.
For thumbnails, subtle improvements are usually preferable to extreme processing.
Step 5: Improve Contrast and Lighting
Sometimes an image looks low quality because it has poor contrast rather than because it has extremely low resolution.
A small adjustment to brightness, contrast, highlights, shadows, or exposure can make the subject easier to see.
For example, if the subject blends into a similarly colored background, improving separation can make the thumbnail look clearer.
Focus on the Main Subject
You don't necessarily need to improve every pixel.
Instead, make the important part of the thumbnail stand out.
For example:
- Brighten a person's face slightly.
- Increase separation between subject and background.
- Darken a distracting background.
- Improve contrast around the main object.
- Use a subtle outline or shadow where appropriate.
This is particularly useful because YouTube thumbnails are often viewed as relatively small images.
A clear subject can matter more than preserving every tiny detail.
Step 6: Use the Background to Your Advantage
If the main image is small, you don't always need to make it fill the entire thumbnail.
Instead, use the image as the main subject and build a clean background around it.
For example, you could:
- Duplicate the image.
- Enlarge the duplicate to cover the canvas.
- Apply a strong blur to the background copy.
- Place the sharper original subject over it.
- Add text in an open area.
This technique can reduce the visual importance of the low-resolution edges because the viewer's attention is directed toward the main subject.
It is especially useful for portrait or square images that don't naturally fit a 16:9 thumbnail.
The background should support the subject rather than compete with it.
Can AI Upscaling Improve a Low-Resolution YouTube Thumbnail?
AI upscaling can be useful when your original image is too small for the thumbnail canvas.
Unlike basic resizing, AI-based enhancement tools attempt to estimate missing visual information and create a larger-looking image with improved edges and detail.
However, it is important to keep expectations realistic.
AI upscaling does not guarantee that a low-resolution image will become identical to a high-resolution original.
Depending on the source, an enhancement tool may produce:
- Cleaner edges
- More defined facial features
- Better-looking textures
- Less obvious pixelation
- A more usable enlarged image
But it can also introduce unwanted details.
For example, an AI tool may change the appearance of:
- Facial features
- Hair
- Text
- Product details
- Patterns
- Small objects
Best Practice
Always compare the enhanced image with the original.
If the enhanced version looks unnatural, use a smaller enlargement or try a different source image.
For a YouTube thumbnail, natural-looking quality is more important than maximum enlargement.
Crop Strategically Instead of Enlarging Everything
You don't always need the entire low-resolution image in your thumbnail.
Sometimes a carefully chosen crop can produce a stronger result.
Suppose your original image contains a person standing in a large empty area.
Instead of enlarging the entire image until the person fills the canvas, you can crop toward the important subject.
This can make the subject more noticeable.
But Don't Crop Too Much
Aggressive cropping can make low resolution more obvious because fewer pixels are available to represent the subject.
Use cropping when it improves the composition, not simply to hide the image's limitations.
Before cropping, identify:
- The main face
- The product
- The important object
- The action
- The area containing useful visual information
Then build the thumbnail around that focal point.
Good cropping removes distractions. Bad cropping removes useful information.
Best Ways to Improve a Low-Resolution Thumbnail Image
| Method | What It Does | Main Benefit | Main Limitation |
|---|---|---|---|
| Better original | Replaces poor source | Highest potential quality improvement | May not be available |
| Standard resizing | Changes dimensions | Simple and predictable | Doesn't recreate missing detail |
| AI upscaling | Estimates additional detail | Can make enlargement look better | May create artificial details |
| Sharpening | Defines edges | Can reduce a soft appearance | Too much creates halos |
| Contrast adjustment | Improves visual separation | Makes subjects easier to see | Doesn't add resolution |
| Background blur | Reduces attention on weak areas | Useful for small subjects | Doesn't improve source detail |
| Strategic cropping | Focuses on important content | Stronger composition | Can remove useful information |
| Better export | Reduces unnecessary quality loss | Preserves final image quality | Can't fix a poor source |
There is no single technique that works for every image.
Often, the best result comes from combining moderate resizing, careful sharpening, good composition, and appropriate export settings.
How to Make a Low-Resolution Thumbnail Look Sharper
If your image looks soft, don't immediately apply maximum sharpening.
Work through the problem in stages.
Step 1: Improve the Source
Look for a larger or cleaner version of the image.
Step 2: Resize Correctly
Keep the aspect ratio locked.
Step 3: Improve Subject Separation
Adjust brightness or contrast so the main subject stands out.
Step 4: Apply Moderate Sharpening
Sharpen only enough to improve edge definition.
Step 5: Simplify the Design
If the image itself is soft, don't cover it with excessive text, effects, stickers, or graphic elements.
A simple design can make a modest-quality image look more intentional.
Step 6: Preview at Small Size
This step is often overlooked.
Zoom the thumbnail out or view it at approximately the size viewers may see it.
If the main subject and message remain clear, the design is doing its job.
You don't need every individual pixel to look perfect when the thumbnail is viewed at a smaller size.
Best Practices for Improving Thumbnail Quality
Follow these guidelines when your source image isn't ideal.
1. Find the Best Source First
Before editing, search your own files for the original version.
2. Keep the 16:9 Canvas
For standard horizontal YouTube videos, build the thumbnail around a 16:9 canvas.
YouTube's current Help documentation recommends high-resolution video thumbnails, including 3840 × 2160 pixels, with a minimum width of 640 pixels. YouTube Help — Add custom thumbnails
3. Upscale Moderately
Don't enlarge a tiny image more than necessary.
4. Sharpen Carefully
Use sharpening to improve perceived clarity, not to manufacture detail.
5. Design Around the Source
If the photograph is weak, use composition, background treatment, and typography to create a stronger overall design.
6. Keep the Subject Large Enough
Viewers should be able to understand the main visual idea quickly.
7. Use Simple Typography
Short text is generally easier to read than a long sentence.
8. Avoid Excessive Compression
Export at a quality level that preserves the image without unnecessary degradation.
9. Keep an Editable Master
Save your working file so future revisions don't require editing a previously compressed image.
10. Inspect Before Uploading
Always look at the actual exported thumbnail before adding it to YouTube.
When Is a Low-Resolution Image Too Low-Quality to Use?
Sometimes editing cannot produce a satisfactory result.
Your source may be too poor when:
- The face is already heavily pixelated.
- Important objects are only a few pixels wide.
- Text inside the source image is unreadable.
- Strong compression blocks are visible.
- The photograph is severely out of focus.
- Enlarging it produces obvious artificial details.
- The image contains severe artifacts.
In these situations, spending more time on filters may not help.
A better option is often to find:
- Another photograph from the same shoot.
- A different frame from the video.
- A higher-resolution original.
- A properly licensed replacement image.
- An original design asset.
Don't Force a Bad Source
A strong thumbnail doesn't require every image to be perfect.
But if the central subject is visibly damaged, replacing the source is usually better than hiding the problem with heavy effects.
What Should You Do With Your Image?
| Your Situation | Recommended Approach |
|---|---|
| Image is slightly small but sharp | Resize proportionally |
| Image is moderately small | Try careful upscaling |
| Image is soft after resizing | Apply moderate sharpening |
| Image is portrait | Use a 16:9 canvas |
| Image is square | Position it on a 16:9 canvas |
| Background is poor | Use a cleaner or blurred background |
| Image has too much empty space | Crop strategically |
| Image is heavily pixelated | Find a better source |
| Image has compression artifacts | Look for the original file |
| Face is blurry | Use another frame/photo if available |
| Text in source is tiny | Recreate the text in the thumbnail design |
| Image looks artificial after enhancement | Reduce enhancement or replace source |
The right solution depends on why the image looks poor in the first place.
Diagnose the problem before applying an effect.
Low-Resolution Thumbnail Quality Checklist
Before publishing, ask:
- Did I use the best original image available?
- Is my canvas 16:9?
- Did I avoid stretching the source?
- Did I upscale only as much as necessary?
- Does the face or main subject look natural?
- Did I avoid excessive sharpening?
- Are compression artifacts visible?
- Is the main subject easy to recognize?
- Is the thumbnail readable at a small size?
- Is the text short and clear?
- Does the background support the subject?
- Did I avoid unnecessary effects?
- Did I export from the editable master?
- Did I inspect the final exported image?
- Does the final file meet YouTube's current thumbnail requirements?
Conclusion
Learning how to improve YouTube thumbnail quality on a low-resolution image is mainly about making smart improvements rather than simply increasing the image size.
A small or blurry source image cannot always be transformed into a genuinely high-resolution photograph. However, you can often make the final thumbnail look much better by using the right source, resizing carefully, improving contrast, applying moderate sharpening, and designing the thumbnail around the strongest part of the image.
For a standard horizontal YouTube video, maintain a 16:9 aspect ratio. YouTube's current Help documentation recommends high-resolution video thumbnails and lists 3840 × 2160 pixels as the recommended resolution, with a minimum width of 640 pixels. YouTube Help — Add custom thumbnails
The most important lesson is simple:
Don't try to fix everything with upscaling.
First, look for a better original image. Then resize it correctly, enhance it carefully, and build a thumbnail design that directs attention toward the main subject.
A well-composed thumbnail made from a modest source can be more effective than an oversized image covered with aggressive sharpening and unnecessary effects.
Call To Action
Have a small or low-resolution image that you want to use for a YouTube thumbnail?
Use Image EditPro to resize, improve, and prepare your image for your thumbnail workflow. You can start with your existing image, maintain the correct proportions, and create a cleaner 16:9 design without relying on excessive editing effects.
Improve your image, create a better thumbnail, and get your video ready for YouTube.
1. Can I improve the quality of a low-resolution YouTube thumbnail?
Yes. You can often improve its appearance through careful resizing, moderate upscaling, sharpening, contrast adjustments, better composition, and suitable export settings. However, missing original detail cannot always be fully recovered.
2. How can I make a low-resolution image look better for YouTube?
Start with the best original image available. Place it on a 16:9 canvas, resize it proportionally, upscale only when necessary, apply moderate sharpening, improve contrast, and use a clean background and readable text.
3. Does upscaling make a low-resolution image HD?
Upscaling increases the pixel dimensions of an image, but it does not automatically restore all missing detail. Modern enhancement tools can sometimes produce a better-looking enlargement, but the result depends on the quality of the original image.
4. What is the best size for a YouTube thumbnail?
For standard horizontal YouTube video thumbnails, YouTube's current Help documentation recommends 3840 × 2160 pixels and a 16:9 aspect ratio. It also specifies a minimum width of 640 pixels. YouTube Help — Add custom thumbnails
5. Why does my YouTube thumbnail look blurry after resizing?
The original image may not contain enough detail for the larger dimensions. Other possible causes include excessive enlargement, compression, incorrect export settings, or an already blurry source image.
6. Should I sharpen a low-resolution image before using it in a thumbnail?
You can use moderate sharpening after resizing if the image looks soft. Avoid excessive sharpening because it can create halos, harsh edges, noise, and an artificial appearance.
7. Can AI improve a blurry YouTube thumbnail?
AI enhancement tools can sometimes make a low-resolution image look cleaner or more detailed. However, they may also generate inaccurate or artificial-looking details. Always compare the enhanced version with the original before using it.
8. How do I prevent a low-resolution image from looking pixelated?
Use the highest-quality original available, avoid extreme enlargement, resize proportionally, use careful enhancement, and keep the main subject large enough to remain visually clear. If the source is severely pixelated, replace it when possible.
9. Can I use a portrait image for a YouTube thumbnail?
Yes. Instead of stretching or aggressively cropping the portrait image, place it on a 16:9 canvas and use the surrounding space for a suitable background, text, or other design elements.
10. What should I do if my image is too low-resolution to fix?
If the image remains visibly pixelated, blurry, or artificial after reasonable editing, look for a better source. An original photograph, another video frame, or a properly licensed replacement image may produce a much better thumbnail.
Ready to optimize your images?
Every tool mentioned in this article is free to use. No upload, no signup, and no watermarks — ever.
Try our free toolsRelated articles
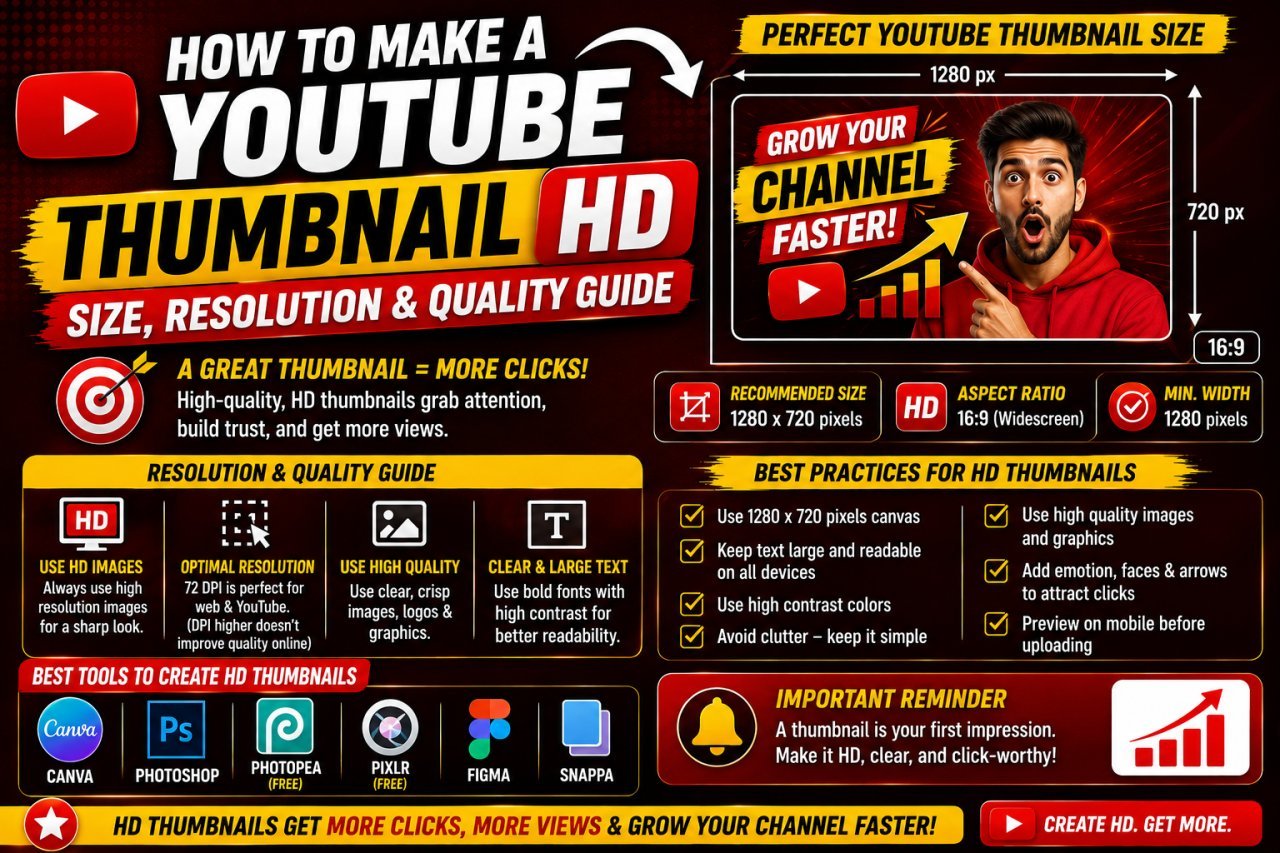
How to Make a YouTube Thumbnail HD: Size, Resolution & Quality Guide
Learn how to make a YouTube thumbnail HD with the right size, resolution, image quality, and export settings. Create sharp thumbnails without blur or pixelation.
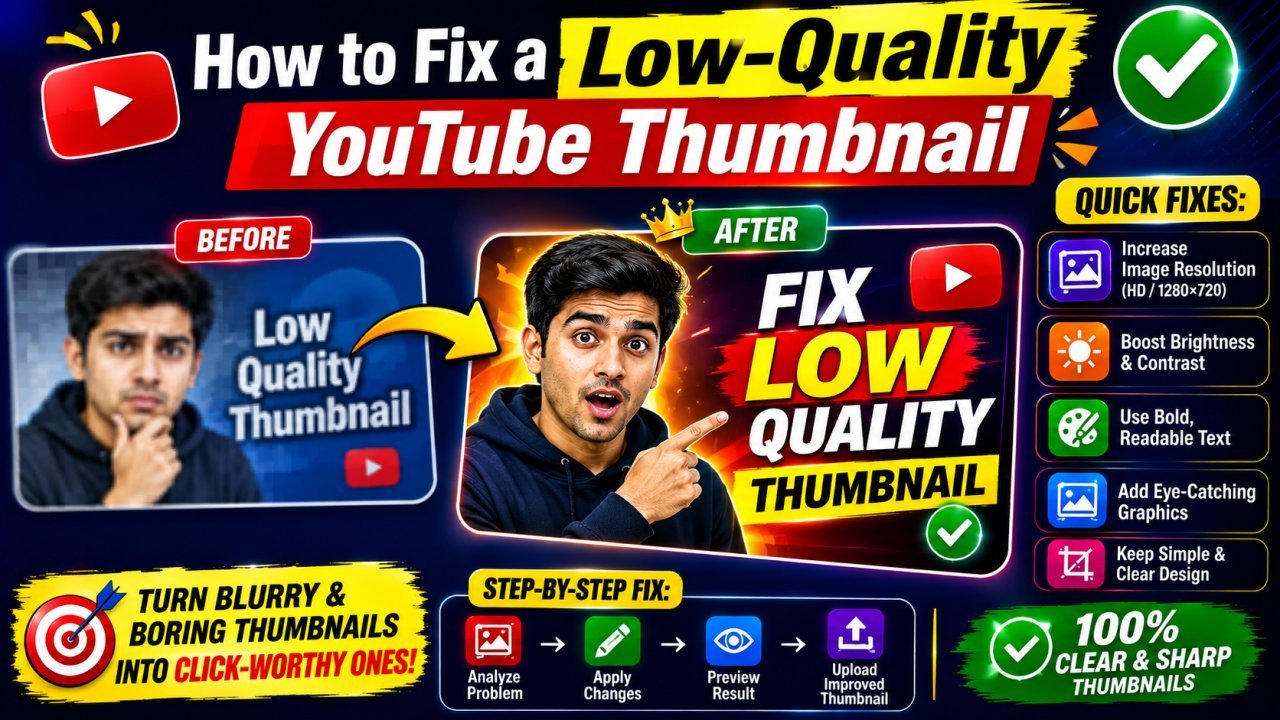
How to Fix a Low-Quality YouTube Thumbnail
Learn how to fix a low-quality YouTube thumbnail by improving resolution, sharpness, colors, text, and composition. This beginner-friendly guide explains practical ways to make blurry, pixelated, compressed, or dull thumbnails look clearer and more professional.
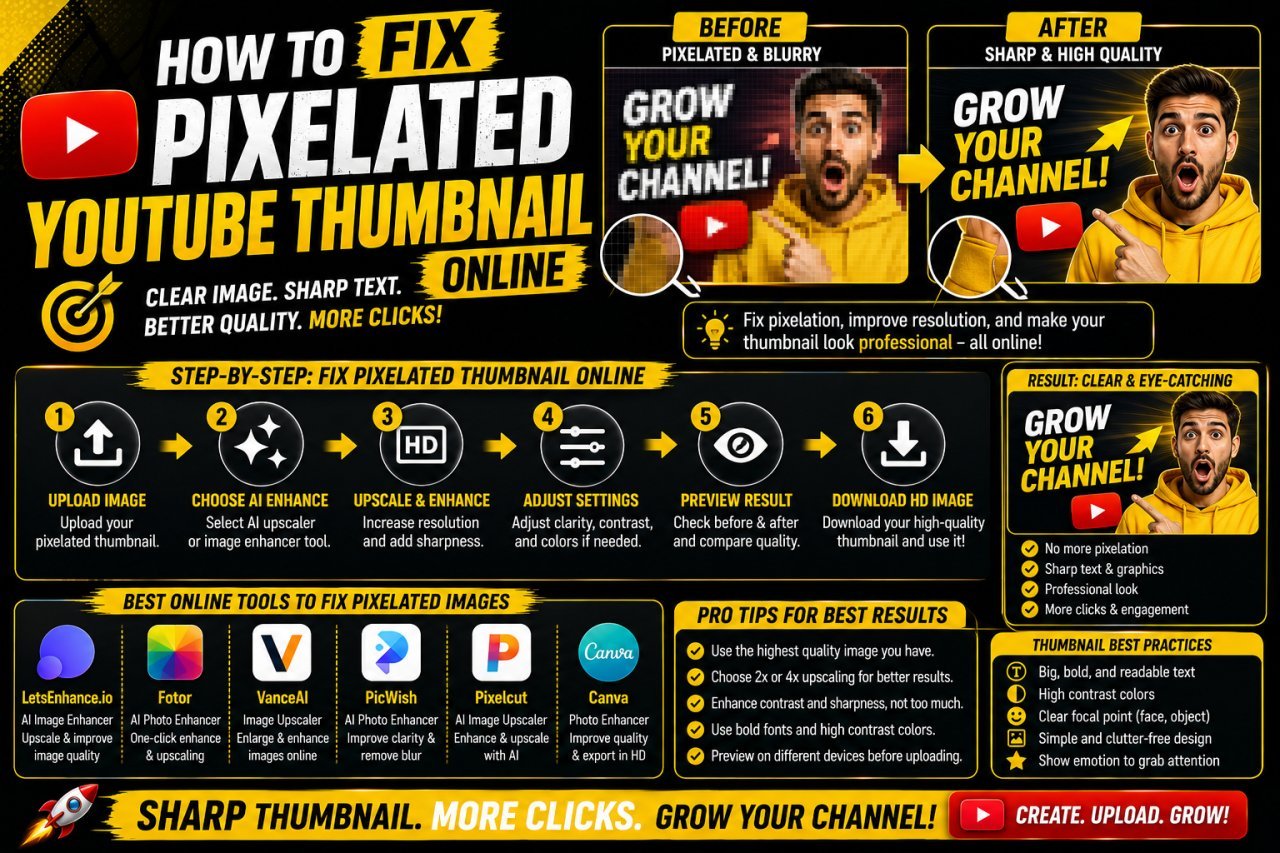
How to Fix a Pixelated YouTube Thumbnail Online
Learn how to fix a pixelated YouTube thumbnail online using better resizing, image enhancement, sharpening, compression, and export techniques.