
How to Increase Image Size Without Losing Quality
Want to make a small image larger without making it blurry? Learn practical ways to increase image size, improve resolution, reduce pixelation, and keep photos, graphics, and text as clear as possible.
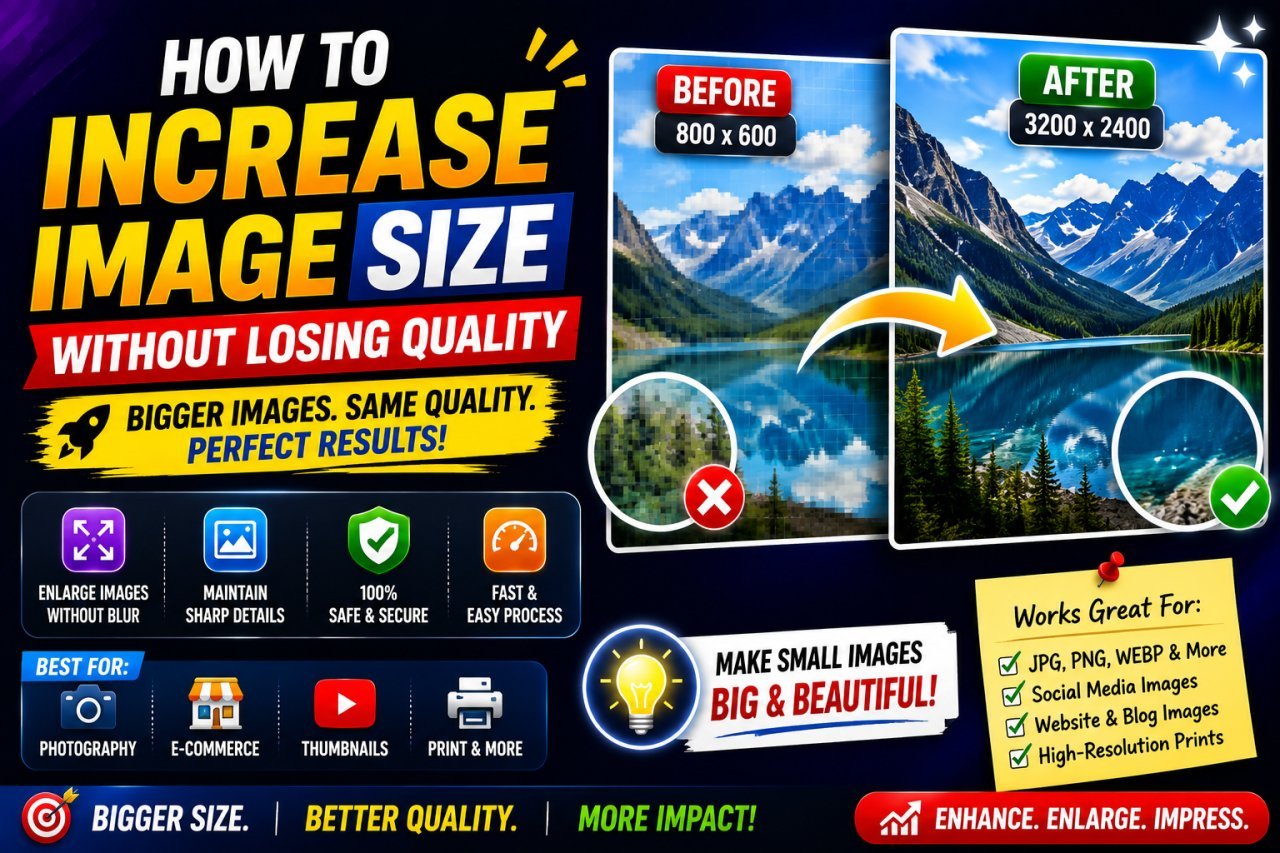
How to Increase Image Size Without Losing Quality
Have you ever found the perfect photo, only to discover that it is too small for your website, document, social media post, print project, or thumbnail?
You increase its dimensions, but suddenly the image looks blurry.
Edges become soft.
Small details disappear.
Faces may look unnatural.
And if you enlarge it too much, visible pixels can appear across the image.
This is one of the most common problems people face when working with digital images.
The good news is that you can often make an image significantly larger while keeping it looking clear and natural.
The key is understanding the difference between resizing an image and upscaling an image.
In this guide, you'll learn how to increase image size without losing quality, when to use normal resizing, when AI upscaling makes more sense, how to avoid pixelation, and what to do when the original image is extremely small.
All Tools
What Does "Increase Image Size" Actually Mean?
When people say they want to increase image size, they can mean two different things.
1. Increasing Dimensions
This means changing the number of pixels.
For example:
800 × 600 px → 1600 × 1200 px
The image becomes larger in pixel dimensions.
2. Increasing File Size
This means making the file itself larger in KB or MB.
For example:
500 KB → 2 MB
These are completely different things.
A larger file does not automatically mean a higher-resolution image.
For example, you could save a small blurry photo as a very large PNG file, but the image would still contain the same limited visual detail.
If your goal is to make the image physically larger or increase its resolution, you need to work with its pixel dimensions.
Why Does an Image Become Blurry When Enlarged?
Digital images are made from pixels.
Imagine a small photograph that contains:
500 × 500 pixels
That gives you a limited amount of visual information.
If you enlarge it to:
2000 × 2000 pixels
you now have four times the width and height.
But the original image didn't magically capture four times as much detail.
The software has to estimate what the additional pixels should look like.
This process is called interpolation.
Depending on the method used, the result may look:
- Soft
- Blurry
- Pixelated
- Jagged
- Noisy
- Artificial
That's why simply entering a larger width and height doesn't always produce a high-quality result.
What Is Image Upscaling?
Image upscaling means increasing the resolution of an image while attempting to preserve or improve its visual detail.
Basic resizing calculates new pixels from existing pixels.
Modern AI upscaling can go further by analyzing patterns in the image and estimating details that may produce a more natural-looking result.
For example:
600 × 400 px
could be enlarged to:
1200 × 800 px
or even larger.
The result depends heavily on the original image.
A good source image can often be enlarged more successfully than a severely blurry or compressed one.
Can You Really Increase Image Size Without Losing Quality?
There is an important distinction here.
You cannot guarantee that an extremely small image will contain all the detail of a naturally captured high-resolution photograph.
Once information has been lost, it cannot always be perfectly recovered.
However, you can increase the dimensions while minimizing visible quality loss.
The goal is to make the enlarged image look:
- Clear
- Natural
- Detailed
- Sharp enough
- Free from obvious pixelation
- Suitable for its intended use
This is why the phrase "without losing quality" is better understood as increasing size while preserving as much perceived quality as possible.
Normal Resize vs AI Upscale
These two methods are useful in different situations.
| Method | Best For | Main Advantage | Limitation |
|---|---|---|---|
| Normal resizing | Good-quality images close to target size | Simple and fast | May become soft when enlarged heavily |
| AI upscaling | Small or low-resolution images | Can improve perceived detail | May create artificial details |
| Sharpening | Slightly soft images | Improves edge definition | Cannot restore missing information |
| Noise reduction | Grainy images | Creates a cleaner appearance | Too much can remove detail |
| Rebuilding | Graphics and text | Produces clean elements | Takes more work |
For a small enlargement, normal resizing may be enough.
For a much larger enlargement, an image upscaler may provide a better result.
7 Ways to Increase Image Size Without Losing Quality
1. Start With the Highest-Quality Original
This is the most important rule.
Before using any image enhancer, look for the original file.
For example, suppose you have:
300 × 300 px compressed image
but the original camera photo is available at a much larger resolution.
Always start with the original.
Better workflow
Original photo
↓
Crop
↓
Resize/upscale
↓
Enhance
↓
Export
This is much better than trying to rescue a tiny copy.
2. Resize the Image Proportionally
Always maintain the original aspect ratio unless you specifically need a different shape.
For example:
800 × 600
can become:
1600 × 1200
Both maintain the same 4:3 ratio.
But changing it to:
1600 × 1600
will distort the image unless you crop it first.
Why this matters
Incorrect proportions can make:
- Faces look stretched
- Products look distorted
- Buildings appear wider
- Logos look unnatural
Use proportional resizing whenever possible.
3. Use a High-Quality Upscaling Method
If your image is significantly smaller than your target size, basic resizing may not be enough.
An upscaling tool can analyze the existing image and generate a larger version.
This can be especially useful for:
- Old photographs
- Small product images
- Social media graphics
- Website images
- Thumbnail images
- Screenshots
- Scanned pictures
However, don't assume that maximum enlargement always gives maximum quality.
A moderate enlargement may produce a more natural result than an extreme enlargement.
4. Increase Resolution in Steps When Appropriate
If you have an extremely small image, jumping directly to a very large size can sometimes produce a poor result.
For example:
400 × 300 → 4000 × 3000
is a very large increase.
Instead, you may get better results by using a capable upscaling process designed for larger enlargement.
The important point isn't that you must always resize in several separate steps.
It's that the larger the enlargement, the more carefully you should evaluate the result.
5. Sharpen After Upscaling
Upscaling can sometimes make edges appear slightly soft.
A controlled sharpening pass can restore some visual crispness.
For example:
Upscale
↓
Inspect
↓
Light sharpening
↓
Final export
Focus sharpening on important areas such as:
- Eyes
- Product edges
- Text
- Object boundaries
- Important details
Avoid extreme sharpening.
Too much can create:
- Halos
- Noise
- Jagged edges
- Artificial textures
6. Reduce Noise Before Strong Sharpening
Small images often contain compression artifacts or noise.
If you sharpen a noisy image aggressively, the noise can become more obvious.
A better workflow can be:
Noise reduction
↓
Upscaling
↓
Moderate sharpening
↓
Final inspection
This is especially useful for older photographs, low-light images, and heavily compressed files.
7. Export Using Appropriate Settings
Even after successfully enlarging an image, poor export settings can reduce the final quality.
Before saving, check:
- Dimensions
- File format
- Compression
- Image quality
- Color settings
- Whether the image was accidentally resized again
For photographs, a high-quality JPG can often be practical.
For graphics requiring transparency or lossless storage, PNG may be more appropriate.
The best format depends on the image and its purpose.
How to Make a Small Photo Bigger
Let's use a simple example.
Suppose your original image is:
640 × 480 pixels
but you need:
1280 × 960 pixels
That's a 2× increase in both width and height.
Recommended workflow
Step 1: Find the original photo.
Step 2: Crop only if necessary.
Step 3: Upscale to the required dimensions.
Step 4: Inspect faces and important details.
Step 5: Apply light sharpening if needed.
Step 6: Export at the appropriate quality.
This can produce a much cleaner result than simply stretching the image.
How to Increase Image Size for a Website
Website images often have different requirements from print images.
Suppose you need a large hero image.
Instead of uploading a tiny image and relying on the browser to stretch it, prepare an appropriately sized source.
For example:
Small source
→ Enlarged image
→ Optimized export
→ Website
This gives you more control over the final appearance.
At the same time, don't create an unnecessarily huge file.
A very large image can increase page weight and potentially affect loading performance.
The goal is to find a balance between:
Dimensions + Quality + File Size
How to Increase Image Size for Printing
Print projects are different because physical output depends on dimensions and print resolution.
A small digital image may look acceptable on a phone but reveal limitations when printed large.
Before enlarging an image for printing, consider:
- Final physical dimensions
- Intended viewing distance
- Original pixel dimensions
- Print resolution requirements
- Image content
For example, a small portrait intended for a large poster may require more careful upscaling than an image printed as a small photo.
Simply adding pixels doesn't guarantee that a low-resolution image will become a perfect large print.
How to Increase Image Size for YouTube Thumbnails
YouTube thumbnails are another common reason people need to enlarge images.
A typical working thumbnail canvas is:
1280 × 720 pixels
with a:
16:9 aspect ratio
Suppose your source image is:
640 × 360 pixels
You can upscale it to:
1280 × 720 pixels
Then inspect:
- Faces
- Text
- Product edges
- Background details
- Logos
If the source is too blurry, don't rely only on sharpening.
Try a better source or an appropriate image upscaling method.
How to Increase Image Size Without Pixelation
Pixelation usually becomes visible when the original image doesn't contain enough detail for the new dimensions.
To minimize it:
Use the original source
A larger original gives you more information to work with.
Avoid extreme enlargement
Don't enlarge a tiny image far beyond what the source can realistically support.
Use an appropriate upscaler
AI-based methods can sometimes produce a more natural result.
Avoid excessive sharpening
Sharpening visible pixels won't create genuine detail.
Recreate graphics
For text, logos, and simple shapes, rebuilding them can be much better than enlarging a tiny raster copy.
What If the Image Is Extremely Small?
Suppose you have an image that is only:
150 × 150 pixels
and you want:
1500 × 1500 pixels
That's a 10× increase in width and height.
You should not expect the enlarged version to contain the same level of authentic detail as a photograph originally captured at 1500 × 1500 pixels.
In this situation, consider:
- Finding the original image.
- Finding a higher-resolution version.
- Recreating graphical elements.
- Using AI upscaling.
- Applying moderate enhancement.
- Checking the final result carefully.
Sometimes replacing the source is simply the best solution.
Don't Confuse Resolution With Image Quality
A common mistake is assuming:
More pixels = better image
That's not always true.
Imagine two images:
Image A
4000 × 3000 px
but heavily blurred.
Image B
1600 × 1200 px
with clear details.
Image A has more pixels, but Image B may look better.
Resolution tells you how many pixels the image contains.
Quality also depends on:
- Focus
- Detail
- Noise
- Compression
- Lighting
- Source quality
- Processing
- Color accuracy
This is why increasing image dimensions alone isn't enough.
Quick Quality Check Before Saving
After enlarging an image, zoom in and inspect the important areas.
Check the face
Does it still look natural?
Check text
Are letters clean and readable?
Check edges
Are there halos or jagged outlines?
Check textures
Do they look natural or artificially generated?
Check the background
Is it excessively noisy or smeared?
Check the full image
Does it still look good at normal viewing size?
If the image looks good both close up and at normal size, your enlargement is probably on the right track.
Practical Image Enlargement Workflow
STEP 1 — Find the best original Use the highest-quality source available.
STEP 2 — Decide the final size Determine exactly how many pixels you need.
STEP 3 — Crop if necessary Set the composition before the final enlargement.
STEP 4 — Choose the resizing method Use normal resizing for moderate changes and upscaling for larger changes.
STEP 5 — Inspect the result Look closely at faces, text, edges, and fine details.
STEP 6 — Sharpen carefully Use only enough sharpening to improve perceived clarity.
STEP 7 — Choose the export format Use a suitable format for the image and its purpose.
STEP 8 — Keep the original Never replace your only source file with the enlarged version.
Conclusion
Increasing image size without losing quality is possible to a certain extent, but the result depends heavily on the original image.
A high-resolution source gives you much more flexibility than a tiny, blurry, or heavily compressed image.
For a small increase, normal high-quality resizing may be enough. When the enlargement is much larger, an image upscaler can help create a more detailed-looking result.
The most important thing is to avoid treating resolution as the same thing as quality.
Adding pixels can make an image larger, but it cannot guarantee that genuine missing details will suddenly appear.
For the best result, start with the highest-quality original, maintain the correct aspect ratio, choose an appropriate enlargement method, sharpen carefully, and inspect the final image before exporting.
If the image contains text, logos, or simple graphic elements, recreating those elements can sometimes produce a much cleaner result than enlarging a tiny raster image.
In short, the best workflow is:
Original image → Crop → Resize or Upscale → Enhance → Inspect → Export
This approach gives you much more control over the final result.
Key Takeaways
- Start with the highest-quality original image available.
- Increasing pixel dimensions does not automatically restore lost detail.
- Use normal resizing for modest size increases.
- Consider AI upscaling when the original is significantly smaller than the required output.
- Keep the original aspect ratio to avoid distortion.
- Don't enlarge an image more than necessary.
- Use sharpening carefully after enlargement.
- Avoid excessive sharpening because it can create halos and artificial edges.
- Recreate tiny text or logos when possible.
- Use vector graphics for logos when available.
- Recapture screenshots instead of enlarging them when the original source is accessible.
- Keep your original file separate from the enlarged version.
- Choose JPG, PNG, WebP, or another format based on the image and its intended use.
- Always inspect the final image at normal viewing size.
- For important projects, compare the enlarged result with the original before publishing.
Final Recommendation
If you need to make an image larger, don't immediately choose the maximum upscale setting.
First determine the exact dimensions you need.
If the image only needs a small increase, use high-quality resizing.
If it needs a much larger increase, try an appropriate image upscaling method.
If the source is extremely small or blurry, look for a better original before spending time trying to repair it.
For graphics containing text, logos, and simple shapes, rebuilding those elements can often provide a cleaner result.
The goal is not to create the biggest possible image.
The goal is to create the right-size image with the best possible visual quality.
Call To Action
If you regularly work with photos, thumbnails, website images, forms, or social media graphics, keep the original high-quality files whenever possible.
When you need a larger version, determine the required dimensions first, then resize or upscale only as much as necessary.
And before publishing, always check the final image at normal viewing size.
A clean, natural-looking image is more useful than an unnecessarily huge file full of artificial details.
10 SEO FAQs
1. How can I increase image size without losing quality?
You can minimize quality loss by starting with the highest-quality original, maintaining the aspect ratio, using high-quality resizing or upscaling, and applying only moderate sharpening when necessary.
2. Can I make a small image bigger without making it blurry?
Yes, in many cases. A good resizing or upscaling method can produce a cleaner enlarged image, especially when the original is reasonably sharp. Extremely small or blurry images have more limitations.
3. What is the best way to increase image resolution?
The best method depends on the source. Normal high-quality resizing works well for moderate increases, while dedicated image upscaling can be more useful for significantly larger enlargements.
4. Does increasing image resolution improve quality?
Increasing resolution increases the number of pixels, but it does not automatically recover genuine missing detail. Upscaling can improve the appearance of an image, but the original source quality remains important.
5. How do I enlarge an image without pixelation?
Start with the highest-quality source, avoid excessive enlargement, preserve the aspect ratio, and use a suitable upscaling method. Finding a larger original is often the best solution when severe pixelation is present.
6. Can AI increase image size without losing quality?
AI upscaling can create a larger image with improved perceived detail, but it cannot guarantee perfect recovery of information that was never present in the original.
7. Is JPG or PNG better after enlarging an image?
For photographs, a high-quality JPG is often practical. PNG can be useful for transparent graphics, logos, and images where lossless compression is important. The best choice depends on the image.
8. How much can I enlarge an image?
There is no universal maximum. The practical enlargement depends on the original resolution, sharpness, subject, image type, and intended use. Moderate enlargement generally has fewer visible limitations than extreme enlargement.
9. Why does my image look blurry after resizing?
The original may not contain enough detail for the new dimensions, or the resizing method may produce a softer result. Excessive enlargement can also make existing blur more noticeable.
10. Can I increase the size of a low-resolution photo?
Yes, you can upscale a low-resolution photo, but the final quality will depend on the source. If a higher-resolution original exists, using it will usually provide a better starting point than enlarging the low-resolution copy.
Ready to optimize your images?
Every tool mentioned in this article is free to use. No upload, no signup, and no watermarks — ever.
Try our free toolsRelated articles
How to Make a Low-Quality Image HD Online
Learn how to make a low-quality image HD online using image upscaling, sharpening, resizing, noise reduction, and practical quality improvement techniques.
How to Make a Small Image Bigger Without Losing Quality
Learn how to make a small image bigger without losing quality using proper resizing, image upscaling, sharpening, cropping, and export techniques.
How to Make an Image Clearer Online: Easy Quality Tips
Learn how to make an image clearer online by improving sharpness, reducing blur, adjusting lighting, and increasing resolution with practical methods.