
How to Make an Image Clearer Online: Easy Quality Tips
Learn how to make an image clearer online by improving sharpness, reducing blur, adjusting lighting, and increasing resolution with practical methods.
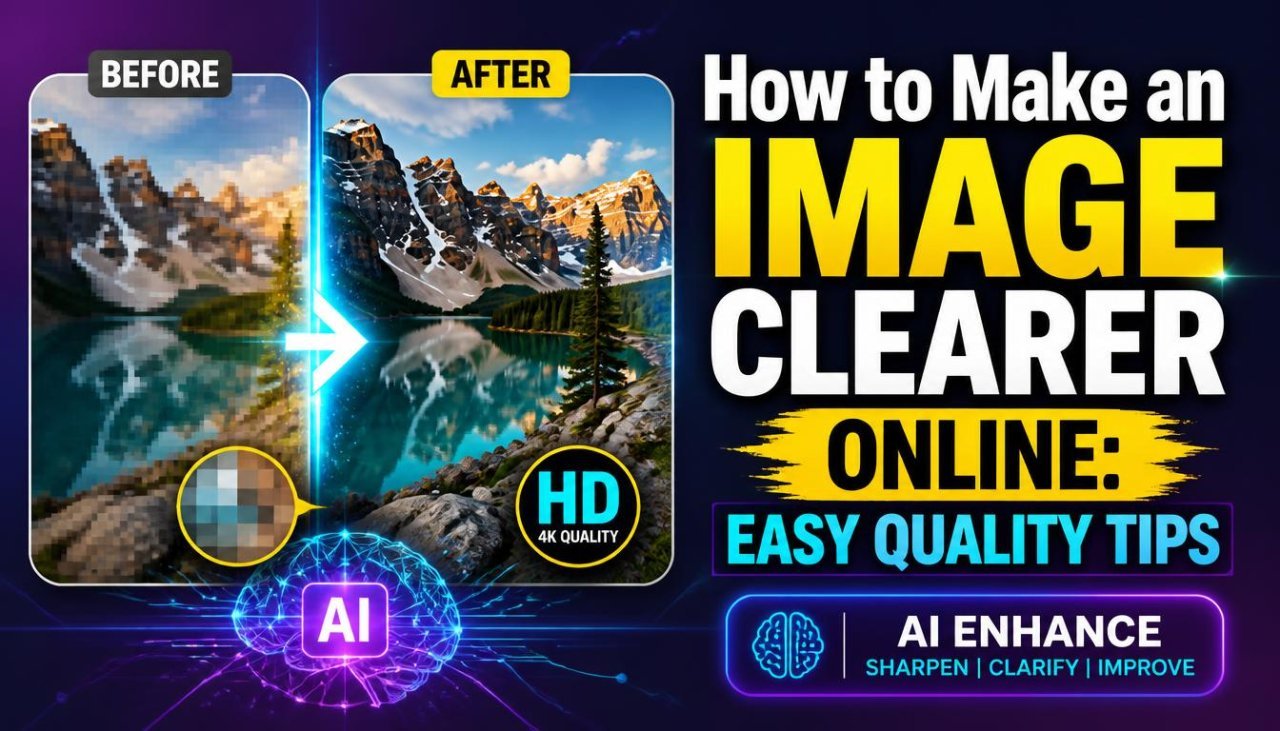
How to Make an Image Clearer Online
A blurry, soft, noisy, or low-resolution picture can be frustrating, especially when you need to use it for a website, social media post, presentation, product listing, or personal project.
Fortunately, you can often make an image clearer online without using complicated photo-editing software.
The right approach depends on what's making the image look unclear. A slightly soft photo may only need sharpening, while a small and pixelated image may benefit from upscaling. An underexposed photo may need brightness and contrast adjustments instead.
If you're looking for how to make an image clearer online, this guide explains the process in simple terms. You'll learn how to identify the problem, improve clarity step by step, avoid common editing mistakes, and get a more natural-looking final image.
Why Does an Image Look Unclear?
Before trying to improve an image, it helps to understand why it looks poor in the first place.
"Blurry" and "low quality" don't always mean the same thing.
An image may look unclear because of:
- Camera shake
- Incorrect focus
- Low resolution
- Heavy compression
- Excessive noise
- Poor lighting
- Motion blur
- Too much cropping
- Repeated editing and saving
- Low-quality screenshots
- Enlarging a small image
- Soft edges or lack of contrast
- All Tools
Each problem requires a slightly different solution.
For example, sharpening may help a mildly soft photograph, but it won't completely repair severe motion blur. Similarly, increasing resolution can make an image larger, but simply adding pixels doesn't automatically restore every detail.
What Does "Clearer" Actually Mean?
When people say they want to make an image clearer, they usually mean they want it to look easier to see and more defined.
Image clarity can involve several different qualities:
| Image Problem | What You May Notice | Possible Improvement |
|---|---|---|
| Softness | Edges look slightly fuzzy | Moderate sharpening |
| Low resolution | Visible pixels or lack of detail | Upscaling |
| Noise | Grainy or speckled appearance | Noise reduction |
| Poor lighting | Subject is difficult to see | Brightness/exposure adjustment |
| Low contrast | Image looks flat | Contrast adjustment |
| Compression | Blocks or artifacts appear | Use a better source |
| Motion blur | Objects have streaked edges | Specialized restoration may help |
The important point is that there isn't one button that fixes every image.
A good enhancement process starts by identifying the main problem.
How to Make an Image Clearer Online: Basic Process
For most everyday images, you can follow a straightforward workflow.
Step 1: Choose the Best Original
Always begin with the highest-quality version available.
If you have several copies of the same image, don't automatically choose the one with the largest file size. Check the actual dimensions and visual quality.
A larger file isn't necessarily a better image.
Step 2: Check the Image Dimensions
Find out how many pixels the image contains.
For example:
640 × 480 pixels
is much smaller than:
2400 × 1800 pixels
If the image is very small, increasing its resolution may be part of the solution.
Step 3: Identify the Main Problem
Look at the image at normal viewing size.
Ask yourself:
- Is it blurry?
- Is it pixelated?
- Is it too dark?
- Is it noisy?
- Does it look washed out?
- Are the edges too soft?
- Is the image heavily compressed?
This helps you avoid unnecessary editing.
Step 4: Enhance the Image
Use the adjustment that addresses the actual problem.
For example:
- Blur → Try appropriate sharpening.
- Low resolution → Try upscaling.
- Noise → Try noise reduction.
- Poor lighting → Adjust exposure or brightness.
- Flat appearance → Adjust contrast carefully.
Step 5: Check the Result
Don't judge the image only while zoomed in.
Check it at the size where people will actually see it.
An image can look slightly imperfect at 300% zoom while appearing perfectly usable at normal size.
Use an Online Image Enhancer
Online image enhancement tools can simplify the process by combining several adjustments in one interface.
Depending on the tool, you may be able to:
- Increase image resolution
- Improve sharpness
- Reduce noise
- Correct basic lighting
- Enhance details
- Resize the image
- Export the finished file
This can be useful if you don't have experience with advanced image-editing software.
However, don't assume that every enhancement option should be applied at maximum strength.
Strong processing can sometimes create unwanted effects such as overly sharp edges, artificial textures, or unnatural-looking faces.
A cleaner result usually comes from making controlled adjustments.
How to Make a Slightly Blurry Image Clearer
If an image is only slightly soft, sharpening may improve its appearance.
Sharpening increases the perceived definition of edges.
It can help with:
- Product photographs
- Scanned documents
- Landscape photos
- Architecture
- Simple graphics
- Slightly soft portraits
Don't Over-Sharpen
Heavy sharpening can make an image look worse.
You may notice:
- Bright outlines around objects
- Harsh skin texture
- Increased grain
- Jagged edges
- Unnatural details
Instead, increase sharpening gradually and stop when the image looks more defined without appearing processed.
How to Make a Low-Resolution Image Clearer
A low-resolution image has limited pixel information.
If you enlarge it using ordinary resizing, the software has to estimate the additional pixels. The result may become soft or pixelated.
An image upscaler can provide a more sophisticated enlargement process.
A typical workflow is:
Small image → Upscale → Inspect details → Adjust clarity → Export
This can be helpful for:
- Old digital photos
- Small website images
- Social media graphics
- Product images
- Small portraits
- Screenshots
But there is an important limitation.
Upscaling can improve the appearance of an image, but it cannot guarantee recovery of details that were never present in the source.
Resolution and Clarity Are Not the Same Thing
It's easy to assume that a higher resolution automatically means a clearer image.
It doesn't.
Consider these two examples:
Image A: 3000 × 2000 pixels but heavily blurred.
Image B: 1200 × 800 pixels with good focus and sharp edges.
Image A has more pixels, but Image B may appear clearer.
Resolution tells you about the number of pixels.
Clarity is influenced by things such as:
- Focus
- Sharpness
- Detail
- Contrast
- Noise
- Compression
- Lighting
That's why increasing resolution should be only one part of an image enhancement workflow.
How to Reduce Noise Without Losing Detail
Digital noise often appears as tiny unwanted variations across an image.
It is especially noticeable in:
- Dark photographs
- Photos taken in low light
- Older digital images
- Highly compressed images
- Images that have been heavily edited
Noise reduction can make the image look cleaner.
However, aggressive noise reduction can remove useful texture too.
For example, excessive smoothing may make:
- Skin look plastic
- Hair lose detail
- Fabric look flat
- Fine textures disappear
Use noise reduction only when noise is actually a problem.
The goal is to reduce distracting noise while keeping genuine details intact.
Improve Brightness and Contrast Carefully
Sometimes an image isn't technically very blurry. It simply has poor lighting or weak contrast.
A dark subject can be difficult to see, while an image with very low contrast may appear dull.
Small adjustments can make important details easier to distinguish.
Brightness
Brightness affects how light or dark the overall image appears.
Contrast
Contrast affects the difference between darker and lighter areas.
Be careful with both.
Increasing them too aggressively can cause:
- Lost shadow detail
- Overexposed highlights
- Harsh edges
- Unnatural colors
Make small changes and compare the result with the original.
Example: Improving a Small Product Photo
Imagine you have a small product photograph that looks slightly soft and dark.
Instead of applying every enhancement option, use a focused workflow.
Original Problem
- Small dimensions
- Slight softness
- Low contrast
- Mild compression
Suggested Workflow
- Start with the original file.
- Upscale it moderately if a larger image is required.
- Inspect the product edges.
- Make a small brightness adjustment.
- Increase contrast slightly if needed.
- Apply moderate sharpening.
- Check the product label and logo.
- Export the final version.
If the product label is already unreadable in the original, enhancement may not recreate the correct text. In that situation, obtaining a better product photograph or recreating the graphic elements may be the better option.
Example: Making an Old Photo Clearer
Old photographs can have several problems at the same time.
You may see:
- Faded colors
- Dust
- Scratches
- Noise
- Low contrast
- Soft details
A practical workflow is to address the biggest problems first.
Start with the best scan or digital copy available.
Then consider:
- Removing obvious dust or defects.
- Correcting exposure.
- Adjusting contrast.
- Reducing excessive noise.
- Upscaling if a larger version is required.
- Applying moderate sharpening.
- Checking faces and important details.
Don't assume that stronger enhancement will always produce a better restoration.
For personal photographs, keeping the original scan untouched is particularly important so you can return to it later if needed.
Image Enhancement vs. Simple Resizing
| Method | Main Purpose | Best Use |
|---|---|---|
| Resize | Change dimensions | Making an image larger or smaller |
| Crop | Change composition | Removing unwanted areas |
| Sharpen | Increase perceived edge definition | Slightly soft images |
| Noise reduction | Reduce visual grain | Noisy photos |
| Upscale | Increase dimensions with advanced processing | Small images |
| Brightness adjustment | Improve visibility | Dark or bright images |
| Contrast adjustment | Improve tonal separation | Flat-looking images |
These tools solve different problems.
Using the right one is more effective than applying every available adjustment.
Image Enhancement vs. Simple Resizing
| Method | Main Purpose | Best Use |
|---|---|---|
| Resize | Change dimensions | Making an image larger or smaller |
| Crop | Change composition | Removing unwanted areas |
| Sharpen | Increase perceived edge definition | Slightly soft images |
| Noise reduction | Reduce visual grain | Noisy photos |
| Upscale | Increase dimensions with advanced processing | Small images |
| Brightness adjustment | Improve visibility | Dark or bright images |
| Contrast adjustment | Improve tonal separation | Flat-looking images |
These tools solve different problems.
Using the right one is more effective than applying every available adjustment.
Beginner Tips for Better Results
If you're new to image enhancement, keep the process simple.
- Keep a copy of the original.
- Make one adjustment at a time.
- Don't use maximum settings automatically.
- Keep the original aspect ratio.
- Upscale only when necessary.
- Inspect faces, text, and logos carefully.
- Compare the edited image with the original.
- Check the final image at normal viewing size.
- Avoid repeatedly saving and recompressing the same file.
- If possible, find a higher-quality original instead of heavily processing a poor copy.
Good image editing is often about knowing when to stop.
What Online Tools Cannot Fix Perfectly
Image enhancement has limits.
An online tool may improve a mildly blurry image, but severe damage can remain visible.
For example, it may be difficult to perfectly recover:
- Completely missing details
- Severe motion blur
- Extremely tiny text
- Heavily compressed areas
- Strongly distorted faces
- Details removed by aggressive cropping
- Information that was never captured by the original camera
This is why the original source matters so much.
If a higher-quality version exists, use it before trying increasingly aggressive enhancement.
Quick Checklist Before Downloading the Enhanced Image
Before you save the final image, check:
- Does the image look clearer at normal size?
- Are important edges natural?
- Do faces still look realistic?
- Is text readable?
- Are colors reasonable?
- Is there excessive sharpening?
- Has noise been reduced without removing useful detail?
- Is the aspect ratio correct?
- Is the final resolution suitable for its intended use?
- Did you compare it with the original?
If the edited version looks more artificial than the original, reduce the enhancement settings or return to the source file and try a gentler workflow.
Advanced Ways to Make an Image Clearer Online
Once you understand the basics, you can get better results by matching the editing method to the actual problem in the image.
A common mistake is to treat every unclear image as a sharpening problem.
For example, sharpening may help a slightly soft photo, but it won't properly solve heavy compression. Likewise, increasing resolution won't automatically fix poor lighting.
A better approach is to diagnose the image first and then choose the appropriate enhancement.
| Problem | Recommended Approach |
|---|---|
| Slightly soft image | Moderate sharpening |
| Very small image | Upscaling |
| Visible digital noise | Noise reduction |
| Dark photo | Exposure or brightness adjustment |
| Flat-looking photo | Contrast adjustment |
| Pixelated graphic | Better source or upscaling |
| Blurry text | Recreate text when possible |
| Severe motion blur | Specialized restoration or better source |
| Wrong composition | Crop or reframe |
This approach gives you more control and reduces the risk of making the image look overprocessed.
How to Make a Blurry Image Clearer Without Overediting
If your image is blurry, first determine what type of blur you're dealing with.
Slight Softness
A photo that is only slightly soft may respond well to careful sharpening.
Motion Blur
Motion blur happens when movement occurs while the photograph is being captured. A specialized restoration tool may help, but severe motion blur can be difficult to reverse completely.
Focus Blur
If the camera focused on the wrong part of the scene, sharpening cannot fully recreate details that were never captured clearly.
Compression Blur
Repeated compression can remove fine detail and introduce blocky or smeared areas.
The important lesson is:
Don't increase sharpening simply because an image looks blurry.
First identify the reason for the blur. This helps you choose a more appropriate solution.
Use Upscaling When the Image Is Too Small
If the image looks unclear because it has very few pixels, upscaling can be useful.
Imagine you have a 400 × 300 pixel image that needs to be displayed at 1200 × 900 pixels.
A basic resize increases the dimensions, but the additional pixels have to be estimated.
An advanced image upscaler may analyze the existing image and attempt to create a more convincing larger version.
This can be useful for:
- Old digital photographs
- Small product images
- Website graphics
- Social media images
- Portraits
- Scanned pictures
- Small screenshots
However, always inspect the enlarged image afterward.
An upscaler may produce unexpected textures or details, particularly when the source is extremely small.
How to Make an Image Clearer Without Losing Natural Detail
The biggest challenge with image enhancement is knowing when to stop.
An image can become technically sharper while looking worse to the human eye.
This often happens when:
- Sharpening is too strong.
- Noise reduction is excessive.
- AI enhancement is pushed too far.
- Contrast is increased dramatically.
- Fine textures are artificially generated.
For portraits, excessive enhancement can be especially noticeable.
Skin may appear unnaturally smooth or overly textured. Hair can develop strange patterns. Eyes can become unnaturally sharp.
For a natural result:
- Make small adjustments.
- Compare with the original.
- Zoom out.
- Check the image at normal viewing size.
- Reduce the effect if something looks artificial.
Clarity should improve the image, not change what the image actually depicts.
Practical Example: Improving a Blurry Screenshot
Screenshots are often difficult to improve because their quality depends on the source content.
Suppose you have a small screenshot containing an interface and some text.
A useful workflow would be:
Step 1: Find the Original Source
If the screenshot came from a website or document, try to obtain the original page, image, or document instead.
Step 2: Crop Unnecessary Areas
Remove empty space if the important content occupies only part of the screenshot.
Step 3: Upscale Carefully
Increase the dimensions if the screenshot needs to be displayed larger.
Step 4: Inspect Text
Check whether the text remains readable.
Step 5: Recreate Important Text
If the text is severely blurred, typing it again as editable text can produce a much cleaner result.
Step 6: Export Carefully
Avoid unnecessary compression when saving the final image.
For screenshots containing important information, recreating the original content is often better than trying to recover unreadable pixels.
Practical Example: Making a Portrait Clearer
Portraits require extra care because viewers are highly sensitive to unnatural facial details.
Suppose you have a small portrait that looks slightly soft.
A controlled workflow might look like this:
Original → Moderate upscale → Light noise reduction → Gentle sharpening → Review face → Export
Pay special attention to:
- Eyes
- Eyebrows
- Hair
- Skin
- Teeth
- Facial edges
If an enhancement tool changes the person's facial features or creates unrealistic skin texture, lower the enhancement strength.
For personal photographs, always keep the original file untouched so you can compare different versions.
Practical Example: Making a Product Image Clearer
Product images often contain edges, labels, logos, and small details that need to remain accurate.
For example, imagine a small photograph of a mobile phone that needs to be used on an online store.
You could:
- Start with the original product photograph.
- Crop unnecessary background.
- Upscale the image if necessary.
- Correct exposure.
- Improve contrast slightly.
- Apply moderate sharpening.
- Check the product edges.
- Inspect the logo and label.
- Export the final version.
Avoid using aggressive enhancement if it changes the shape or appearance of the actual product.
For commercial images, accuracy is more important than making every edge look extremely sharp.
Image Enhancement Methods Compared
| Method | Clarity Improvement | Difficulty | Best For | Main Risk |
|---|---|---|---|---|
| Resize | Low to moderate | Easy | Changing dimensions | Softness |
| Upscale | Moderate to high | Easy | Small images | Artificial details |
| Sharpen | Moderate | Easy | Slight softness | Halos and noise |
| Noise reduction | Moderate | Easy | Grainy images | Loss of texture |
| Contrast adjustment | Visual improvement | Easy | Flat images | Harsh tones |
| Manual retouching | Potentially high | Advanced | Specific problems | Time required |
| Better source image | Highest potential | Varies | Severely poor images | Source may be unavailable |
No single method is best for every photograph.
The right choice depends on the problem you're trying to solve.
Pros and Cons of Making an Image Clearer Online
Pros
- Works directly from a web browser.
- Can be easier than professional editing software.
- Useful for quick image improvements.
- Can combine resizing and enhancement.
- Helpful for moderately blurry or low-resolution images.
- Convenient for occasional editing.
- Can save time on basic corrections.
Cons
- Severe blur may remain.
- Missing detail cannot always be recovered.
- Strong AI processing can create artificial details.
- Some tools may limit image dimensions or file sizes.
- Uploading private images to an online service requires careful consideration.
- Different tools can produce noticeably different results.
- Some images need manual editing rather than automatic enhancement.
For important or private images, review the service's privacy and file-handling information before uploading anything.
Common Mistakes When Trying to Make an Image Clearer
1. Sharpening Everything
Sharpening is not a universal fix.
If the image is noisy or heavily compressed, aggressive sharpening can make those problems more visible.
2. Enlarging Too Much
Turning a tiny image into an extremely large file doesn't guarantee additional real detail.
3. Ignoring the Original
Always check whether a better version of the image exists.
4. Using Maximum AI Enhancement
More processing does not necessarily mean better quality.
5. Removing Too Much Noise
Excessive noise reduction can remove natural texture.
6. Stretching the Image
Changing width and height independently can distort people and objects.
7. Repeatedly Saving the Same JPEG
Repeated lossy compression can gradually affect image quality.
8. Judging Only at Extreme Zoom
A small amount of softness may not matter when the image is viewed at its intended size.
9. Ignoring Important Details
Always inspect faces, text, logos, product labels, and other areas that matter.
10. Forgetting the Final Use
An image for a phone screen doesn't necessarily need the same preparation as one intended for a large print.
Best Practices for Clearer Images
Follow these practices for more consistent results.
Use the Best Source
The original image is usually your most valuable asset.
Edit Non-Destructively When Possible
Keep the original file and create a separate enhanced version.
Fix the Biggest Problem First
If the image is dark, correct the lighting before judging its sharpness.
Use Moderate Settings
Strong filters can introduce problems that weren't present before.
Preserve Aspect Ratio
Never stretch a photograph simply to meet specific dimensions.
Check at Multiple Sizes
Look at the image both zoomed in and at normal viewing size.
Compare Before and After
An enhancement should provide a visible benefit.
Keep Important Elements Accurate
Faces, text, logos, and products should remain natural and recognizable.
Export Once at the End
Avoid repeatedly editing and recompressing the same final file.
Conclusion
Learning how to make an image clearer online starts with identifying why the image looks unclear.
If the image is slightly soft, careful sharpening may help. If it is too small, upscaling can make it more suitable for larger displays. Noise reduction can help with grainy photos, while brightness and contrast adjustments can improve images that are difficult to see.
The key is to avoid treating every image problem the same way.
Start with the best original file you have, make small adjustments, and check the result carefully. Don't rely on maximum enhancement settings or assume that increasing resolution will automatically restore missing details.
For the best results, use this simple process:
Choose the best source → Identify the problem → Select the right enhancement → Make moderate adjustments → Check important details → Compare with the original → Export
A clearer image should look natural and useful for its intended purpose. If an image is severely damaged, extremely small, or heavily blurred, finding a better original may produce a better result than applying increasingly strong filters.
Call To Action
Have a blurry, soft, noisy, or low-resolution image that needs improvement?
You can make an image clearer online by starting with the best version available and using the right enhancement method for the problem.
Upload your image to a suitable online image enhancer, improve the areas that actually need attention, and review the result before downloading it.
Ready to improve your image? Start with your original file and create a clearer version online.
1. How can I make an image clearer online?
You can make an image clearer online by using an image enhancement tool that provides features such as sharpening, upscaling, noise reduction, brightness, and contrast adjustments. Choose the feature based on the specific problem with your image.
2. How do I make a blurry picture clearer?
For a slightly blurry picture, try moderate sharpening. If the blur is caused by low resolution, an upscaling tool may help. Severe motion or focus blur may not be completely repairable because some original detail may be missing.
3. Can I make a low-resolution image clearer?
Yes, an image upscaler can improve the appearance of some low-resolution images by increasing their dimensions and enhancing perceived detail. However, it cannot guarantee recovery of all information that was absent from the original.
4. Does sharpening improve image quality?
Sharpening can make edges appear more defined and may improve the perceived clarity of a slightly soft image. Too much sharpening can create halos, noise, and unnatural-looking edges, so it should be applied carefully.
5. Can I make an image clearer without increasing its size?
Yes. You can improve perceived clarity without changing the dimensions by adjusting sharpness, contrast, brightness, or noise. Whether this helps depends on what is causing the image to look unclear.
6. Why does my image become blurry when I make it bigger?
When a small image is enlarged, additional pixels have to be estimated. Basic resizing can make the image appear soft or pixelated. An appropriate upscaling method may produce a better-looking result, but it cannot guarantee the same detail as a high-resolution original.
7. How can I make a photo clearer without making it look fake?
Use moderate enhancement settings and avoid excessive sharpening, smoothing, or AI processing. Compare the result with the original and pay special attention to faces, hair, textures, text, and other important details.
8. Can I make text in a blurry image clearer?
You can sometimes improve mildly blurry text with sharpening or upscaling. However, if the original text is severely blurred or contains too few pixels, recreating the text or obtaining the original document may provide a cleaner and more accurate result.
9. What is the best way to make an old photo clearer online?
Start with the highest-quality scan or digital copy available. Depending on the condition, you may use noise reduction, brightness and contrast adjustments, upscaling, and gentle sharpening. Keep the original file so you can compare different versions.
10. Can an online image enhancer fix every blurry image?
No. Online enhancement tools can improve many images, but severe blur, missing details, extreme compression, and very low-resolution sources can limit the result. When possible, use a better-quality original image.
Ready to optimize your images?
Every tool mentioned in this article is free to use. No upload, no signup, and no watermarks — ever.
Try our free toolsRelated articles
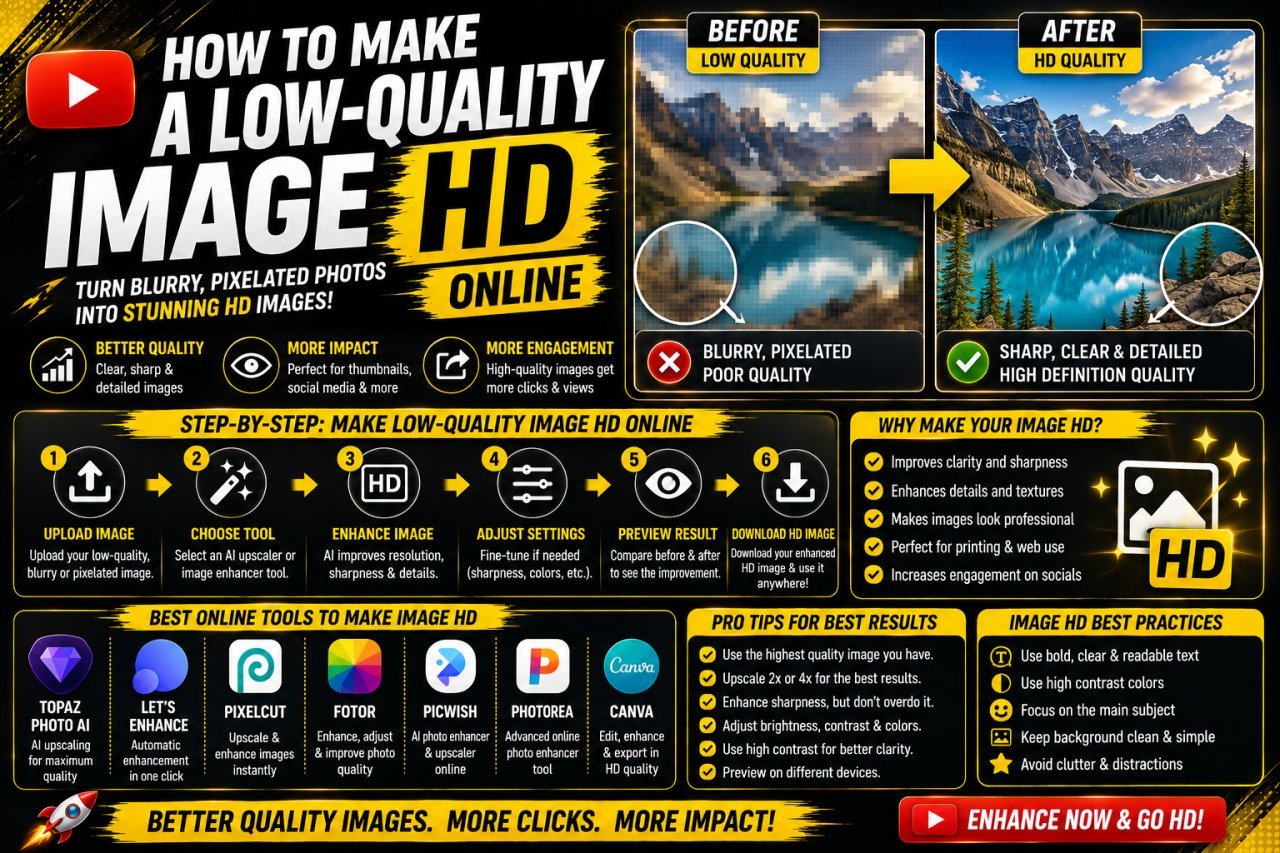
How to Make a Low-Quality Image HD Online
Learn how to make a low-quality image HD online using image upscaling, sharpening, resizing, noise reduction, and practical quality improvement techniques.
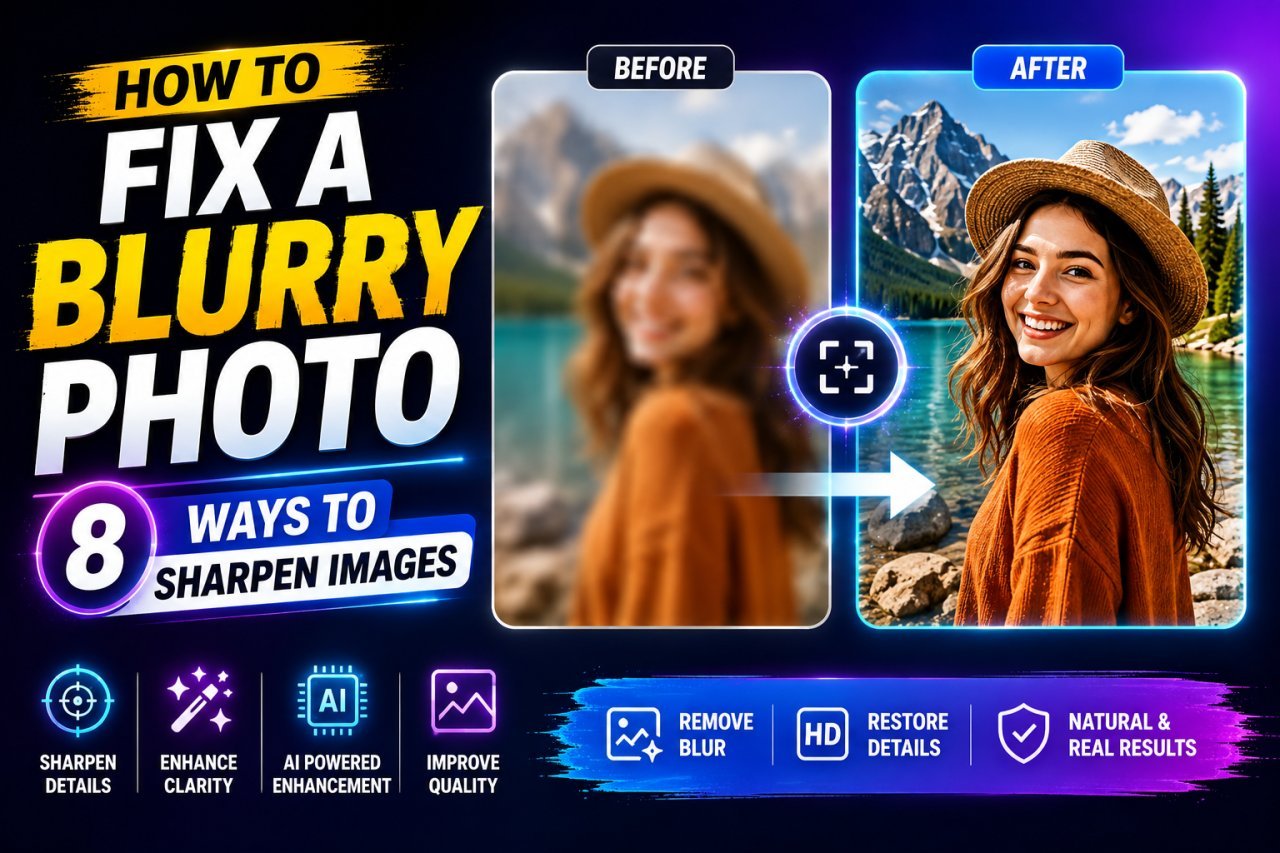
How to Fix a Blurry Photo: 8 Ways to Sharpen Images
Learn how to fix a blurry photo with 8 practical methods. Discover how to sharpen blurry images, improve low-resolution photos, reduce motion blur, and make pictures clearer without over-editing.

How to Fix a Pixelated YouTube Thumbnail Online
Learn how to fix a pixelated YouTube thumbnail online using better resizing, image enhancement, sharpening, compression, and export techniques.