
How to Make an Image 100KB, 200KB, or 500KB Online
Learn how to make an image 100KB, 200KB, or 500KB online without making it look blurry. This guide explains how to resize and compress JPG, PNG, and WebP images to meet specific file-size limits.
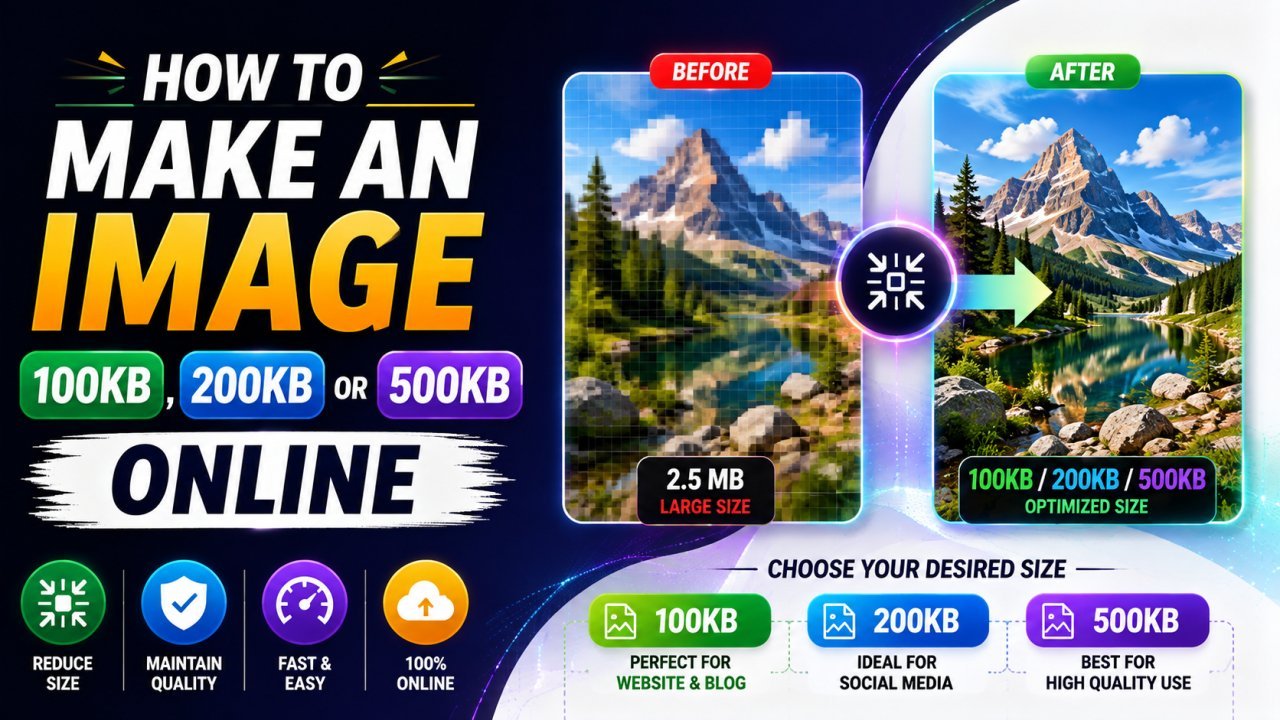
How to Make an Image 100KB, 200KB, or 500KB Online
Introduction
Have you ever tried to upload a photo only to see a message like "image must be under 100KB", "maximum file size is 200KB", or "file must be less than 500KB"?
It is a common problem.
A photo may look perfectly normal on your phone or computer, but its actual file size can be several megabytes. When a website has a strict upload limit, simply choosing the image is not enough. You need to reduce its file size while keeping it clear enough for the intended use.
The good news is that you can make an image 100KB, 200KB, or 500KB online without complicated software.
The basic process is:
Upload → Resize if needed → Compress → Check file size → Download
However, getting an image below a specific size is not always as simple as moving one compression slider.
The final file size depends on several things, including the image's dimensions, file format, quality settings, and the amount of detail in the image.
This guide explains how to reduce an image to 100KB, 200KB, or 500KB, what to do when compression is not enough, and how to avoid making your image unnecessarily blurry.
Why Do You Need an Image Under 100KB, 200KB, or 500KB?
Many websites and online services place limits on uploaded files.
For example, you may need a smaller image when submitting:
- Online application forms
- Government forms
- School or college applications
- Job applications
- ID or document uploads
- Profile pictures
- Website images
- Blog images
- Email attachments
- Online registration forms
- E-commerce listings
- Social media images
- Documents and presentations
The exact limit depends on the website.
One website may accept an image up to 500KB, while another may require the image to be below 200KB.
This is why searches such as:
- How to make an image 100KB
- How to make a photo 200KB
- How to reduce image size to 500KB
- Compress image under 100KB
- Reduce JPG to 200KB
- Make image less than 500KB
are useful for people trying to solve a specific upload problem.
What Does 100KB, 200KB, or 500KB Mean?
KB stands for kilobyte, a unit used to describe digital file size.
When a website says:
Maximum image size: 100KB
it means the uploaded file needs to stay within that limit.
Similarly:
Maximum image size: 200KB
means the file needs to be no larger than the website's specified limit.
And:
Maximum image size: 500KB
means the image must stay within approximately that file-size limit.
The important thing to understand is that image dimensions and file size are not the same thing.
An image can be:
2000 × 1500 pixels
while its file size might be:
350KB
Another image with exactly the same dimensions might be:
1.5MB
The difference can come from the image format, compression, image content, metadata, and quality settings.
Image Dimensions vs File Size
This is one of the most important concepts when trying to make an image a specific size.
Image Dimensions
Dimensions describe the number of pixels in an image.
For example:
1920 × 1080 pixels
means the image is 1920 pixels wide and 1080 pixels tall.
File Size
File size describes how much storage the image uses.
Examples include:
- 85KB
- 120KB
- 250KB
- 480KB
- 1MB
- 5MB
These are different measurements.
Why This Matters
Suppose you have a photograph that is:
6000 × 4000 pixels
and you need it under 500KB.
Trying to reach the target only by compression may make the image look poor.
A better approach may be to first reduce the dimensions and then compress the smaller image.
The Easiest Way to Make an Image 100KB, 200KB, or 500KB
If you only need the quick answer, use this process:
Step 1: Check the Original File Size
Find out how large your image currently is.
For example:
Original: 3.8MB
Step 2: Check the Required Limit
Determine whether you need:
- 100KB
- 200KB
- 500KB
Step 3: Resize the Image if Necessary
If the original dimensions are much larger than required, reduce them.
Step 4: Compress the Image
Use an online image compressor.
Step 5: Check the Result
Look at the final file size.
Step 6: Adjust if Needed
If the image is still too large, reduce the dimensions or compression quality slightly.
Step 7: Download the Final Version
Keep the original file separately.
This workflow gives you much more control than repeatedly compressing the same image.
How to Make an Image 100KB Online
Making an image 100KB or smaller can require more optimization than creating a 500KB image.
This is especially true for detailed photographs.
A practical process is:
- Start with the original image.
- Check its dimensions.
- Resize it if it is unnecessarily large.
- Use JPG or another suitable format for photographs.
- Apply compression.
- Check the resulting file size.
- Continue adjusting until it meets the required limit.
- Inspect the final image for visible quality problems.
Example
Suppose your original photo is:
4MB
and the website requires:
Maximum 100KB
That is a significant reduction.
Instead of immediately applying extremely strong compression, try reducing the image dimensions first.
For example:
Large original → smaller dimensions → compression → final image
This can help you reach a small file size without depending entirely on aggressive compression.
How to Make an Image 200KB Online
A 200KB image gives you more room than a 100KB target.
The process is similar:
Resize → Compress → Check → Adjust
For a normal photograph, you may be able to maintain better visual quality than with a strict 100KB limit.
Example
Original:
2.8MB
Required:
Under 200KB
You can create a smaller copy, choose an efficient format, and apply moderate compression.
After each adjustment, check:
- File size
- Image dimensions
- Sharpness
- Fine details
- Text
- Faces
- Overall appearance
If the image is 215KB and the limit is 200KB, you may only need a small adjustment.
You do not necessarily need to reduce the image dramatically.
How to Make an Image 500KB Online
A 500KB limit is often easier to meet than 100KB or 200KB, especially when the original image is not extremely large.
For example:
Original: 1.2MB
Target: Under 500KB
You may only need moderate resizing or compression.
The best approach is to avoid making the image smaller than necessary.
If the image already looks good and only needs to drop slightly below the required limit, use a small adjustment rather than aggressive compression.
100KB vs 200KB vs 500KB
The target you choose affects how much compression may be necessary.
| Target Size | Typical Challenge | Main Approach |
|---|---|---|
| 100KB | More restrictive | Resize + stronger optimization |
| 200KB | Moderate | Resize + moderate compression |
| 500KB | Less restrictive | Light resizing/compression may be enough |
These are general guidelines, not guarantees.
The same image can require very different settings depending on its dimensions, colors, detail, and format.
Why Some Images Are Harder to Compress
Not all images compress equally.
A simple graphic with large areas of one color may become very small.
A detailed photograph containing trees, grass, hair, buildings, textures, and shadows may need more data.
For example, these two images could have the same dimensions:
Image A: Simple logo with a plain background
Image B: Detailed landscape photograph
Their file sizes can be very different.
This is why there is no single compression percentage that guarantees an image will become exactly 100KB.
How to Get an Image Exactly 100KB
There is an important difference between:
Under 100KB
and
Exactly 100KB
If a website says:
Maximum file size: 100KB
you usually need the image to be 100KB or smaller, not exactly 100KB.
If your compressed image is:
96KB
it already meets a maximum 100KB requirement.
You do not need to increase it to exactly 100KB.
Why Exact File Size Can Be Difficult
Image compression does not always produce a predictable file size.
Changing the quality setting slightly may change the resulting file size by different amounts depending on the image.
For this reason, if a website says "maximum 100KB," focus on getting safely below the limit.
What If My Image Is Still Above the Limit?
Suppose you need:
Under 200KB
but your first attempt produces:
280KB
Do not immediately destroy the image quality.
Try these steps:
Option 1: Reduce Dimensions
If the image is unnecessarily large, resize it.
Option 2: Increase Compression Slightly
Lower the quality setting gradually.
Option 3: Change the Format
For some photographs, JPG or WebP may produce a smaller file than PNG.
Option 4: Remove Unnecessary Metadata
This may provide additional savings, although it is usually not the biggest factor.
Option 5: Combine Methods
For a strict target, resizing and compression together can be more effective.
How to Reduce JPG to 100KB, 200KB, or 500KB
JPG is commonly used for photographs.
If your image is already a JPG, use this workflow:
JPG → Check Dimensions → Resize if Needed → Compress → Check File Size
Example
Original JPG:
2500 × 1667 pixels
File size:
1.4MB
Target:
Under 500KB
You can create a smaller version and apply moderate compression.
If you need:
Under 100KB
you may need a more substantial reduction in dimensions and/or compression.
Always inspect the result before using it.
How to Reduce PNG to 100KB, 200KB, or 500KB
PNG files can sometimes be difficult to reduce to very small sizes without changing the image.
This is particularly true when the PNG contains lots of detail.
Before heavily compressing a PNG, ask:
Does this image actually need to remain PNG?
If it is a photograph and transparency is not required, JPG or WebP may be worth testing.
If the PNG is a logo, screenshot, icon, or transparent graphic, keeping PNG may make more sense.
Should You Resize Before Compressing?
In many cases, yes.
If your image is much larger than the required display size, resizing can remove unnecessary pixels.
For example:
4000 × 3000 → 1600 × 1200
creates a much smaller image in terms of pixel dimensions.
You can then compress the resized image.
This can be particularly helpful when trying to reach strict limits such as 100KB or 200KB.
How to Make a Photo 100KB Without Making It Too Blurry
This is where many people make mistakes.
If you simply reduce quality as much as possible, you may get a very small file, but the photograph can become blurry or full of compression artifacts.
Instead:
1. Start With the Original
Do not repeatedly compress an already compressed file.
2. Resize First if Necessary
Remove unnecessary pixels.
3. Choose a Suitable Format
For many photographs, JPG or WebP can be a practical starting point.
4. Compress Gradually
Do not jump directly to extreme compression.
5. Inspect Important Details
Look at:
- Faces
- Text
- Hair
- Product details
- Edges
- Shadows
- Fine textures
6. Stop When the Image Looks Acceptable
The smallest file is not always the best result.
A Simple Rule for Specific Image-Size Limits
When a website gives you a maximum file size, use this rule:
First reduce unnecessary dimensions.
Then compress.
Then check the file size.
Then inspect quality.
Finally, keep a safe margin below the required limit.
For example, if the maximum is 500KB, an image around 450KB may give you more breathing room than trying to hit the limit exactly.
Quick Checklist
Before uploading your image, check:
- Is the image below the required KB limit?
- Are the dimensions appropriate?
- Is the image still clear?
- Is important text readable?
- Are faces and details visible?
- Is the correct file format being used?
- Did you keep the original image?
- Did you avoid unnecessary repeated compression?
If all of these look good, your image is ready to upload.
The Most Important Thing to Remember
Making an image 100KB, 200KB, or 500KB is not just about compression.
The best results usually come from combining:
Correct dimensions + suitable format + appropriate compression
If the target is very small, you may need to make several adjustments.
Do not sacrifice more quality than necessary just to reach a number.
The goal is to satisfy the file-size requirement while keeping the image useful and visually acceptable.
Advanced Ways to Make an Image 100KB, 200KB, or 500KB Online
Getting an image below a specific file-size limit is not always as simple as clicking "compress."
If you need a photo under 100KB, 200KB, or 500KB, you need to balance three things:
File size + image dimensions + visual quality
The right combination depends on the original image and where you plan to use it.
Resize or Compress: Which Should You Do First?
This is one of the most common questions when reducing image size.
The answer depends on the original image.
If your image has very large dimensions, such as 6000 × 4000 pixels, resizing it first is usually a sensible approach.
If the dimensions are already appropriate but the file is slightly too large, compression alone may be enough.
A Practical Workflow
Large image
↓
Check dimensions
↓
Resize if necessary
↓
Choose the right format
↓
Compress
↓
Check file size
↓
Check visual quality
This approach gives you more control than simply applying maximum compression.
How to Choose the Right Image Dimensions
The image does not need to be larger than its intended use.
For example, if an online form displays a profile image at a small size, uploading an extremely high-resolution photograph may be unnecessary.
Similarly, if a website only displays an article image at around 1200 pixels wide, uploading a 6000-pixel-wide original may create unnecessary file data.
Example Dimensions
| Use Case | Possible Starting Width |
|---|---|
| Small profile image | 300–500 px |
| Thumbnail | 300–600 px |
| Online form image | 500–1000 px |
| Blog content image | 800–1600 px |
| Large website image | 1200–2000 px |
These are examples rather than universal requirements.
Always follow the dimensions specified by the website or application you are uploading to.
How to Make an Image Under 100KB Without Losing Too Much Quality
A 100KB limit can be quite restrictive for detailed photographs.
If your original is several megabytes, you may need to use both resizing and compression.
Recommended Process
- Create a copy of the original.
- Reduce the dimensions if necessary.
- Export as JPG or another suitable format.
- Apply moderate compression.
- Check the file size.
- Reduce dimensions or quality slightly if the file is still too large.
- Preview the final image.
- Stop once it is comfortably below 100KB and still looks acceptable.
Example
Suppose your original photo is:
4000 × 3000 pixels
3.5MB
Your target is:
Under 100KB
Trying to achieve this only by lowering the quality may produce a poor-looking image.
A better approach is:
Resize → Compress → Compare → Adjust
How to Make an Image Under 200KB Without Losing Quality
A 200KB target provides more flexibility than a 100KB target.
If your original image is around 1MB or several MB, first check whether the dimensions are larger than necessary.
After resizing, use moderate compression.
Example Workflow
Original:
3000 × 2000 pixels
File size:
2.1MB
Target:
Under 200KB
Possible workflow:
3000 × 2000
↓
Resize to an appropriate dimension
↓
Export as JPG/WebP
↓
Compress
↓
Check file size
↓
Inspect quality
The exact dimensions and compression level depend on the image.
How to Make an Image Under 500KB
A 500KB limit is generally less restrictive than 100KB or 200KB.
If your original is only slightly above the limit, you may not need aggressive changes.
For example:
Original: 650KB
Required: Under 500KB
A small adjustment may be enough.
You could:
- Reduce the dimensions slightly
- Use moderate compression
- Remove unnecessary metadata
- Try a more efficient format
There is no reason to make the image extremely small if a small optimization already satisfies the requirement.
What Is Better: 100KB, 200KB, or 500KB?
There is no universal answer.
The correct target is the one required by the website or application.
| Target | Best When |
|---|---|
| 100KB | A strict upload limit requires it |
| 200KB | You need a smaller image but want more quality flexibility |
| 500KB | The website allows a larger image |
| Larger than 500KB | Higher detail may be useful when no strict limit exists |
If the website says maximum 500KB, there is usually no advantage in forcing the image down to 100KB unless you have another reason to do so.
How to Compress an Image to a Specific Size Online
Many online image compressors work with a quality slider.
However, a quality percentage does not always correspond to a specific file size.
For example, setting an image to a certain quality level does not guarantee that it will become exactly 100KB.
Why?
Because image content affects compression.
A simple image may become very small.
A highly detailed photograph may remain larger.
Better Approach
Use an iterative process:
Compress → Check Size → Adjust → Compress Again
If the tool provides a target-size option, you can use that as a starting point.
Still check the final image visually.
Why an Image May Not Reach 100KB
Sometimes you apply compression but the file remains too large.
This can happen because:
- The image dimensions are too large.
- The image contains lots of detail.
- The chosen format is not ideal.
- The compression level is too mild.
- The image contains unnecessary data.
- The target is extremely small for the image.
If this happens, do not keep lowering quality endlessly.
Try reducing the dimensions.
Why Image Dimensions Can Matter More Than Compression
Consider two versions of the same photograph.
Version A
6000 × 4000 pixels
Version B
1600 × 1067 pixels
Version B contains far fewer pixels.
If the final use does not require the original resolution, removing those unnecessary pixels can make the file much easier to compress.
This is why resizing can be an important part of making an image 100KB, 200KB, or 500KB.
JPG vs PNG vs WebP for Small File Sizes
The format can influence how easily an image reaches a strict size target.
| Format | Good For | Important Consideration |
|---|---|---|
| JPG | Photographs | Strong compression can affect quality |
| PNG | Graphics and transparency | Photographs can remain large |
| WebP | Many web images | Test compatibility and output |
| GIF | Simple animations/limited graphics | Not ideal for most modern photographs |
For a typical photograph, JPG or WebP may be worth testing.
For a transparent logo or certain graphics, PNG may remain the better option.
How to Reduce a JPG to 100KB
If you have a JPG photograph and need it under 100KB:
Step 1
Check the current dimensions.
Step 2
Create a copy.
Step 3
Resize if the dimensions are unnecessarily large.
Step 4
Compress the JPG.
Step 5
Check the resulting file size.
Step 6
If it is still above 100KB, make a small additional adjustment.
Step 7
Preview the image.
Step 8
Save the final version.
Do not repeatedly compress the same JPG if you can avoid it.
Start from the original when creating a new version.
How to Reduce a PNG to 100KB
PNG can be more challenging when the target is very small.
If the image is a photograph, test whether JPG or WebP is suitable.
If the image must remain PNG, consider:
- Reducing unnecessary dimensions
- Using lossless optimization
- Removing unnecessary metadata
- Reducing unnecessary color information where appropriate
If the image contains transparency, make sure your chosen alternative still supports the transparency requirement.
How to Reduce a Photo to 200KB
For a photograph, start by checking the dimensions.
If the photo is:
4000 × 3000 pixels
but you only need a smaller image, resize it.
Then export it in a suitable format and compress it.
A practical workflow is:
Original photo → Resize → JPG/WebP → Compress → Check → Save
The exact settings should be determined by the final visual result rather than a fixed quality number.
How to Reduce an Image to 500KB for an Online Form
If an online form has a 500KB maximum, first check whether it also specifies:
- Width
- Height
- Aspect ratio
- File format
- Minimum resolution
- Maximum dimensions
Some upload forms have both a file-size limit and image-dimension requirements.
For example, a website could require:
File size: Under 500KB
Format: JPG
Dimensions: Within a specific range
In this situation, meeting only the file-size requirement may not be enough.
Always check the complete upload instructions.
What If the Website Rejects a 99KB Image?
If the file is under the stated limit but the upload still fails, file size may not be the only requirement.
Check whether the website also requires:
- A specific format
- Specific dimensions
- A minimum resolution
- A particular aspect ratio
- A maximum pixel count
- A valid file extension
For example, a website might accept only JPG files even though PNG files are smaller.
The problem may therefore be format or dimensions rather than file size.
Common Mistakes When Trying to Reach a Specific File Size
Mistake 1: Trying to Hit Exactly 100KB
If the requirement is maximum 100KB, a 92KB image already works.
Do not make the image worse just to reach exactly 100KB.
Mistake 2: Ignoring Dimensions
A huge image can remain unnecessarily large even after compression.
Resize when appropriate.
Mistake 3: Using Maximum Compression Immediately
Very aggressive compression can create visible artifacts.
Start moderately and adjust.
Mistake 4: Using PNG for Every Photograph
PNG is useful for certain graphics, but it may not be the most efficient choice for a photograph.
Mistake 5: Repeatedly Compressing the Same JPG
Repeated lossy exports can progressively degrade image quality.
Create the final version from the original whenever possible.
Mistake 6: Forgetting the Website's Other Requirements
A file can be below 100KB and still be rejected because its format or dimensions are incorrect.
Pros and Cons of Different Methods
| Method | Advantages | Disadvantages |
|---|---|---|
| Resize | Can dramatically reduce unnecessary pixel data | Too much resizing reduces detail |
| JPG compression | Useful for photographs | Excessive compression creates artifacts |
| PNG optimization | Preserves image information | May not reduce photographs enough |
| WebP conversion | Can provide efficient files | Workflow compatibility should be checked |
| Metadata removal | May provide additional savings | Usually not the main source of reduction |
| Quality reduction | Quick way to reduce size | Can make images blurry or distorted |
How to Choose Between Resizing and Compression
Use this simple rule.
If the Image Is Huge
Resize first.
If the Dimensions Are Already Appropriate
Try compression first.
If the File Is Still Too Large
Combine resizing and compression.
If Quality Becomes Poor
Increase quality or reconsider the dimensions.
If the Format Is Inefficient
Test another suitable format.
This approach prevents unnecessary quality loss.
Practical Example: From 4MB to Under 500KB
Imagine a camera photograph:
Original file: 4MB
Dimensions: 6000 × 4000 pixels
Required: Under 500KB
Instead of immediately applying heavy compression:
Step 1: Keep the Original
Save the original separately.
Step 2: Resize
Create an appropriately sized copy.
Step 3: Select the Format
Test JPG or WebP where appropriate.
Step 4: Compress
Use moderate compression.
Step 5: Check
Suppose the result is 620KB.
It is still above the target.
Step 6: Adjust
Reduce the dimensions slightly or increase compression.
Step 7: Check Again
If the result is 470KB and still looks good, you have a practical final version.
The original 4MB image remains untouched.
Practical Example: From 900KB to Under 500KB
This situation is easier.
Suppose your image is:
900KB
and the requirement is:
Maximum 500KB
You may not need a major reduction in dimensions.
Try moderate compression first.
If the result is:
480KB
and still looks clear, you are done.
There is no reason to continue reducing it to 100KB unless you have a separate requirement.
Practical Example: From 300KB to Under 200KB
This is a small reduction.
Start with moderate compression.
If necessary, reduce the dimensions slightly.
Do not use extreme compression for a relatively small reduction.
The closer the original file is to the required target, the less aggressive your optimization usually needs to be.
Practical Example: From 250KB to Under 100KB
This requires a larger reduction.
You may need:
Resize + format optimization + compression
If the image is a detailed photograph, getting below 100KB may require more visible quality trade-offs.
In that situation, determine whether the website truly requires 100KB or whether another image format or dimension can help.
Best Practices for Making Images a Specific Size
Keep the Original
Always keep a high-quality source copy.
Check the Requirements
Read the website's complete upload instructions.
Resize Oversized Images
Do not preserve unnecessary pixels.
Choose an Appropriate Format
Use JPG, PNG, WebP, or another supported format based on the image.
Compress Gradually
Do not immediately use the strongest compression.
Stay Below the Limit
If the maximum is 500KB, aim slightly below it rather than trying to hit the exact number.
Check Visual Quality
Make sure important details remain clear.
Test the Actual Upload
The final test is whether the destination website accepts the file and displays it correctly.
Quick Decision Guide
| Your Goal | What to Try First |
|---|---|
| Under 500KB | Moderate compression |
| Under 200KB | Resize if necessary + compression |
| Under 100KB | Resize + format selection + stronger optimization |
| Exact maximum limit | Aim slightly below the limit |
| Photograph | JPG/WebP |
| Transparent graphic | PNG/WebP |
| Very large original | Resize first |
| Already small image | Moderate compression |
| Quality is becoming poor | Reduce compression or dimensions less aggressively |
Final Tip for Online Image Compression
Do not treat 100KB, 200KB, or 500KB as quality settings.
They are file-size targets.
Your job is to find the best combination of:
Dimensions + Format + Compression
that reaches the required target without making the image unnecessarily poor.
If you remember only one process from this guide, remember:
Check the requirement → Resize if needed → Choose the right format → Compress → Check file size → Check quality → Upload
That workflow works for most everyday image-size requirements.
How to Make an Image 100KB, 200KB, or 500KB Online
Conclusion
Making an image 100KB, 200KB, or 500KB online is usually possible without making it unusably blurry.
The key is to avoid treating compression as the only solution.
Instead, look at the entire image:
Dimensions + Format + Compression + Visual Quality
If the original image is extremely large, resize it first. If the dimensions are already suitable, compression may be enough. For photographs, JPG or WebP can be useful options, while PNG may be more suitable for certain graphics and images that require transparency.
Most importantly, pay attention to the exact requirement.
If a website says "maximum 500KB," you do not need to create an exactly 500KB file. A 450KB image that meets the site's other requirements is already a better target.
The same principle applies to 100KB and 200KB limits.
The goal is simple:
Meet the file-size requirement while keeping the image clear enough for its intended purpose.
100KB, 200KB, or 500KB: Which Target Should You Choose?
If the website gives you a specific maximum, follow that requirement.
| Website Requirement | Sensible Target |
|---|---|
| Maximum 100KB | Keep the final file below 100KB |
| Maximum 200KB | Keep the final file below 200KB |
| Maximum 500KB | Keep the final file below 500KB |
| No specific limit | Use an appropriate size for the purpose |
Do not unnecessarily reduce a 450KB image to 100KB if the website already accepts files below 500KB.
Every additional reduction can create unnecessary quality loss.
How to Make an Image Smaller Without Making It Blurry
If image quality is your main concern, use a gradual approach.
Start With the Original
Always create an optimized copy instead of repeatedly editing the only original.
Check the Dimensions
If the image is much larger than needed, resize it.
Select a Suitable Format
For photographs, JPG or WebP may be useful.
For transparent graphics, PNG or WebP may be appropriate depending on the requirements.
Compress Gradually
Make small changes and check the result.
Inspect the Important Areas
Look carefully at:
- Faces
- Text
- Logos
- Product edges
- Hair
- Fine textures
- Shadows
- Gradients
If these areas remain clear, your compression may be acceptable.
How to Reduce Image Size for Online Applications
Online applications often have strict upload requirements.
You may see instructions such as:
Photo must be under 100KB
or:
Image size should not exceed 200KB
or:
Upload a JPG below 500KB
Before compressing your image, check all of the instructions.
The website may specify both:
- File size
- Image dimensions
- File format
- Aspect ratio
- Minimum resolution
Example
Suppose an application requires:
JPG
Under 200KB
Specific dimensions
In this situation, reducing the file below 200KB is only part of the job.
The image must also meet the required dimensions and format.
How to Make a Passport or ID Photo Smaller
For identity documents and official applications, always follow the specific instructions provided by the organization.
Do not assume that a smaller file is automatically acceptable.
Check:
- Required dimensions
- File format
- Maximum file size
- Background requirements
- Image clarity
- Any other instructions
If the requirement is simply a maximum file size, resize and compress a copy while keeping the original safely stored.
For sensitive identity documents, also consider the privacy and security of any online compression service before uploading the file.
How to Reduce Image Size for Email
Large photographs can be inconvenient as email attachments.
If the recipient does not need the original resolution, create a smaller copy.
A simple process is:
Original → Resize → Compress → Check → Attach
For example, if a photograph is several megabytes but only needs to be viewed on a screen, a smaller version may be more practical.
Always keep the original photograph separately.
How to Reduce Image Size for a Website
Website images should be prepared according to the page layout.
If an image will only appear at a relatively small width, there may be little reason to upload an enormous original.
A practical website workflow is:
- Determine the image's display area.
- Choose suitable dimensions.
- Select an appropriate format.
- Compress the image.
- Check the final file size.
- Check visual quality.
- Upload the optimized version.
For websites, responsive image techniques can also help deliver appropriately sized images to different devices.
What Is the Best File Size for a Website Image?
There is no single file size that is ideal for every website image.
A suitable file size depends on:
- Image dimensions
- Image type
- Website layout
- Device
- Visual importance
- Compression method
- Format
A large hero image may reasonably require more data than a small thumbnail.
Instead of following an arbitrary number, optimize the image according to its actual use.
How to Make a Large Image Smaller Online
If your original image is several megabytes, use this workflow:
Step 1: Check the Original
Find the current dimensions and file size.
Step 2: Decide the Required Size
Determine whether you need 100KB, 200KB, 500KB, or another limit.
Step 3: Resize
Reduce unnecessary pixel dimensions.
Step 4: Choose a Format
Use a format suitable for the image and destination.
Step 5: Compress
Adjust the compression level.
Step 6: Check the Result
Make sure the image meets the file-size requirement.
Step 7: Inspect Quality
Make sure it still looks good.
Step 8: Save Separately
Keep the original.
Common Problems and Solutions
| Problem | Possible Solution |
|---|---|
| Image is still too large | Resize or increase compression slightly |
| Image looks blurry | Reduce compression |
| PNG remains very large | Test JPG/WebP if suitable |
| Website rejects the file | Check format and dimensions |
| Image is below the limit but looks poor | Use a larger target if allowed |
| File is exactly at the limit | Reduce it slightly to create a margin |
| Quality changes after repeated compression | Start again from the original |
| Image is too large for email | Create a smaller copy |
| Upload requires exact dimensions | Resize to the specified dimensions |
Frequently Asked Questions
1. How do I make an image 100KB online?
Upload the image to a suitable compression tool, resize it if necessary, choose an appropriate format, and compress it until the resulting file is below 100KB. Always check the final image quality and any additional upload requirements.
2. How do I make an image 200KB online?
Start by checking the image dimensions and current file size. Resize the image if it is unnecessarily large, then compress it until the file is below 200KB while keeping acceptable visual quality.
3. How do I make an image 500KB online?
If the image is only slightly above 500KB, moderate compression may be enough. If it is much larger, resize it first and then compress it.
4. Can I make an image exactly 100KB?
You can try to target an exact size, but if the website says the maximum is 100KB, you normally only need the image to be below that limit. A file such as 95KB can already satisfy the requirement.
5. How do I reduce an image from MB to KB?
Resize the image if necessary, choose a suitable format, and apply compression. Combining resizing and compression can be more effective than using compression alone for very large images.
6. How do I reduce JPG to 100KB?
Create a copy of the JPG, check its dimensions, resize it if necessary, and apply compression gradually until the file is below 100KB. Check the image for artifacts before using it.
7. Can I reduce PNG to 100KB?
Sometimes. PNG can be optimized using lossless techniques, but detailed PNG images can remain relatively large. If the image is a photograph and transparency is not needed, testing another suitable format may help.
8. What should I do if my image is still above 500KB?
First check the dimensions. If they are unnecessarily large, resize the image. Then try moderate compression or another suitable format. Avoid immediately using extreme compression.
9. Will reducing image size make it blurry?
It can if the image is resized too aggressively or compressed too heavily. Use gradual adjustments and inspect important details before accepting the final version.
## 10. What is the best way to compress an image to a specific KB size?
Start by checking the original dimensions and file size. Resize if necessary, select an appropriate format, compress gradually, and check the resulting file after each adjustment. Aim slightly below the required maximum rather than trying to hit the exact number.
[All Tools](All Tools/tools)
Ready to optimize your images?
Every tool mentioned in this article is free to use. No upload, no signup, and no watermarks — ever.
Try our free toolsRelated articles
How to Reduce Image File Size Without Losing Quality: Complete Guide
Learn how to reduce image file size without losing quality using compression, resizing, format conversion, and practical optimization techniques. This beginner-friendly guide explains how to compress JPG, PNG, and WebP images for websites, email, social media, uploads, and everyday use.
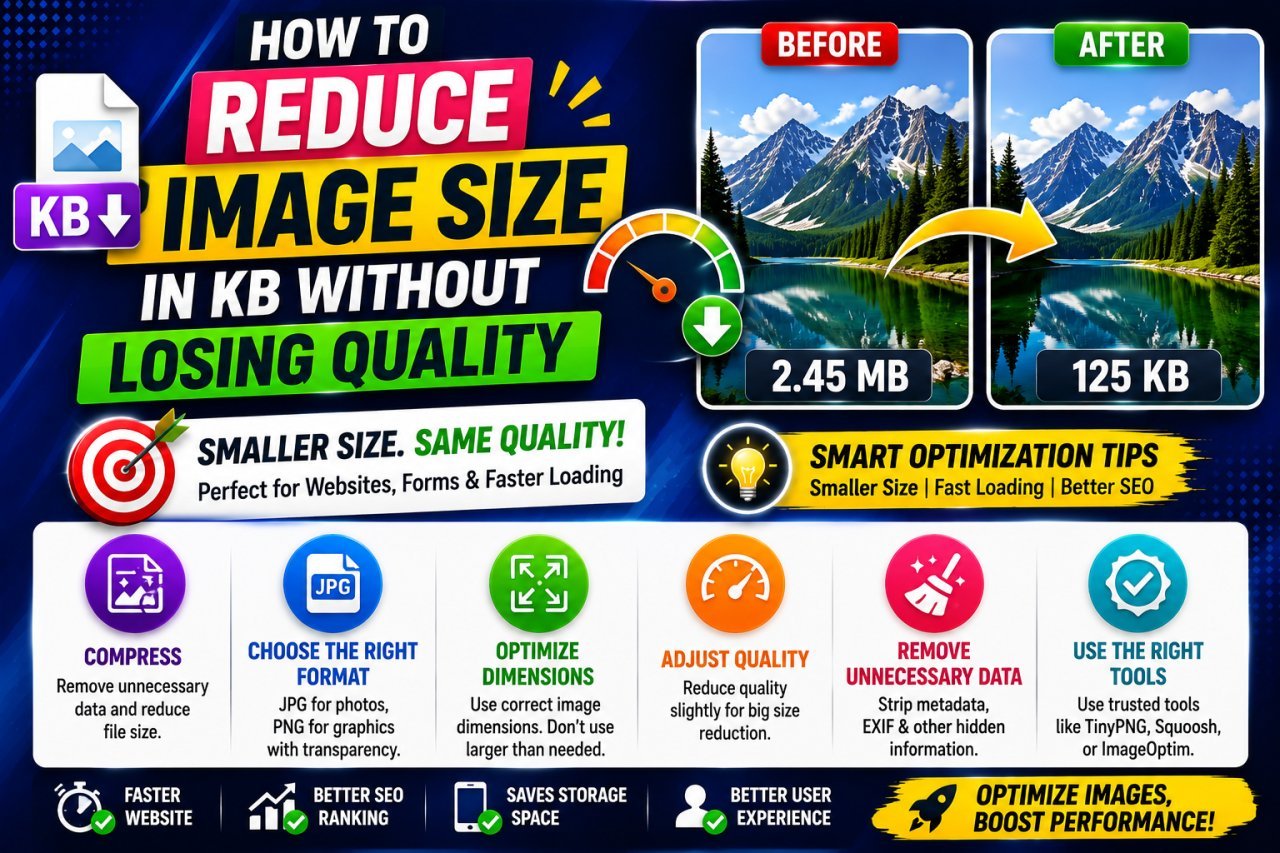
How to Reduce Image Size in KB Without Losing Quality
Learn how to reduce image size in KB without losing quality using smart compression, resizing, format selection, and practical image optimization techniques.
How to Compress an Image to 50KB Without Losing Quality
Learn how to compress an image to 50KB without losing quality using resizing, compression, WebP, JPG, and practical online image optimization techniques.