
How to Remove Unwanted Objects From Photos With AI
Brush over a distraction, let AI fill the gap, then check shadows, edges and patterns. A practical guide to clean, natural object removal in your own photos.

To remove an unwanted object from a photo with AI, you mark the object with a brush or selection, the tool fills that area using the surrounding pixels, and you then check the result closely before saving. On a simple background such as sky, sand or a plain wall, one pass is often enough. On detailed backgrounds you will usually need a few smaller passes, and sometimes a little manual cleanup.
This guide covers how AI object removal works, which photos give clean results, the step-by-step workflow, and how to fix the problems that most often give an edit away.
What AI Object Removal Actually Does
AI object removal, also called inpainting, AI eraser, magic eraser or generative fill, replaces a selected area with new pixels that match the scene around it.
The important point is that the AI does not recover what was really behind the object. That information was never captured by the camera. The tool predicts a plausible fill from the colours, textures and lines next to your selection. That is why:
- A bin on plain pavement disappears cleanly, because pavement is predictable.
- A person standing in front of a shop window is much harder, because the tool has to invent glass, signs and products it cannot see.
- Results can look perfect at phone size and still show smudges when you zoom in.
Keep that in mind and most of the advice below follows naturally.
Which Photos Work Best
The background behind the object matters more than the object itself.
| Situation | Difficulty | What to check afterwards |
|---|---|---|
| Small object on a plain wall or open sky | Low | Even colour and texture |
| Object on sand, water or smooth floor | Low | Texture and leftover shadow |
| Object on grass or foliage | Moderate | Smudged or repeated patches |
| Thin cable or wire across the sky | Moderate | Leftover fragments, faint lines |
| Object on tiles, bricks or patterned floor | Moderate to high | Pattern alignment and perspective |
| Object covering text or a logo | High | Garbled letters |
| Object overlapping a face or another object | High | Changed shapes and features |
| Large object over a detailed scene | High | Invented details that do not make sense |
If your photo falls into the "high" rows, expect to work in several small passes and to finish some areas by hand.
Step-by-Step: Remove an Object With AI
Keep the original file
Work on a copy and keep the untouched original. You will want it for comparison, and you may decide later that the original looked better.
Start from the best-quality source
Use the original photo rather than a screenshot or a file that has been compressed and re-saved several times. Fine texture helps the AI produce a convincing fill. If you need to shrink the file afterwards, do it at the very end with the image compressor.
Select the whole object, and only the object
Open the photo in the Image EditPro object remover and brush over the distraction. Two common mistakes pull in opposite directions:
- Selecting too little. If you paint over a chair's seat but miss a leg or the backrest, those pieces stay behind. Zoom in and cover every part, including thin edges.
- Selecting too much. Painting a huge area around a small bottle forces the tool to rebuild half the table. Keep a small margin around the object, not a wide one.
The tool runs in your browser, so the photo is not uploaded to a server.
Include the object's shadow and reflection
A chair removed from a floor with its chair-shaped shadow left behind looks obviously edited. Include the shadow in your selection or remove it in a second pass. Check shiny surfaces too: mirrors, windows, polished floors, car bodies and water can all show a reflection of the object you just removed.
Only remove the shadow that belongs to the object. Trees, buildings and people nearby may cast shadows into the same area, and erasing those makes the lighting look wrong.
Review at two sizes
Look at the whole photo at normal size first: does it still look natural? Then zoom in to 100% on the edited area and look for:
- Smudged or blurry patches that are softer than the rest of the image
- Repeated textures, such as identical grass or brick sections
- Bent straight lines along walls, table edges, railings or road markings
- Nearby objects that changed shape
- Faint outlines where the selection edge was
Fix problems with small, targeted passes
If one section looks wrong, do not redo the whole object. Brush over just the problem area and run the removal again. For large objects, it often works better to remove them in stages from the start: the main body first, then the edges, then the shadow, checking after each pass.
Export and compare
Before saving, flip between the edited copy and the original. Make sure nothing outside your selection changed, such as a sign, a face or a product edge.
Handling Difficult Cases
Thin objects: wires, poles and branches
Wires cover very few pixels, so they are easy to under-select. Zoom in before brushing and follow the full length of the wire. A cable across a clear sky is usually a good AI task. A cable crossing trees or buildings may need several short sections.
Patterns and perspective
Tiles, bricks, fences, windows and wooden floors follow strict lines that get smaller towards the horizon. AI fills sometimes break those lines or repeat a section. Make the selection as tight as you can, and if the pattern still looks wrong, correct a smaller area or finish with a clone tool in a desktop editor.
People in the background
People cover larger areas, cast shadows and often overlap other people or objects. Removing someone in front of plain sky is manageable; removing someone in front of a crowded street is not a one-click job. The dedicated guide on removing a person from a photo goes into this in more detail.
Text and signs
AI cannot reliably rebuild text, so removing an object that covers lettering often leaves garbled shapes behind. If you want to remove a date stamp or caption from your own photo, see how to remove text from an image.
Product photos
Removing a stray cable or packaging scrap from beside a product is fine. Check that the fill did not alter the product's edges, label or shape, and never remove real product features. Buyers should receive what the photo shows.
AI Removal vs Cropping vs Manual Tools
| Method | Best for | Main limitation |
|---|---|---|
| Crop | Distractions near the edge of the frame | Changes the composition |
| AI object removal | Fast cleanup while keeping the framing | Fill may need correction |
| Healing brush | Dust, spots, small blemishes | Weak on large objects |
| Clone tool | Rebuilding patterns and straight lines precisely | Slow and needs some skill |
| Manual masking and retouching | Professional work where exact detail matters | Most time and skill |
A practical approach is to combine them. Crop first if that solves the problem cleanly with the crop tool. Otherwise use AI for the bulk of the removal, then switch to manual tools only where the AI fill is visibly wrong.
Manual correction is usually worth it when a straight line has bent, a logo or text has changed, a nearby face has been altered, or a product edge has been damaged.
Two Worked Examples
A bin in front of a historic building
The bin sits on plain paving at the bottom of the frame. Select the bin and its shadow, run the removal, then zoom in on the paving. If one paving line looks bent, brush only that section and run it again. This is a low-difficulty edit that usually needs one or two passes.
A stranger in a street scene
The person stands in front of shop windows, a parked car and other pedestrians. After removal, check building edges, shop signs, the car, other people's arms and faces, road markings and shadows. Expect several passes. If the shopfront still looks invented, consider whether cropping or simply leaving the person in is the better choice.
A Note on Authenticity
Object removal is ordinary retouching for personal, travel, social and design photos. It becomes a problem when the photo is meant to document reality, such as news, insurance claims, evidence or official records. In those cases removing an object changes what the image says. Keep the original, and label edited versions clearly.
Frequently Asked Questions
Can I remove objects from photos online for free?
Yes. Browser-based tools such as the Image EditPro object remover let you brush over an unwanted object in your own photo and fill the area automatically. Check the result at full zoom before downloading.
Why does the background look strange after removing an object?
The tool has to invent the area that the object was hiding. Plain surfaces such as sky or a wall are easy to fill, but bricks, tiles, text, faces and overlapping objects are much harder and often produce smudges, repeated textures or bent lines.
Should I remove the shadow along with the object?
Yes, if the shadow clearly belongs to the object you removed, because a leftover shadow is one of the most obvious signs of an edit. Do not erase every dark area, though, since nearby trees, buildings or people may cast shadows into the same spot.
Is it better to crop or to remove an object with AI?
If the distraction sits near the edge of the frame, cropping is faster and leaves no artifacts. If it is in the middle of the composition, AI removal lets you keep the original framing.
Can AI object removal be used on product or documentary photos?
For product photos, remove only unrelated clutter and never alter the product itself. For news, evidence or official records, removing objects can change what the image means, so keep the original and label edited versions.
Summary
Use the original file, select the whole object plus its shadow and nothing more, review at normal size and at 100% zoom, and fix problems in small passes. Simple backgrounds take one click; complex ones take patience or a manual finish. For more on how AI editing compares with hand retouching, read AI vs manual photo editing.
Related articles

How to Remove Text From Your Own Photos With AI
Clear a date stamp, caption or handwritten note from your own photo with AI: how to select the text, which backgrounds work, and how to check the fill.
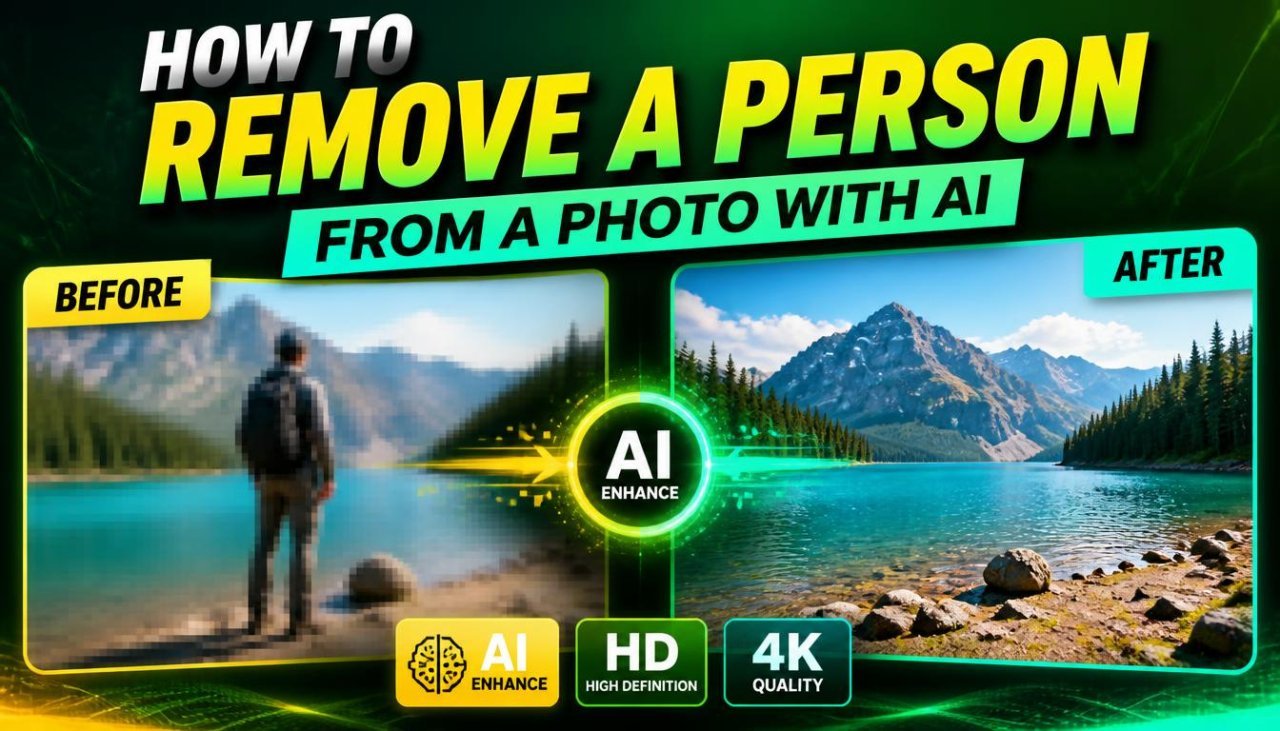
How to Remove a Person From a Photo With AI
Remove a stranger or photobomber from your own photo with AI: how to select hair and shadows, handle group shots and crowds, and spot the artifacts that give edits away.

AI vs Manual Photo Editing: When to Use Each
AI is fast at well-defined jobs like background removal and upscaling; manual editing wins on composition, colour and anything that must be exact. Here is how to split the work.