
How to Change Image Resolution Online: Pixels, DPI and PPI Step by Step
Work out whether you need more pixels or just a different DPI value, then change it: resize for web and forms, set PPI for print, and upscale only when you must.

To change image resolution, first decide which kind of resolution you are being asked for. If the requirement is in pixels (for example 1200 × 800), resize the image. If it is a DPI or PPI value for printing (for example 300 DPI), change that setting without resampling, so the pixels stay untouched. Only if the image has too few pixels for the job do you need to upscale it. This guide walks through each case with worked numbers.
If terms like PPI and resampling are new to you, read what image resolution means first; this post focuses on the steps.
Step 1: Check What You Have
Before changing anything, look up the image's current pixel dimensions and file size:
- Windows: right-click the file, choose Properties, then the Details tab.
- macOS: open it in Preview and choose Tools, then Show Inspector.
- Android or iPhone: open the photo's info panel in your gallery app (the exact location varies by phone).
Write down the width, height and file size. Make a copy and work on that, so the original stays safe for future versions.
Step 2: Identify What the Requirement Really Means
Most confusion comes from mixing up the different requests. Match the wording to the action:
| The requirement says | What it means | What to do |
|---|---|---|
| "1200 × 800 pixels" | Exact pixel dimensions | Crop to the right shape, then resize |
| "Under 100 KB" | File size limit | Compress, and reduce pixels if needed |
| "300 DPI" or "300 PPI" (for print) | Print density | Change the DPI value without resampling, then check you have enough pixels |
| "Print at 6 × 4 inches, 300 DPI" | Print size and density | Calculate the pixels needed (1800 × 1200) |
| "High resolution" | Not a precise spec | Ask for pixel dimensions or a print size |
For anything shown on a screen (websites, social media, apps, most online forms), pixels are what count. Browsers ignore the DPI value stored in a file.
How to Change Pixel Dimensions for Web, Social and Forms
This is the most common job, and it can be done entirely in the browser.
- Match the aspect ratio first. If your photo is 4:3 and the target is 1:1 or 16:9, resizing alone will either stretch it or leave it the wrong shape. Use the Crop tool with a preset (1:1, 16:9, 4:3, 3:4 or 9:16) to frame the subject.
- Resize to the exact size. Open the Resize tool, keep the aspect-ratio lock on, and type the target width or height. You can also scale by percentage or pick a social preset such as YouTube 1280 × 720.
- Check the file size. If the destination also has a KB limit, run the result through Compress Image to Size and enter the target.
- Download and inspect. Open the result at 100% zoom to check faces and text.
These tools run in your browser, so your photos are not uploaded to a server. That matters for ID photos and personal documents.
Example: A Camera Photo for a Website
You have a 6000 × 4000 photo and the site's content area needs 1200 × 800. Both are 3:2, so no crop is needed. Resize to 1200 × 800, export as JPG or WebP, and compress. Changing its DPI from 72 to 300 would do nothing for the website, since the site only cares about pixels.
Example: A Photo for an Online Application
Government and exam portals usually specify pixel dimensions, a KB range and a file type. Crop to the required shape, resize to the stated pixels, then compress to the KB range. If the notice also mentions DPI, follow the stated pixel size first, then check the official notice for whether the DPI value is actually checked. Image size for online forms covers common requirements.
How to Change DPI or PPI Without Changing Pixels
When a print shop or document template asks for a specific DPI, you usually only need to change the number stored in the file. Our Resize tool works in pixels and has no DPI field, so use a desktop editor for this step:
- Adobe Photoshop: Image > Image Size. Untick Resample, type the new value in Resolution, then save a copy.
- GIMP (free): Image > Print Size. Set X and Y resolution to the new value, then export.
- macOS Preview: Tools > Adjust Size. Untick Resample image, change Resolution, then save.
With resampling off, the width and height in pixels stay identical and only the print size changes. For example, a 3000 × 2000 photo tagged 72 DPI would print at about 41.7 × 27.8 inches. Set it to 300 DPI and it prints at 10 × 6.67 inches. Same pixels, same sharpness on screen.
If resampling is accidentally left on, the editor will instead add or remove pixels to keep the old print size, which is usually not what you want.
Calculate the Pixels You Need for a Print
The formula is simple:
Pixels needed = print size in inches × PPI
(Divide centimetres by 2.54 to get inches.)
| Print size | Pixels at 300 PPI | Pixels at 200 PPI |
|---|---|---|
| 4 × 6 in (10 × 15 cm) | 1200 × 1800 | 800 × 1200 |
| 5 × 7 in | 1500 × 2100 | 1000 × 1400 |
| 8 × 10 in | 2400 × 3000 | 1600 × 2000 |
| 12 × 18 in | 3600 × 5400 | 2400 × 3600 |
Also check the shape. A 4 × 6 print is a 2:3 ratio, so a 1200 × 1800 image fits it exactly, but a 1:1 image would need cropping or white borders. An 8 × 10 print is 4:5, which crops more off a typical 2:3 camera photo than people expect.
300 PPI is a common target for photos viewed up close; large posters viewed from a distance can often be printed at lower PPI. If your print service publishes its own minimums, those take priority.
When You Do Not Have Enough Pixels
Suppose you want an 8 × 10 inch print (2400 × 3000 at 300 PPI) but your photo is only 1200 × 1500. Your options, in order of preference:
- Find a bigger original. Check your camera roll, cloud backup or the original sender. Images received through chat apps are often reduced in size.
- Print smaller. The same 1200 × 1500 photo prints well at 4 × 5 inches.
- Accept a lower PPI. At 150 PPI it covers 8 × 10 inches; that can look fine on a wall but softer up close.
- Upscale. An AI image upscaler can enlarge 2×, 3× or 4× and usually looks cleaner than basic resizing. It predicts new detail rather than recovering lost detail, so inspect the result at full size before printing.
Upscaling cannot fix motion blur or bad focus. How to make a low-quality image HD covers what upscaling and sharpening can and cannot do.
How to Reduce Resolution Without Ruining Quality
Making an image smaller is easier than making it bigger, because the software only discards pixels. A few habits keep the result sharp:
- Resize once from the original. Repeatedly shrinking and re-saving a JPG adds compression artifacts each time.
- Keep the aspect ratio locked so faces and products do not get squashed.
- Do not over-shrink. For websites, keep enough pixels for high-density screens, often up to twice the displayed width.
- Compress last. Resize first, then adjust quality, since fewer pixels already means a smaller file.
Background on how different scaling methods work is on Wikipedia's image scaling page.
Common Mistakes When Changing Resolution
- Raising DPI to "fix" a blurry photo. The pixels are unchanged, so the blur is too.
- Resizing without cropping first, which stretches the image to the wrong shape.
- Leaving resampling on when you only meant to change the DPI value.
- Starting from a screenshot or chat-app copy instead of the original file.
- Overwriting the only original, which leaves nothing to go back to.
- Ignoring the KB limit on forms after resizing to the right pixels.
Frequently Asked Questions
How do I change image resolution online?
First check what the requirement asks for. If it gives pixel dimensions, open a resize tool, lock the aspect ratio, enter the new width or height and download. If it asks for a DPI value for printing, change the DPI setting in an image editor with resampling turned off.
How do I change an image from 72 DPI to 300 DPI?
Open the image in an editor that has an image size or print size dialog, such as Photoshop, GIMP or macOS Preview. Turn off resampling, type 300 in the resolution field and save a copy. The pixel dimensions stay the same and only the print size changes.
Will changing DPI to 300 improve quality?
No. Without resampling, the pixels are unchanged, so the image looks exactly the same. It only prints smaller and denser. To get more real detail you need a larger original or an upscaler.
How do I increase the resolution of a low-resolution image?
Use the highest-quality original you have, then enlarge it with an AI upscaler at 2x to 4x. AI upscaling usually looks cleaner than basic resizing, but it estimates detail rather than recovering it, so check the result at full size.
Can I change resolution without changing the file size in pixels?
Yes. Changing only the DPI or PPI value with resampling turned off keeps the exact pixel dimensions. It changes the print size stored in the file, not the pixels.
Related articles
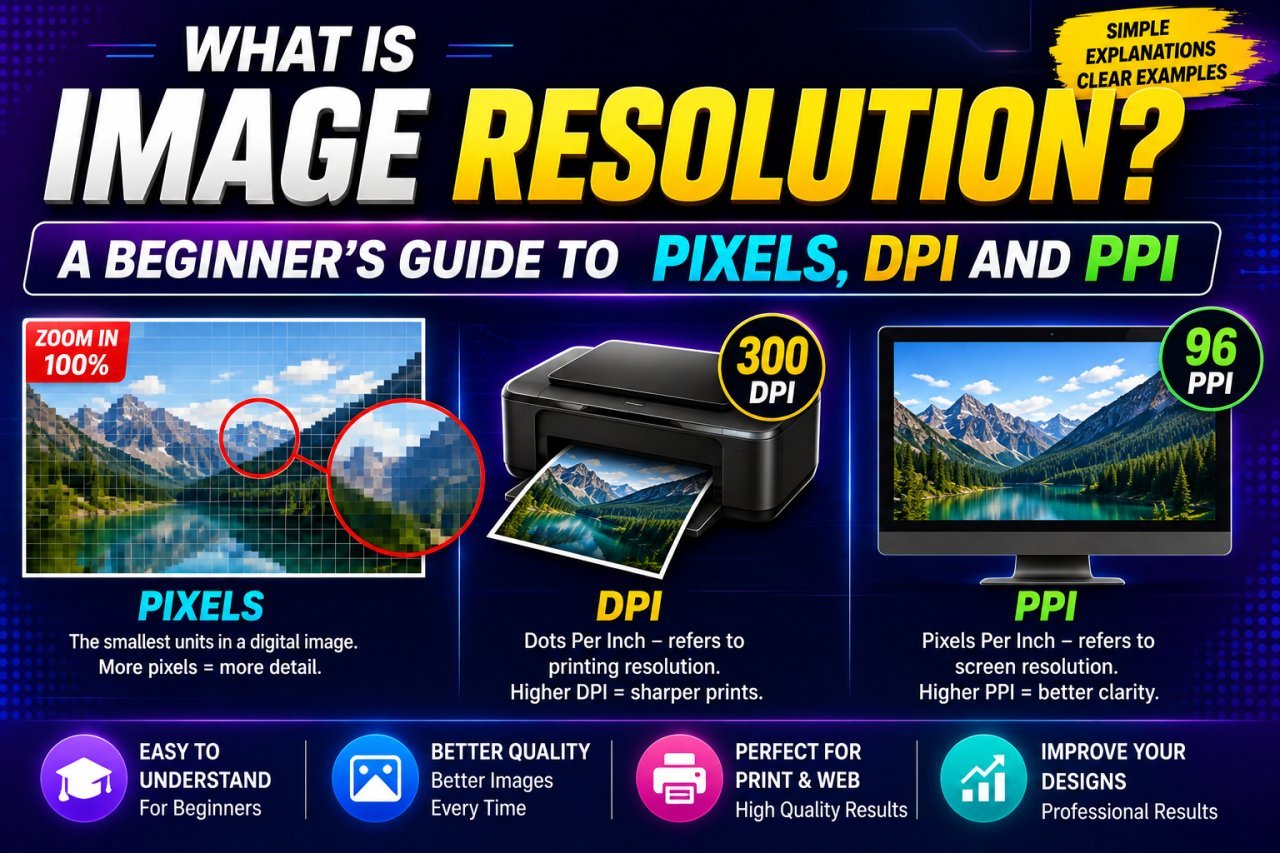
What Is Image Resolution? Pixels, DPI and PPI Explained Simply
Image resolution explained in plain language: what pixels and megapixels are, how PPI links pixels to print size, what DPI really means, and why 300 DPI is not magic.
How to Resize Images Without Losing Quality
Why resized images turn blurry or stretched, and a simple workflow to resize photos for websites, social media and phone or desktop screens while keeping them sharp.
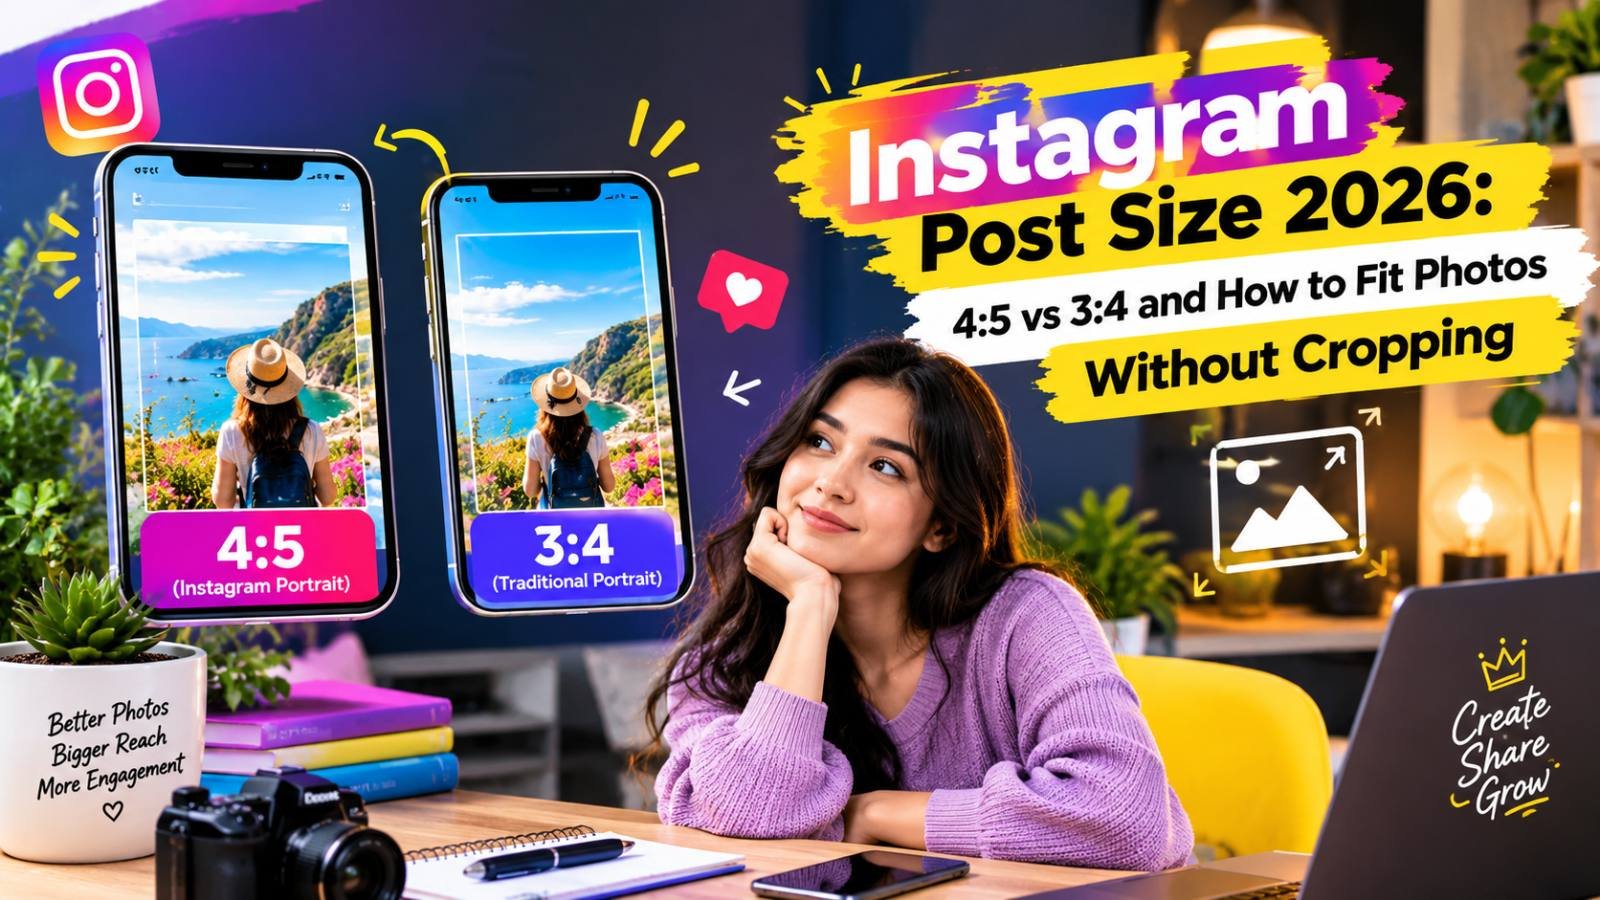
Instagram Post Size 2026: 4:5 vs 3:4 and How to Fit Photos Without Cropping
Instagram feeds show 4:5 portraits while the profile grid shows 3:4 tiles, so the same photo is cropped two ways. The exact sizes to use for posts, carousels, Stories and Reels, and how to keep faces and text out of the cut zone.